
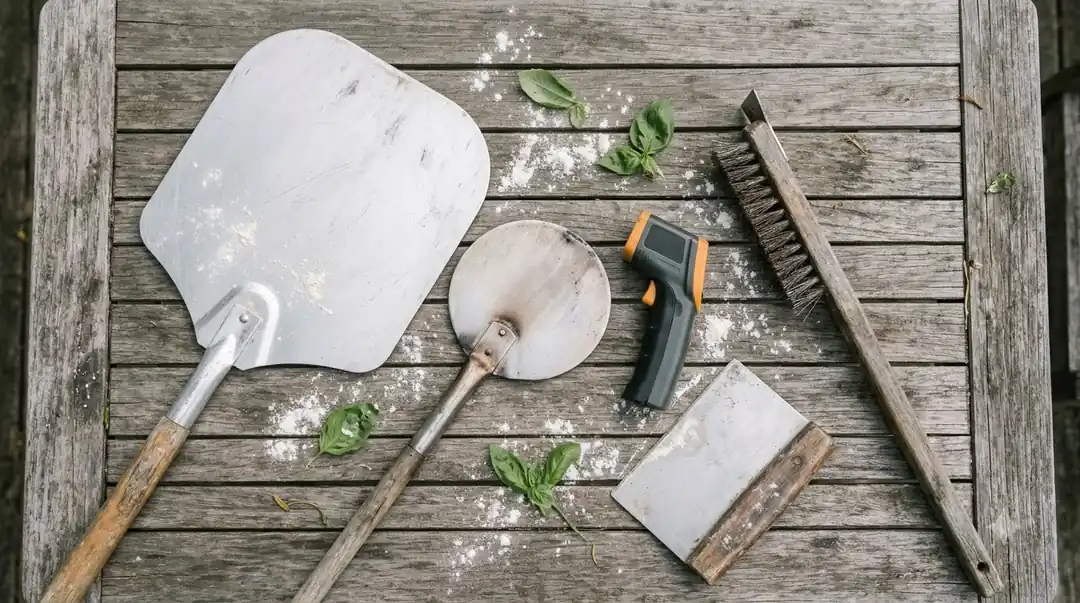

The Ooni Koda 2 Pro manual is Ooni’s official assembly and operating guide for the oven, and every step on this page comes from it. Its gas steps cover placement, cylinder connection, leak testing, lighting and shutdown.
This guide follows the manual’s order, from placement to shutdown. Its gas steps come from the 30, 37 and 50 mbar edition, so check your rating plate before you connect anything.
Gas appliances carry real risk. Follow the owner’s manual and contact Ooni support if anything you see differs from these steps.
What the Ooni Koda 2 Pro Manual Covers
The manual is one PDF with 20 language sections, and its English section runs from printed page 2 to page 16. It is titled Koda 2 Pro Assembly Instructions and carries the code PA-A0074E. Read in order, the Ooni Koda 2 Pro manual moves from getting started and setup to the temperature hub, gas connection, lighting, seasoning, cooking, shutdown, care and troubleshooting.
The copy read for this guide covers the 30, 37 and 50 mbar editions. You can download it from Ooni’s Koda 2 Pro manual PDF. A US 28 mbar edition was not read, so its gas steps are not verified here.
The Ooni Koda 2 Pro manual also explains the warranty. Registering at ooni.com/warranty within 60 days of purchase extends the 1 year warranty to 5 years, subject to Ooni’s terms.
Setting Up the Oven and Pizza Stones
Place the oven at least 1 m from any structure or combustible material, with the mouth facing away from the wind, on a sturdy metal or wood surface. The Ooni Koda 2 Pro manual lists these placement rules first, so follow them before any gas step.
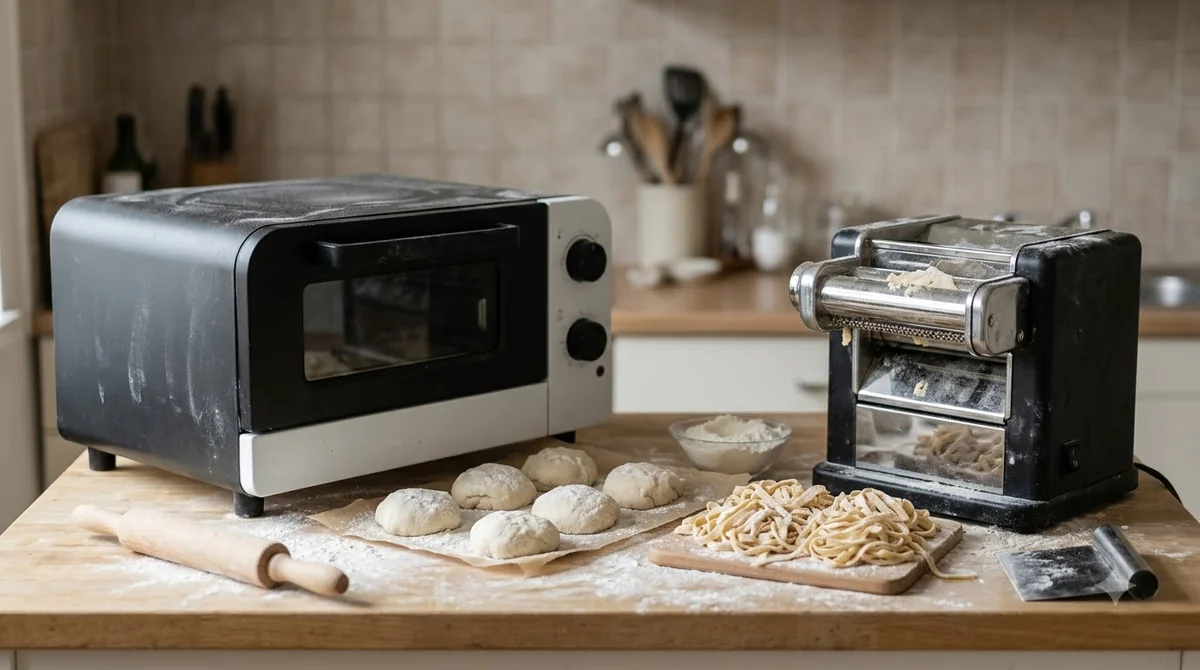
The Ooni Koda 2 Pro manual recommends a surface such as the Ooni Large Modular Table and warns against plastic or glass tables. It also suggests setting the pizza stones about 1.1 m above the ground. For the size of the oven and the space it needs, see our Ooni Koda 2 Pro dimensions guide.
- Unfold the legs until the back leg clicks into place. To collapse it for storage, push the release button.
- Slide in both pizza stones with the rounded corner facing the back of the oven, taking care not to scratch the pizza ledge.
- Lift the oven from the underside of the base, never from the upper shell, and never with the stones in place.
- Install the AA battery for ignition in the front right leg. Remove it if you store the oven for more than a month.
The box also includes the Ooni Connect Digital Temperature Hub. The manual gives Oven ID 003 for the Koda 2 Pro, which you confirm after the first power on.
Connecting the Gas Cylinder and Checking for Leaks
Turn the control dial to OFF, connect only the gas type listed on the rating plate, and leak-test every connection before you light the oven.
| Item | What the manual specifies |
|---|---|
| Patio cylinder | Push the regulator onto the cylinder port until it clicks, then turn the regulator valve switch to horizontal (ON). |
| POL cylinder | With the cylinder valve fully off, screw the regulator on until tight. The thread is left-hand (counterclockwise). |
| Cylinder size | Under 13 kg, no more than 315 mm across and 580 mm high, kept at least 635 mm from the oven. |
| Hose and regulator | Hose certified to EN16436, maximum 1.5 m. Regulator certified to EN16129. |
Only the UK 37 mbar and European 50 mbar products include a regulator and hose. For other ovens, buy certified parts or contact Ooni support before you connect a cylinder.
For the leak test, mix dish soap with water or use a leak detector spray, then brush it onto the connections and the regulator. Bubbles mean a leak. Tighten the fitting and test again. If the leak persists or the hose cracks, do not operate the oven. Never check for leaks with a naked flame.
The Ooni Koda 2 Pro manual covers cylinder connections only. For how Ooni describes fuel for this model, read its Koda 2 Pro getting-started guide, which describes the oven as optimized for propane.
Lighting the Burner and Setting the Flame
Push in the dial, turn it counterclockwise until the burner lights, and hold it for 5 seconds. If the burner does not light, turn the dial off and wait 5 minutes before trying again.
- Stand to the side, never look into the oven mouth, and wear heat-protective gloves.
- Push and hold the control dial in while you slowly rotate it counterclockwise. The igniter sparks.
- Keep holding for 5 seconds after the gas lights, then check that the flame matches the illustration in the manual.
- If the burner does not ignite, turn the dial to OFF, wait 5 minutes and try again.
- After a second failed attempt, wait 5 minutes. Then strike a match in the supplied matchstick holder, touch it to the burner through the oven mouth, push the dial in and turn it to maximum. Hold for 5 seconds after ignition.
Turn the dial between minimum and maximum to set the flame. The Ooni Koda 2 Pro manual says to operate the oven with the dial only, and never to touch the outer metal surfaces, the stones or the glass while it is on. If the burner goes out during cooking, the Ooni Koda 2 Pro manual refers you to its troubleshooting section, so turn the dial off and wait before you relight.
Seasoning, Preheating and Cooking on the Stones
Season the oven by running it at top temperature for 30 minutes before the first cook. Then preheat on full power until the stones reach your target temperature, using our propane pizza oven temperature guide as a reference.
After seasoning, turn the oven off, let it cool fully, and wipe the inside with dry paper towels. Wear gloves whenever your hand is inside the oven.
The Ooni Koda 2 Pro manual notes that the stones heat more slowly than the air inside, so it recommends an infrared thermometer alongside the Connect hub. The hub’s food probe tip should stay below 250 °C (480 °F), and the hub reads cooking temperatures from -30 °C to 550 °C.
Cook pizza and other dry, bread-based dishes directly on the stones. For meat and vegetables, use Ooni cast iron, Ooni pans or other approved accessories. Never reach in to clear fallen food. Leave it to burn off, then remove it once the oven has cooled. If you want a loaded pie to try first, our meat lovers pizza recipe walks through it step by step.
Shutting Off and Disconnecting the Gas
Turn the dial clockwise until the flame goes out, then shut off the gas supply and disconnect the regulator.
- Rotate the control dial clockwise until it stops and the flame goes out.
- Close the cylinder valve or the regulator valve.
- For a patio cylinder, turn the regulator valve switch to vertical (OFF), then push the release button under the switch. For a POL cylinder, unscrew the regulator clockwise.
- If the cylinder inlet is exposed, fit its dust cap.
Cleaning the Stones, Oven and Storage
Wipe the inside with dry paper towels once the oven is cool. Never put water or chemicals on the stones, and self-clean them at full power for 45 minutes, as the Ooni Koda 2 Pro manual describes.
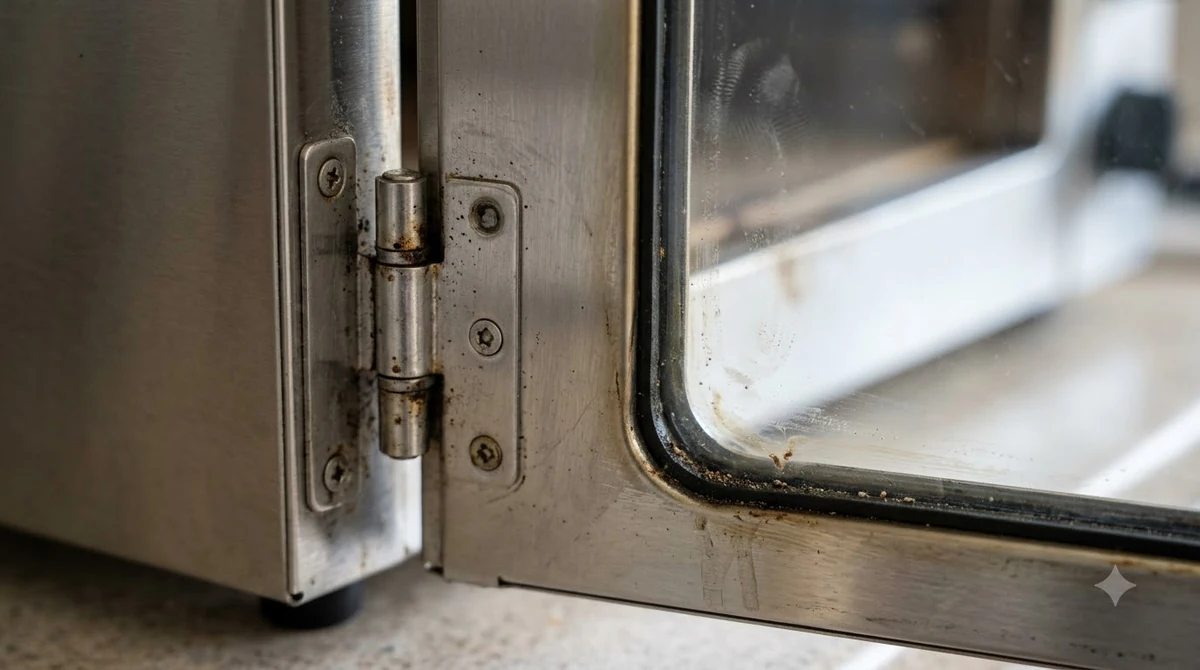
After each use, let the oven cool completely, then wipe the inside surfaces and the burner tubes with dry paper towels. For a deeper clean, the Ooni Koda 2 Pro manual explains how to remove the glass visor with the supplied Torx key. Wear gloves and make sure the oven is cool first.
- Run the oven at full power for 45 minutes with nothing cooking, so food residue turns to ash.
- Let the oven cool completely, then brush the ash away with an Ooni pizza oven brush.
- Turn the stones over between uses. They are double-sided and symmetrical.
Never use chemical cleaners or soaps on the stones, and never pour water onto hot stones, because it can crack them. The Ooni Koda 2 Pro manual says that a change in the stones’ appearance over time is normal.
The outer shell can be wiped with warm, soapy water and dried right away. Our guide to cleaning an Ooni pizza oven covers the routine for other models. For long periods without use, the manual recommends storing the oven indoors and using the Ooni Koda 2 Pro cover.
Frequently Asked Questions
Where do I find the Ooni Koda 2 Pro manual?
Ooni hosts the PDF, and the first section of this guide links to it. Because the editions differ by gas pressure, open the copy that matches your rating plate.
Does this guide cover the US 28 mbar edition?
No. The text read for this guide covers the 30, 37 and 50 mbar editions. Check the rating plate and the manual packed with your oven before any gas step.
What Oven ID does the temperature hub use?
The Ooni Koda 2 Pro manual gives Oven ID 003 for the Koda 2 Pro. Hold the temperature cycle and backlight buttons together for 3 seconds to change it.
Can I cook meat in the Koda 2 Pro?
Yes, but not directly on the stones. Use Ooni cast iron, Ooni pans or other Ooni-approved accessories for meat and vegetables.
What should I do if the oven behaves abnormally?
Turn the oven off and contact Ooni support, as the Ooni Koda 2 Pro manual instructs. If you smell gas, close the cylinder or regulator valve, set the dial to OFF and put out any open flames.
How far should the pizza stones sit from the ground?
The manual recommends about 1.1 m (43 inches). Set the oven on a sturdy surface that can carry its weight.
Read the full Ooni Koda 2 Pro manual before first use and keep it for reference. For fuel questions on the related Ooni Koda 2, see Ooni Koda 2 natural gas, or browse more oven manuals and model guides. If the oven ever operates abnormally, turn it off and contact Ooni support.