
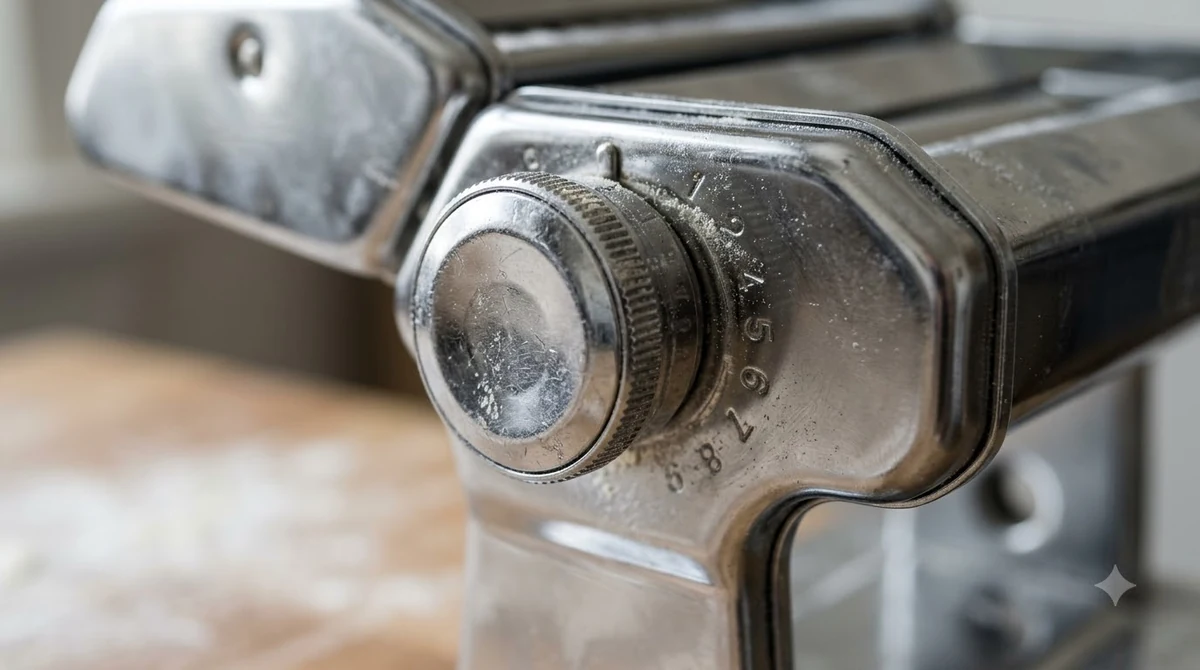

Knowing how to use KitchenAid pasta roller comes down to four steps. You attach the roller to the mixer, knead the dough at speed 2, thin it one setting at a time, and then cut it. The figures below apply to models 5KSMPRA, 5KSMPSA and 5KSMPCA.
The roller is made for pasta dough only, and the mixer must be off and unplugged whenever you attach or remove it. Check your model number first, because the set you own decides which cutters you have.
What Comes in the KitchenAid Pasta Roller Set
The 5KSMPRA set includes the roller plus spaghetti and fettuccine cutters, while the 5KSMPSA ships with the roller alone. The 5KSMPCA set contains capellini and lasagnette cutters without the roller.
The manual lists five attachments in total: the pasta roller, the spaghetti cutter, the fettuccine cutter, the capellini cutter and the lasagnette cutter. It also includes a cleaning brush. Before you plan a batch of noodles, look at the model chart on the second page of the owner’s manual, since a cutter you need may belong to a different model in the range.
Some KitchenAid pasta attachments are sold as different products, so compare the model number on the box or attachment with the manual before you follow any setting in this guide. The ravioli attachment is a separate tool, covered in our guide on how to use the KitchenAid ravioli maker.
How to Attach the Pasta Roller to Your Mixer
Turn the stand mixer off and unplug it before attaching the roller, as the manual’s attaching steps require. The roller then slots into the attachment hub and locks with the hub knob.
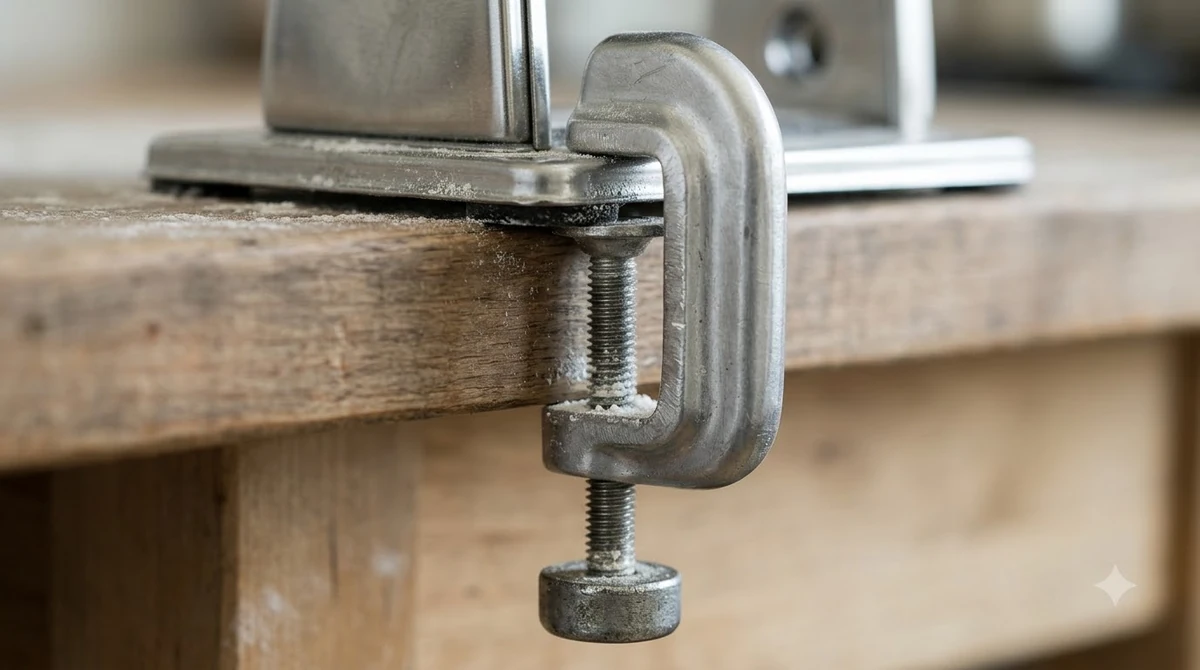
- Turn the stand mixer off and unplug it.
- If your mixer has a hinged hub cover, flip it up. If the cover is removable, turn the attachment knob counterclockwise to take it off.
- Insert the attachment shaft housing into the hub so the power shaft fits the square socket. Rotate the roller slightly if needed. The pin on the housing must sit in the notch of the hub rim.
- Tighten the stand mixer attachment hub knob until the attachment is completely secured.
Do not wash the attachments in water. The manual says the attachments should not be washed or immersed in water or other liquid, and they must not go in the dishwasher. When you finish, turn the mixer off, unplug it, remove the roller or cutter, replace the hub cover and tighten the attachment knob.
Keep loose clothing, ties, scarves and long necklaces away from the moving parts. Gather long hair with a clasp before you start, because the manual says to take these precautions whenever you use the roller and cutters.
How to Use KitchenAid Pasta Roller for Kneading and Thinning
Set the roller to setting 1 and run the mixer at speed 2 to knead the dough, then thin the sheet one setting at a time. The manual’s procedure uses this order for every batch of pasta dough.
The manual refers you to its own recipe section for the dough, and this guide does not include a recipe. If you need a starting point, our fresh pasta dough recipe covers the dough itself. Cut the prepared dough into sections that fit the roller before you start, so each piece passes through without forcing.
- Pull the roller adjustment knob straight out and turn it to setting 1. Release the knob so the pin on the roller housing engages the opening on the back of the knob and the knob sits flush against the housing.
- Turn the stand mixer to speed 2 and feed the flattened dough into the rollers to knead it. Fold the dough in half and roll it again. Repeat until the dough is smooth and pliable and covers the full width of the roller.
- Dust the pasta lightly with flour while you roll and cut it, which helps it dry and keeps the pieces from sticking. KitchenAid’s product tips also advise sprinkling a little flour on each piece before it goes through.
- Feed the dough through the rollers again to flatten the sheet, and change the roller to setting 3. Repeat the rolling, then keep raising the setting until you reach the thickness you want.
Do not fold the dough while you thin it, because the manual says not to fold during this step; folding belongs to the kneading step at setting 1. Expect the sheet to grow longer with each pass, so support it as it comes out of the rollers.
The manual gives no millimetre value for each roller setting, so judge the thickness by the sheet itself and by the noodle type you plan to make. Use the settings chart below as the guide for choosing where to stop.
KitchenAid Pasta Roller Settings Chart
The roller has eight settings, and the manual suggests settings 4 or 5 for lasagna noodles, fettuccine, spaghetti and ravioli. Settings 1 or 2 are for kneading and early thinning, while 7 or 8 are for the thinnest pasta such as capellini.
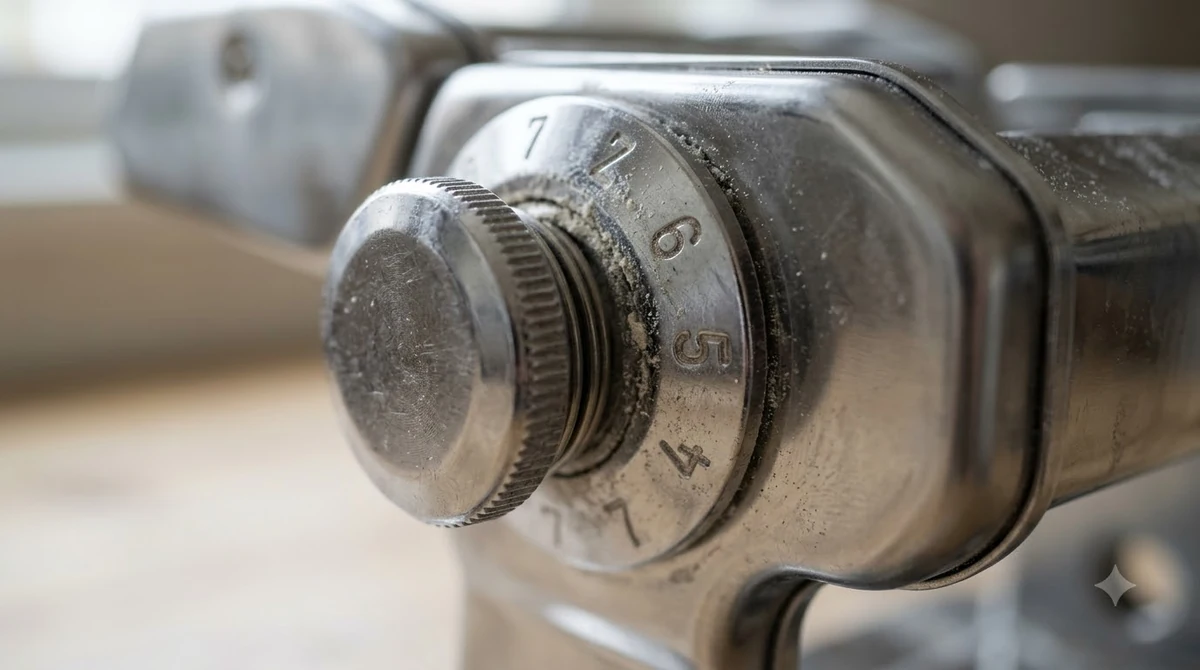
The chart below summarises the roller settings chart in KitchenAid’s official Pasta Roller and Cutter Set manual. Work up one setting at a time, following the order of the chart, instead of jumping straight to a thin setting.
| Roller setting | Suggested uses |
|---|---|
| 1 or 2 | Kneading and thinning dough |
| 3 | Thick “kluski”-type noodles |
| 4 | Egg noodles |
| 4 or 5 | Lasagna noodles, fettuccine, spaghetti and ravioli |
| 6 or 7 | Tortellini, thin fettuccine and linguine fini |
| 7 or 8 | Very thin “angel-hair”-type pasta, capellini or very fine linguine |
If you want to make spaghetti, set the roller to 4 or 5 first, then switch to the spaghetti cutter. Settings 6 to 8 are for the thinner shapes, such as tortellini, linguine fini and capellini, rather than standard spaghetti. For the cut itself, see our guide to spaghetti pasta and how it is served.
Cutting Noodles With the Cutter Attachments
Cutter attachments run at their own mixer speed: speed 3 for the lasagnette cutter, speed 5 for the fettuccine cutter, and speed 7 for the spaghetti and capellini cutters. Change the speed when you swap from rolling to cutting.
To make noodles, swap the roller for the cutter you want and feed the flattened sheets through it. Check the correct roller thickness in the settings chart before you start, because the cutter only shapes the sheet you give it.
| Attachment | Mixer speed | Noodle width | Suggested uses |
|---|---|---|---|
| Pasta roller | 2 | Up to 140 mm | Kneading and thinning dough |
| Lasagnette cutter | 3 | 12 mm | Thick noodles |
| Fettuccine cutter | 5 | 6.5 mm | Egg noodles and fettuccine |
| Spaghetti cutter | 7 | 2 mm | Spaghetti, thin fettuccine and linguine fini |
| Capellini cutter | 7 | 1.5 mm | Angel-hair pasta, capellini and very fine linguine |
The lasagnette cutter gives the widest noodle in the set, while the capellini cutter gives the thinnest, so pick the cutter by noodle width. Our capellini pasta guide explains where that very thin cut fits.
Cleaning and Care After Each Use
Let the roller and cutters air dry, then remove dried dough, and never wash them in water or the dishwasher. The manual sets out these rules for keeping the attachments in good condition.
- Turn the mixer off, unplug it and remove the roller or cutter before cleaning.
- After cutting, let the roller and cutters air dry for one hour, then remove dried dough with the cleaning brush. Tap the attachment or use a toothpick if dough is stuck.
- Never use metal objects, a knife or a cloth pushed through the rollers to clean them. Polish with a soft, dry cloth and store in a dry place.
- Do not wash or immerse the attachments in water or other liquid, and do not put them in the dishwasher.
- Use the set only for pasta dough, because cutting or rolling anything else can damage the attachments.
The set includes a cleaning brush, which is the right tool for removing dough that has dried into the rollers. For the full routine, see how to clean a KitchenAid pasta roller. If you prefer a hand-crank machine, our guide on using an Imperia pasta machine covers that setup.
Frequently Asked Questions
What mixer speed should I use with the KitchenAid pasta roller?
Use speed 2 for kneading and rolling with the pasta roller. The manual’s speed chart lists speed 2 for the roller, and the cutters run at higher speeds, such as 5 for fettuccine and 7 for spaghetti and capellini.
Which setting should I use for spaghetti?
The settings chart suggests setting 4 or 5 for spaghetti, along with fettuccine, lasagna noodles and ravioli. Feed the sheet through the spaghetti cutter at speed 7 once the dough is thin enough, and check the chart before you choose a setting.
Can I wash the pasta roller in the dishwasher?
No. The manual says not to wash the attachments in the dishwasher and not to immerse them in water or other liquid. Remove dried dough with the cleaning brush included in the set instead.
Can I roll other types of dough with it?
No. The manual says the attachments are designed to be used with pasta dough only, and rolling or cutting anything other than pasta can damage them. Use a separate tool for bread or pizza dough.
Do I need to turn the mixer off before attaching the roller?
Yes. Turn the stand mixer off and unplug it before attaching or removing the roller or a cutter, as the manual’s attaching steps require.
Start your first batch on setting 1 at speed 2, then move up one setting at a time until the sheet reaches the thickness you want. If your model is not in the chart, check its number in the manual before you assume these settings apply.