
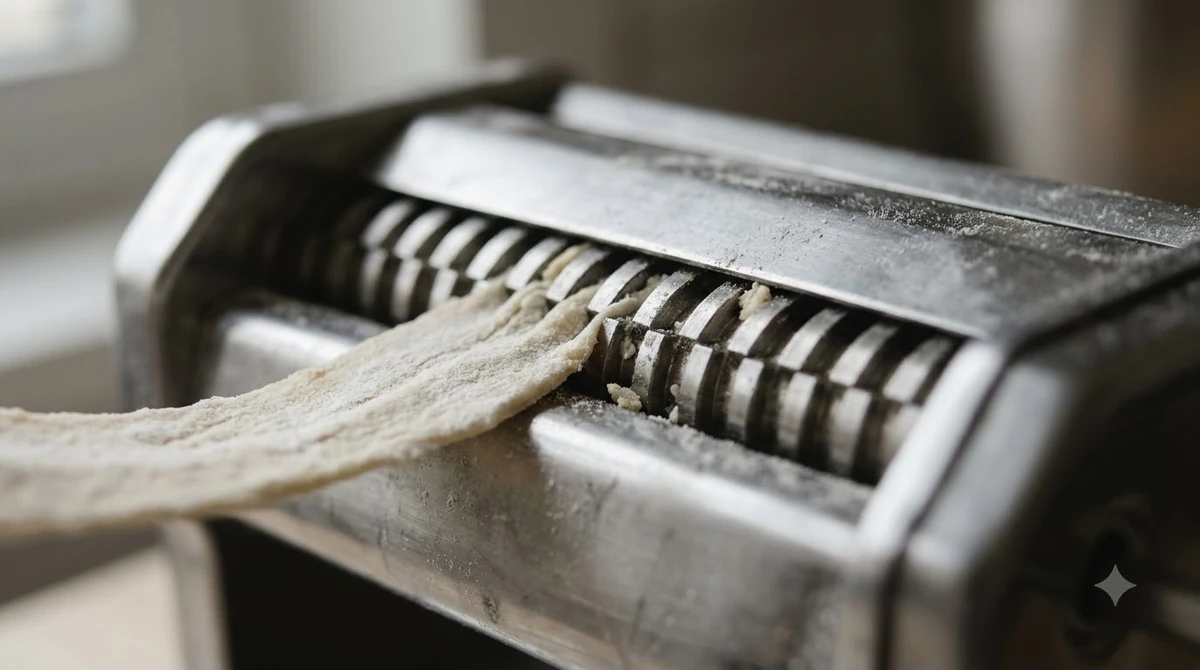

How to clean KitchenAid pasta roller parts comes down to three rules: unplug the mixer, let dried dough air dry for one hour, and never soak the parts or use the dishwasher. The official KitchenAid manual for the 3-in-1 Pasta Attachment sets these rules for both the rollers and the cutters. Following them keeps dried dough from building up between sessions. If you use a different brand, our guide on how to clean a pasta machine covers the general routine, and the Marcato Atlas 150 manual guide covers a hand-crank machine.
Why Dried Dough Is the Main Problem When You Clean a KitchenAid Pasta Roller
The core of how to clean KitchenAid pasta roller parts is removing dried dough. Dough left on the rollers dries hard, so the manual makes removing dried dough the core of the cleaning routine. Clean the attachment after each session, once it has cooled.
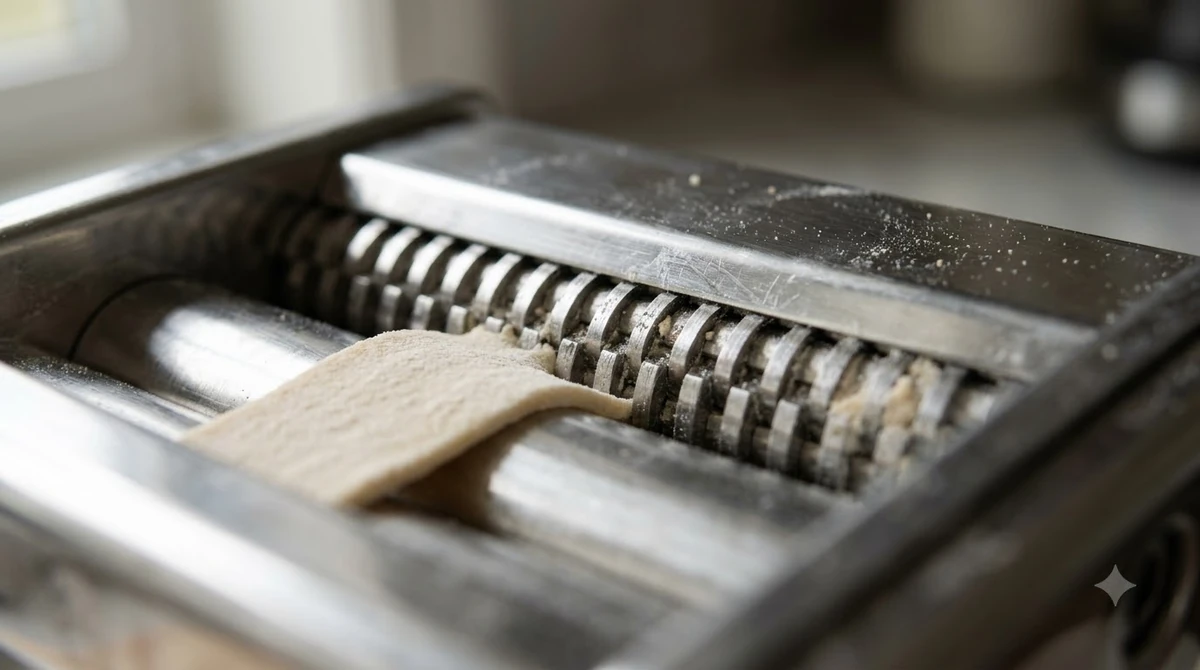
The manual says that after you remove the pasta attachment from the stand mixer, you should clean any dried dough off it before storing it. That is the first thing to know about how to clean KitchenAid pasta roller parts: dough that is cleaned the same day is easier to brush away than dough that has been left on overnight, because it has had less time to harden in the grooves between the rollers and cutters.
Learning how to clean KitchenAid pasta roller parts is a short routine, but it works best when you treat it as the last step of every pasta session, not a task for later. Set the attachment aside, let the dough dry, and then brush it clean.
The manual notes that the attachment is designed mainly for pasta dough, but it can also be used with other doughs, including pizza dough, naan, and roti. If you switch doughs, check the rollers for leftover residue before you start, since any dough that dries on them has to be brushed off the same way.
How to Clean KitchenAid Pasta Roller Step by Step
Turn the mixer off, unplug it, and let the attachment cool completely before you touch the rollers. The manual lists these as safety steps before any cleaning begins.
- Turn the stand mixer off at the 0 setting, unplug it, and detach the pasta attachment. Allow everything to cool completely first.
- Let any dried dough air dry on the attachment for one hour. The manual sets this waiting time before brushing.
- Remove the dried dough with the cleaning brush included with the attachment. Use the pick side of the brush for stubborn spots. If the dough is hard to remove, gently tap the attachment with your hand.
- Polish the attachment with a soft, dry cloth, then store it in a dry place at room temperature.
If you wonder how to clean KitchenAid pasta roller attachments with the least effort, these four steps are the whole routine. The full instructions are in the KitchenAid 3-in-1 Pasta Attachment owner’s manual, which also says to clean all parts by hand before the first use. For routine cleaning, the brush and a dry cloth do most of the work, so you rarely need anything else. Those two tools cover most of how to clean KitchenAid pasta roller parts without risk, and they also work on the cutter attachments you use for fettuccine.
Keeping Dough From Drying on the Rollers
Lightly dusting the pasta with flour while you roll and cut it helps prevent sticking, according to the manual. Fewer sticky spots means less dough left to dry and brush off later.
The manual also has a roller settings chart that matches each setting to a pasta type. Settings 1 or 2 handle kneading and thinning dough, setting 4 suits egg noodles, and settings 7 or 8 are for very thin angel hair style pasta. Check the chart before you feed dough through the rollers, since dough that feeds smoothly leaves less residue to clean.
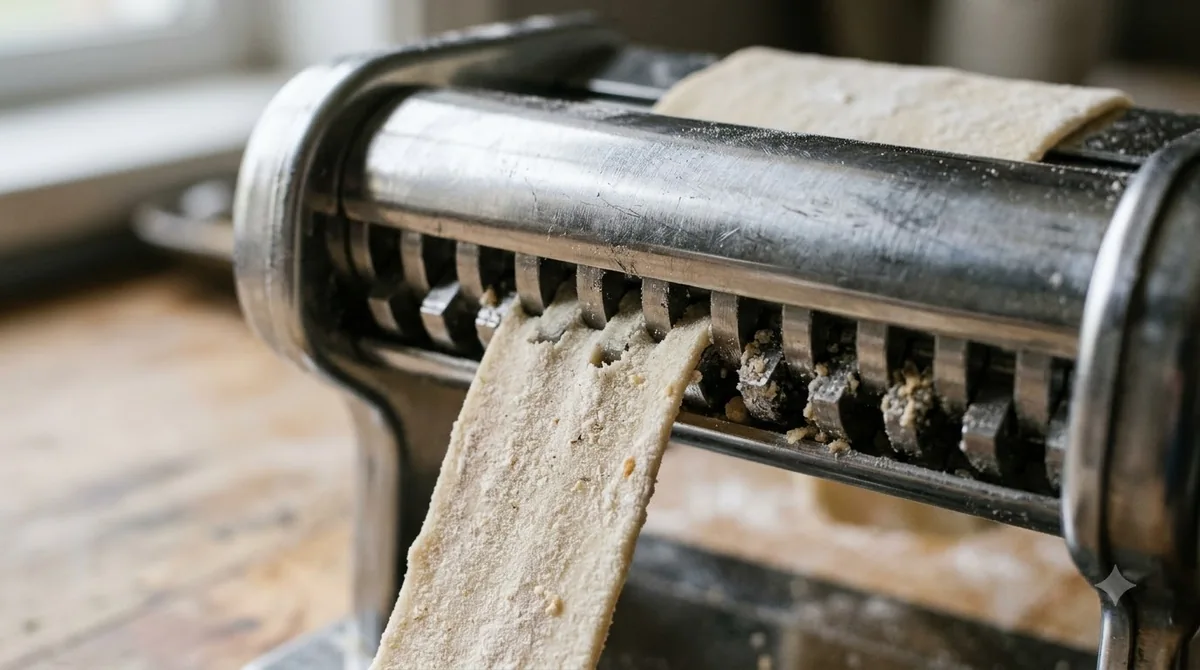
The manual also gives simple habits that reduce the cleanup work, and they make how to clean KitchenAid pasta roller parts a quicker job:
- Divide the dough into portions of 100 to 150 grams.
- Cover the portions you are not using so they do not dry out.
- Dust the sheet lightly with flour while rolling and cutting.
- Do all rolling and cutting at speed 4, as the manual specifies.
These habits do not replace cleaning. If you also use the extruder attachment, see our KitchenAid pasta extruder recipes for shapes that need a different cleaning routine. They only cut down how much dough hardens on the metal between sessions, so the brush step stays necessary.
Dough that is too sticky causes a different problem. The manual says that if pasta sticks together during cutting, the dough is likely too sticky. Return it to the stand mixer, add 1/4 cup (30 grams) of flour, and knead with the dough hook on speed 2 until the flour is incorporated. Then reroll the pasta to the thickness you want.
What Never to Use on the Pasta Roller
Metal objects, knives, dish towels, water, and the dishwasher are all off limits for cleaning the pasta roller. Using any of them can damage the attachment or leave residue in the rollers, so keep this list in mind whenever you read advice on how to clean KitchenAid pasta roller parts.
- Metal objects to clean out the attachment.
- A knife or any other sharp object to remove excess dough.
- A dish towel or any other cloth run through the rollers.
- Water, other liquids, or the dishwasher.
KitchenAid’s online help makes one exception: a toothpick may be used on stuck dough if needed. Start with the brush and gentle tapping, and reach for the toothpick only after those fail. That order is the safest answer to how to clean KitchenAid pasta roller parts when dough has stuck hard.
How to Clean KitchenAid Pasta Roller Gears With Oil Once a Year
The manual calls for one drop of light mineral oil at each point where a roller or cutter connects with the housing, once a year or after every 50 uses.
- Detach the attachment from the stand mixer and place it on a flat surface.
- Remove the top cover.
- Apply a single drop of light mineral oil to each roller or cutter connection point shown in the manual’s illustration.
KitchenAid’s online help page for the pasta roller describes the oil points differently, with one drop at each of the four far corners of the rollers or cutters. If your model’s manual shows a different layout, follow the diagram in your own manual. Oiling once a year is the last step in how to clean KitchenAid pasta roller gears and keep them turning smoothly.
What to Do If the Rollers Stop Turning
If the rollers stop turning while the mixer keeps running, the manual says the shear pin may be damaged. In that case, the manual directs you to contact KitchenAid for service.
Before you assume a fault, and before you repeat the steps of how to clean KitchenAid pasta roller parts, the manual suggests checking a few things:
- Confirm the speed matches the Roller Settings Chart for the thickness you need.
- Check that the attachment is seated in the hub as shown in the Product Assembly steps.
- Make sure the dough was prepared according to the recipe, and that you followed the Product Usage steps.
If the mixer itself will not start, turn it off, wait 10 to 15 seconds, then turn it back on. If it still does not start, let it cool for 30 minutes before trying again. If the problem remains, call KitchenAid at 1-800-541-6390 or use the service support page at KitchenAid.com. Do not return the product to the retailer, since retailers do not provide service.
Frequently Asked Questions
Can I put the pasta roller in the dishwasher?
No. When you learn how to clean KitchenAid pasta roller parts, the manual says not to wash the pasta attachment in the dishwasher and not to immerse it in water or other liquids. Routine cleaning should rely on the included cleaning brush and a soft, dry cloth.
How long should I wait before I clean a KitchenAid pasta roller?
Before you clean a KitchenAid pasta roller, let the parts air dry for one hour, according to the manual and KitchenAid’s online help. After that, remove the dried dough with the cleaning brush. If the dough is still stuck, gently tap the attachment with your hand.
Is it safe to use a toothpick when you clean a KitchenAid pasta roller?
Yes, as a last resort when you clean a KitchenAid pasta roller. KitchenAid’s online help says a toothpick may be used if needed. The manual rules out knives and other sharp objects for removing excess dough, so keep any tool small and gentle.
Should I clean the attachment before the first use?
Yes. The manual says to clean all parts and accessories by hand before using the pasta attachment for the first time, which is the first lesson in how to clean KitchenAid pasta roller parts. Use the cleaning brush and a soft, dry cloth, and keep water and the dishwasher out of the process.
How often should I oil the gears?
Once a year or after every 50 uses, using light mineral oil, according to the manual. This oiling is the one step in how to clean KitchenAid pasta roller attachments that is not done after every session. Apply one drop at each connection point, and check the diagram in your own manual for the exact spots.
What should I do if the rollers stop turning?
The manual, which is the best reference for how to clean KitchenAid pasta roller attachments and troubleshoot them, says a damaged shear pin may be the cause when the rollers stop but the mixer keeps running. Call KitchenAid at 1-800-541-6390 or use the service support page at KitchenAid.com. Do not return the product to the retailer, because retailers do not provide service.
Make cleaning part of every pasta session, because knowing how to clean KitchenAid pasta roller parts early prevents most of the hard work. Set the attachment aside to air dry, brush it clean, and polish it dry before storing it. Keep the owner’s manual with the attachment so you can check the oil points once a year.