
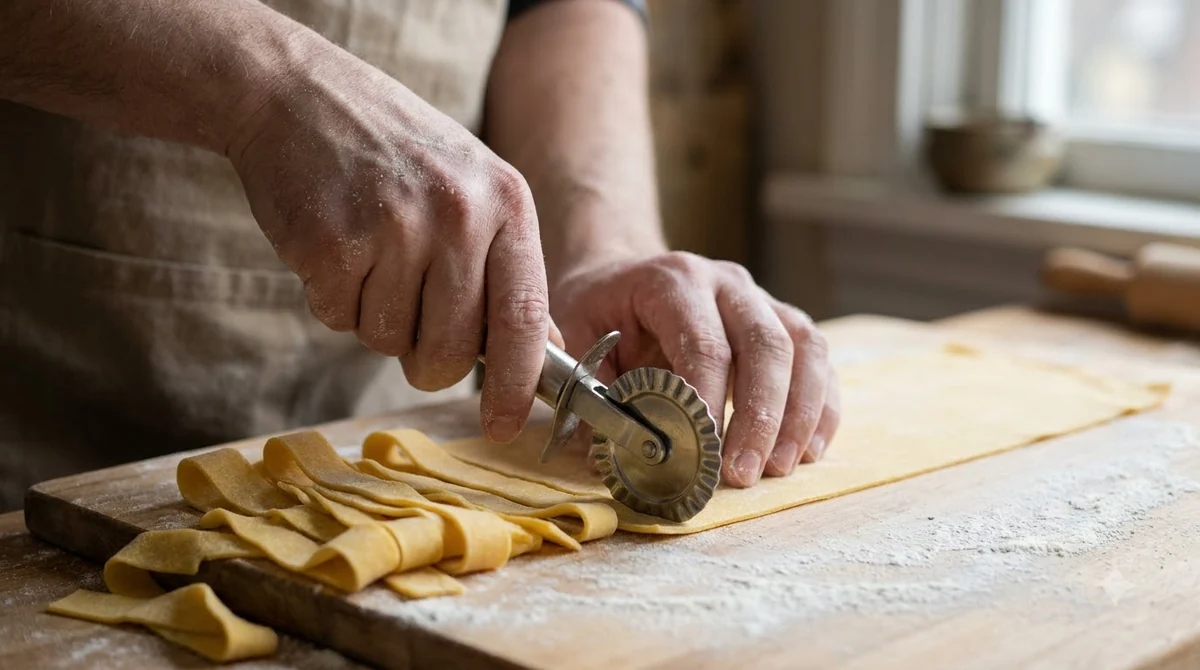

Homemade shells are small pasta shapes you make from a simple flour and water dough, shaped by hand so they curl into a shell. Most shells sold in stores are made from durum wheat and dried. At home, a firm dough, a small portion of dough at a time and a light dusting of flour are enough to get a good shape. The shells are then rested, cooked in salted water and tossed with a sauce that can sit in the cups.
What Homemade Shells Are
Shells, known in Italian as conchiglie, are a shape with a hollow center and a curved outer surface. The hollow holds sauce, and the shape suits chunky fillings. A homemade version does not need a machine, although the shape is harder to make evenly than a flat noodle.
According to The Pasta Project’s overview of conchiglie, the pasta is usually sold dried in a plain durum wheat variety, because hard durum wheat holds its shape during cooking. That is a useful guide when you make your own, because the dough needs enough structure to keep the shell from collapsing.
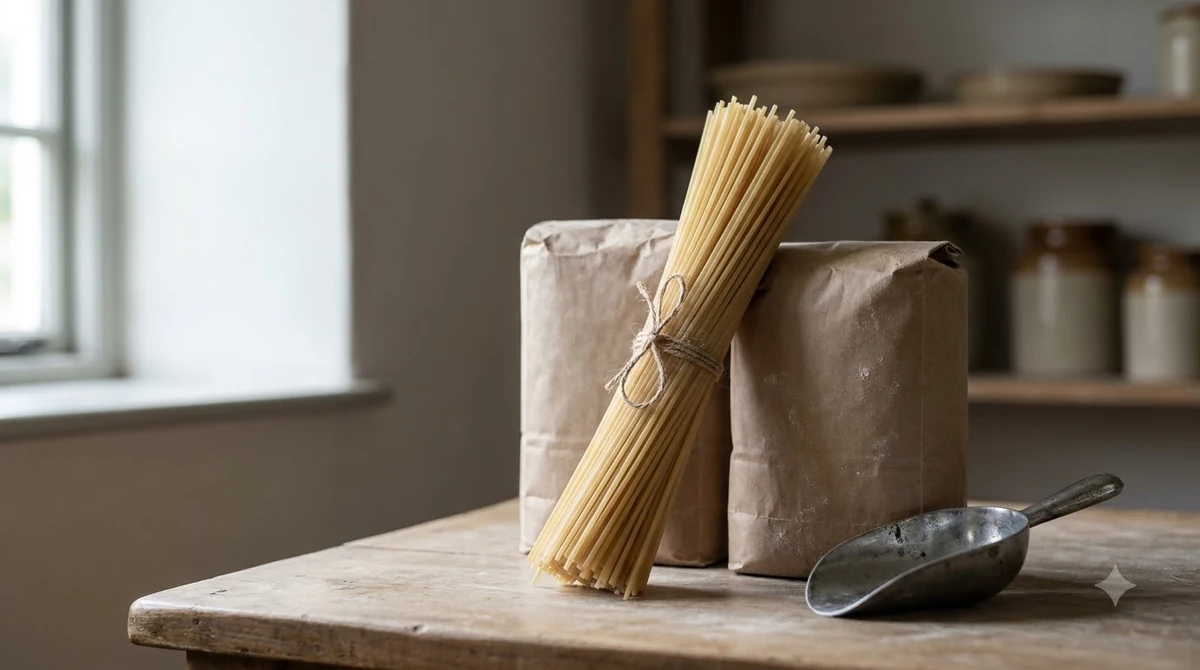
Homemade shells are closer in spirit to hand-shaped pasta such as cavatelli or orecchiette than to long noodles. Each piece is shaped separately, so small differences between shells are normal.
The Dough for Homemade Shells
A simple dough is enough for homemade shells. Semolina and water, or a mix of semolina and a little all-purpose flour, gives a firm dough that holds its shape. Egg dough is softer and tends to be better for flat pasta, so it is less ideal for small shapes that need to hold a curl.
Pasta Academy’s guide gives a flour and water ratio of about 50 ml of water for every 100 grams of flour per person, using semola di grano duro. It recommends this dough for smaller, hand-dragged shapes such as orecchiette, trofie, cavatelli and malloreddus. Add water a little at a time, because the amount depends on the flour and the humidity in your kitchen.
Mixing and Resting the Dough
Mix the flour and water until a dough forms, then knead until smooth and firm. Wrap the dough and let it rest for at least 15 minutes at room temperature. If you make it ahead, keep it in the fridge for up to a day, then bring it back to room temperature for about an hour before shaping.
How to Shape Homemade Shells
Shaping is the hardest part. The common home method is to roll the dough into a thin rope, cut it into small pieces and press each piece so it curls into a shell. A second method wraps the dough around a knife and rolls it toward your body, which gives the curl a shell form.
Work with small batches. Keep the rest of the dough covered, because dry dough cracks at the edges. A light dusting of semolina helps the pieces release from the board without sticking.
- Roll a piece of dough into a rope about the thickness of a pencil.
- Cut the rope into small pieces, about the size of a fingertip.
- Press and roll each piece so one side curls, then pinch the other side closed.
- Set the shells on a floured tray in a single layer and let them dry before cooking.
Drying and Cooking Homemade Shells
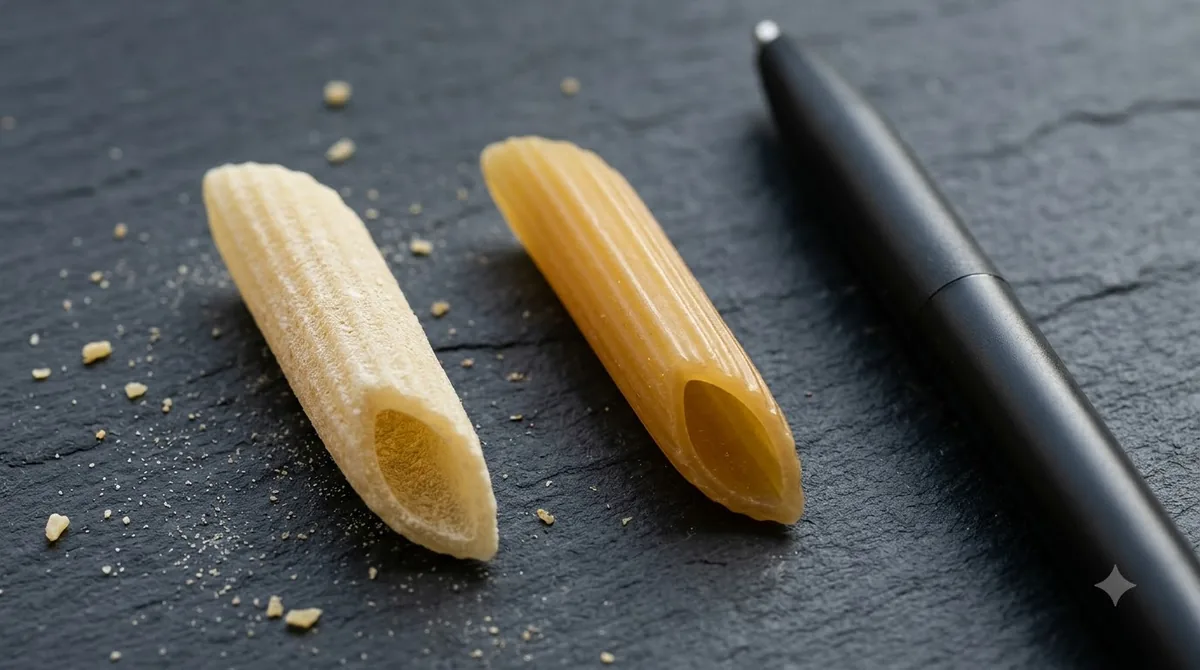
Let the shells rest and dry for a short period before cooking, so they keep their shape in the water. The exact drying time depends on your kitchen and how thick the shells are, so check the surface rather than the clock. Do not let them dry out completely if you plan to cook them the same day.
Cook the shells in a large pot of salted water until tender with a slight bite. Homemade shells have no fixed cook time in the sources used here, so taste a piece from the pot before you drain. Drain them well and toss them with sauce while they are still hot, so the sauce settles into the cups.
Tips for Better Homemade Shells
Consistency makes the biggest difference. Shells made from the same size of dough cook at the same rate and look more even on the plate. Keep a small bowl of semolina nearby, and wipe the board between batches so old flour does not stick to the pasta.
Serve homemade shells with a sauce that has some body, such as a meat ragù, a chunky tomato sauce or a simple pesto with peas. The cups catch small pieces of sauce, so a smooth, thin sauce will run off the pasta. Add a spoonful of cooking water to loosen a thick sauce, and finish with grated cheese so the shells stay coated.
Store uncooked shells in a single layer on a tray, uncovered until they are dry to the touch, then move them into an airtight container. Cook them soon after shaping for the best texture, and check the storage advice for any dried pasta you buy.
Frequently Asked Questions
Can you make shells without a pasta machine?
Yes. Homemade shells are shaped by hand from a small piece of dough, so a machine is not needed. A rolling pin and a board are enough.
What flour is best for homemade shells?
Semolina made from durum wheat holds its shape best. It is the flour used in the flour and water dough recommended by Pasta Academy.
Do homemade shells need egg?
Not necessarily. A flour and water dough is firm and works well for small shapes. Egg dough is softer and is better suited to flat pasta.
How long do homemade shells take to cook?
The sources used for this guide do not give a fixed cook time for homemade shells. Taste a piece from the pot as it cooks, and drain it while it still has a slight bite.
Homemade shells take a little patience, but a firm durum dough and small, even pieces are enough to get a good result. Start with a small batch, practice the curl and cook a few to check the texture before you make a full batch.
 9 min readLearnLagane Pasta: Origins, Shape and a Homemade RecipeUpdated Nov 6, 2026
 8 min readLearnLumaconi Pasta: The Large Shell Pasta Built for Stuffing and BakingUpdated Nov 10, 2026
 7 min readLearnJumbo Shells Pasta: What They Are and How to Cook ThemUpdated Nov 10, 2026
 8 min readLearnLumache Pasta: The Shell-Shaped Pasta ExplainedUpdated Nov 10, 2026
 8 min readLearnShells Pasta: What They Are and How to Cook ThemUpdated Nov 7, 2026
 6 min readLearnHomemade Tortellini: How to Shape Them Step by StepUpdated Nov 13, 2026