
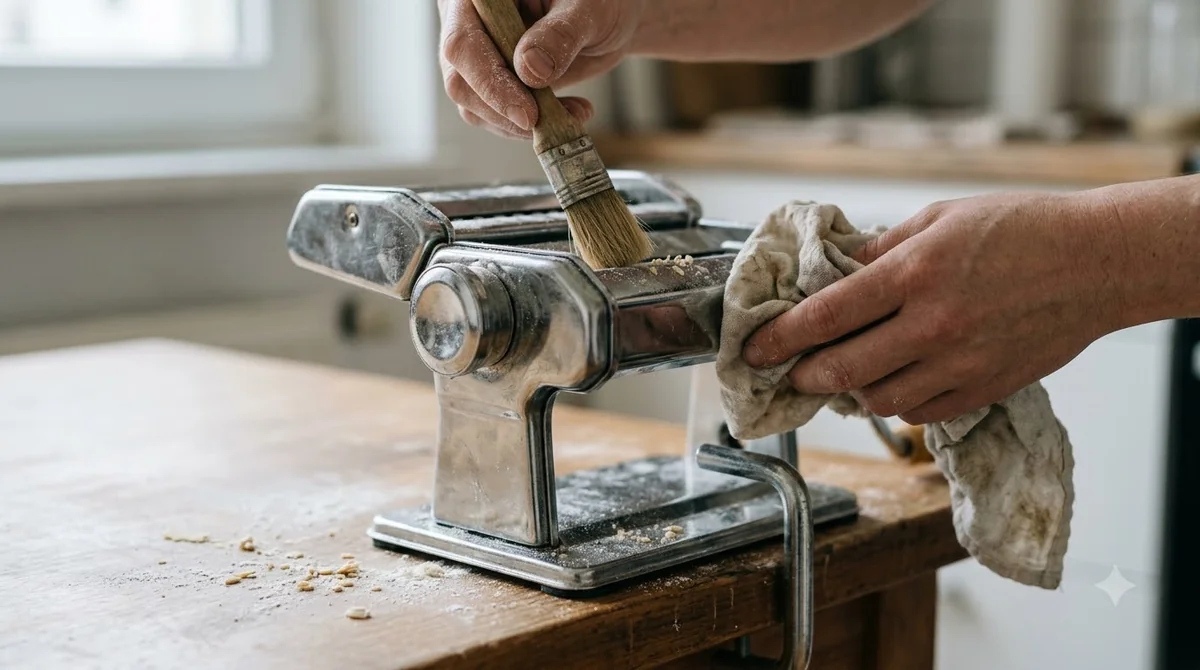

To clean a pasta cutter, brush off the loose dough first, then remove the cutter from the base only if residue is still trapped between the blades. Clean the rods and plastic combs with a dry cloth or cold water, let every part dry completely, and never put it in the dishwasher. Clean it soon after use, while the dough is still soft.
A cutter attachment is one of the easiest parts of a pasta machine to neglect. Dough left between the cutters hardens, and that residue can jam the next batch or leave uneven strands.
Why Does Dough Build Up in the Cutter?
Flour and dough collect in the narrow gaps between the cutting blades, and the moisture in fresh pasta makes it stick. Once it dries, it becomes a crust that is much harder to remove.
King Arthur’s cleaning guide warns that trapped dough affects the quality of the pasta, and it can cause the machine to jam. The simplest prevention is to clean the cutter right after each batch, before the dough has time to set.
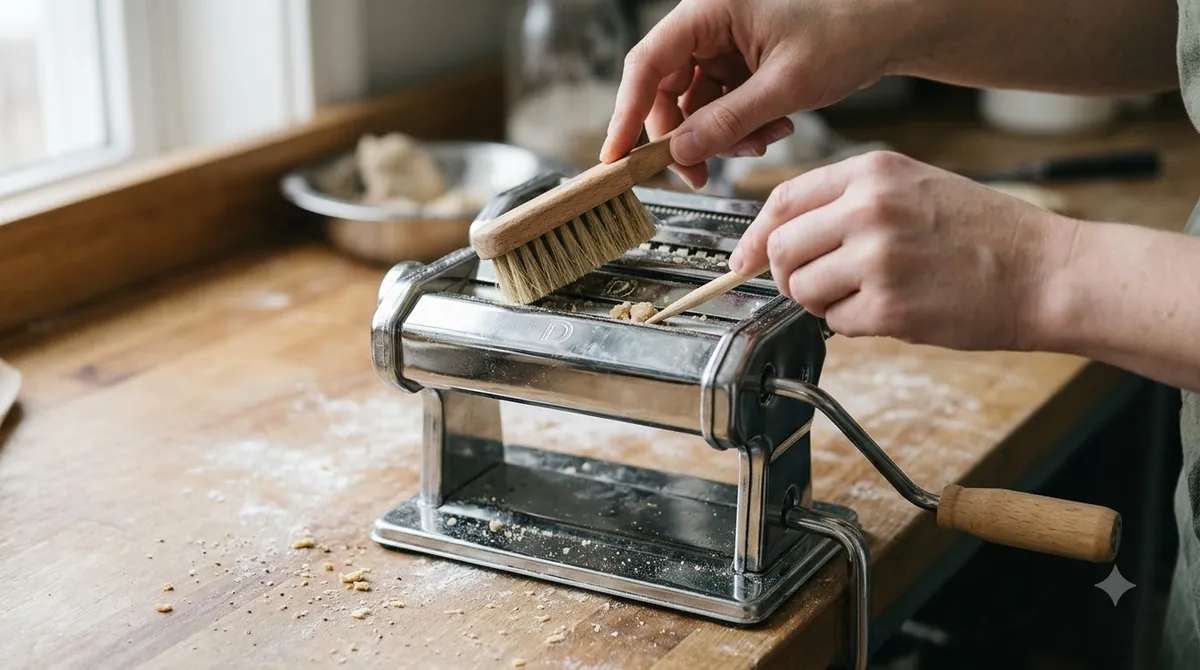
Dough residue can also carry flour and stale bits into fresh pasta, so a clean cutter is worth the few extra minutes.
What Should You Clean First?
Start with the simplest method: brush or wipe the outside of the base and cutter with a dry cloth or soft brush, and remove as much loose dough as you can.
Pasta Evangelists recommends brushing the inside of the machine as well, and gently pressing a small ball of clean polymer clay over the dried dough so it sticks and lifts away. Do not use a knife or any other sharp object, because metal tools can scratch the surface.
How Do You Take the Cutter Apart?
Only take the cutter apart if brushing does not clear the residue. Before you start, make sure the machine is unplugged and any hand crank or clamp is removed, so your fingers stay clear of the rollers.
- Detach the cutter attachment from the base, flip it over, and push each long metal rod sideways to release it.
- Lift the plastic combs straight up and off, rather than pulling them sideways.
- Brush the exposed cutters and remove any residue from between them.
- Clean the rods and combs with a dish towel or microfiber cloth, or rinse them in cold water.
- Wash the scrapers in cold water, then dry every component fully before reassembling.
When you put it back together, set each comb over its roller and insert the rods in reverse order. Press each rod down until it seats at both ends.
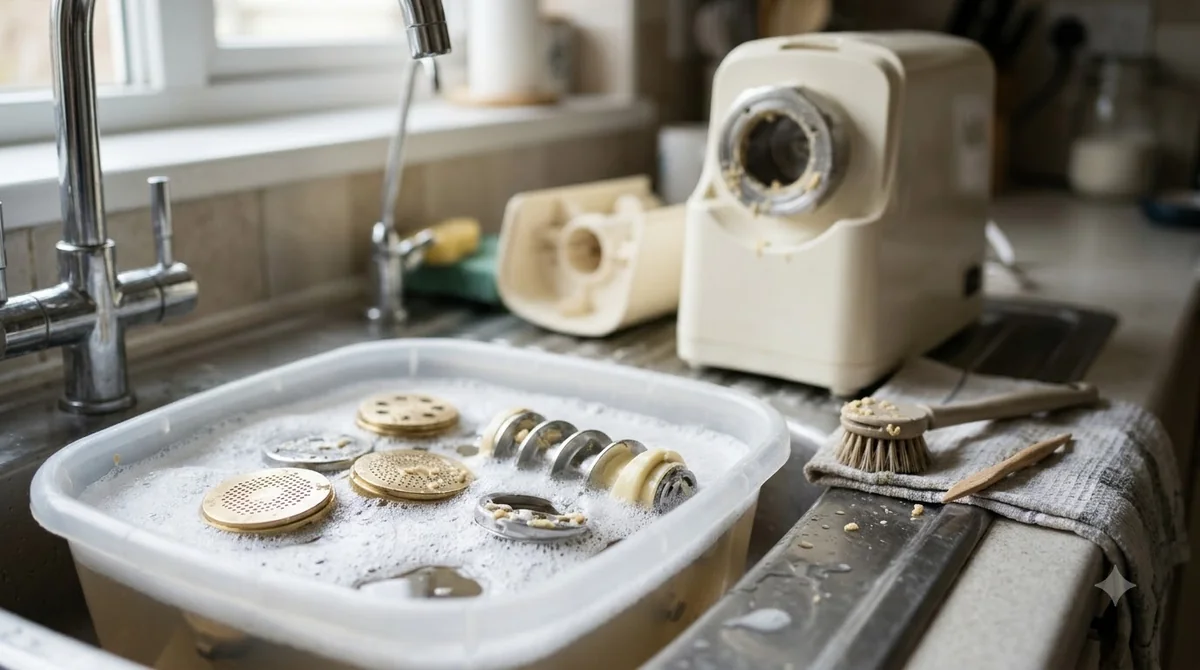
Cleaning a Hand-Crank Machine vs. a Motorized One
Manual machines and motorized attachments share the same basic parts, but the order of work differs slightly. On a manual machine, remove the clamp and hand crank first, so the rollers and cutter are easy to reach and nothing can catch while you clean.
On a motorized attachment, switch off and unplug the unit before touching any part. Keep the motor base dry, and clean only the removable components. Never submerge the base or run it under a tap, because water can reach the electrical parts.
In both cases, the cutter is the part most likely to hold moisture. Dry it completely before the machine goes back together, and store it in a dry place so that no damp dough stays in the gaps.
What Should You Avoid?
Keep the cutter away from the dishwasher, because heat and detergents can damage the parts. Pasta Evangelists also advises keeping wet cloths and running water away from the inside of the machine.
Avoid harsh all-purpose cleaners, since residue from chemicals can get into the next batch of pasta. King Arthur also advises against excess water, because it can damage the machine. For sticky, hardened dough, a very small amount of mild soap in warm water is the most that is needed, followed by a thorough rinse and a complete dry.
How Often Should You Deep Clean It?
A quick brush after every batch keeps most dough from building up. A full disassembly is only needed when residue stays between the blades, which is usually after a very wet dough or a batch that was left to dry on the machine.
A simple routine helps: brush the cutter while the dough is still soft, wipe the outside with a dry cloth, and store the machine with the cutter fully dry. Doing this straight after cooking takes only a few minutes and saves a longer job later.
How Do You Dry and Store It?
Dry every part completely before reassembling. Any moisture left in the grooves can cause rust or mold, especially on metal components.
Polish the cutter with a soft, dry cloth and store the machine somewhere dry at room temperature. Store the cutter assembled only once it is fully dry, so no damp dough stays trapped inside.
Frequently Asked Questions
Can I run scrap dough through the cutter to clean it?
Some guides suggest passing a flattened disc of scrap dough through the rollers on the widest setting to pick up leftover residue. This works best on the roller, so check the cutter by eye afterward.
Should I oil the cutter?
Check your manufacturer’s instructions first. Some guides warn against machine oil on the rollers, and routine cleaning does not require it.
Can I use a toothpick between the cutters?
Yes, a wooden skewer or toothpick is a gentle way to lift dried dough from the crevices. Keep the tool soft and avoid anything sharp enough to scratch the metal.
How often should I clean the cutter?
Clean it after every batch of pasta. A quick brush takes only a minute, and it prevents the dough from hardening into residue that needs disassembly.
A pasta cutter stays in good shape when it is brushed after each use, taken apart only when needed, and dried fully before storage. Keep water and harsh products away from the parts, and the cutter will keep producing even strands batch after batch.
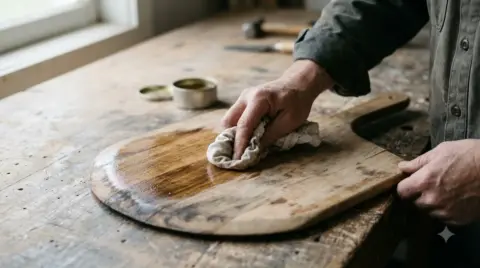 7 min readLearnHow to Clean Wooden Pizza Peel Without Warping ItUpdated Nov 10, 2026
 9 min readLearnHow to Clean Ooni Pizza Oven Step by StepUpdated Nov 6, 2026
 6 min readLearnHow to Make Pappardelle by Hand Without a Pasta MachineUpdated Nov 13, 2026
 5 min readLearnHow to Make Pasta by Hand Without a MachineUpdated Nov 13, 2026
 9 min readLearnHow to Thicken Pasta Sauce Without Ruining the FlavorUpdated Nov 12, 2026
 9 min readLearnHow to Make Pasta Without a MachineUpdated Nov 10, 2026