
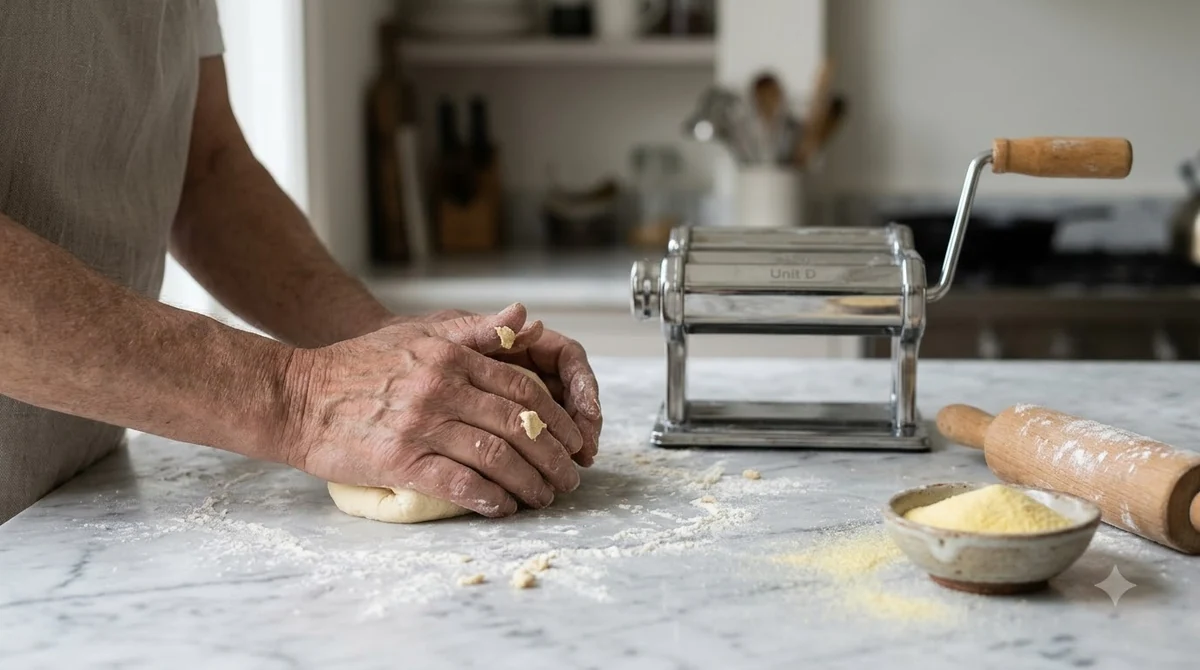

Knowing how to make focaccia with biga comes down to building a stiff pre-ferment a day ahead, then mixing it into a dough that rises slowly. The biga adds flavour and an open, chewy crumb, while the final dough is baked in an oiled pan at a high temperature for a golden top. The method takes planning, but the hands-on time is short.
Biga is an Italian pre-ferment made from flour, water and a small amount of yeast, mixed stiff and left to ferment before the main dough. Focaccia is a flat, oiled bread from Liguria, usually dimpled with the fingers and finished with olive oil and salt. Combining the two gives a focaccia with more depth than a straight dough, and it suits a home cook who has a free evening to start the process.
What Is Biga and Why Use It in Focaccia?
Biga is a stiff pre-ferment, and it gives the final bread flavour that a same-day dough cannot match.
The Glowen academy guide to making biga describes it as a stiff pre-ferment that can be left for 1 to 1.5 hours or for 24 to 48 hours, depending on how much flavour you want. A longer ferment builds more complex, slightly tangy notes. The biga is then mixed into the final dough, which means the flour gets a head start before the main rise begins.
For focaccia, the biga improves the open texture as well as the taste. The yeast in the biga has already been working, so the final dough rises with a good structure and a light, airy crumb.
How Do You Make the Biga for Focaccia?
Mix the biga the day before, keep it stiff, and let it ferment in a cool place until it is bubbly and risen.
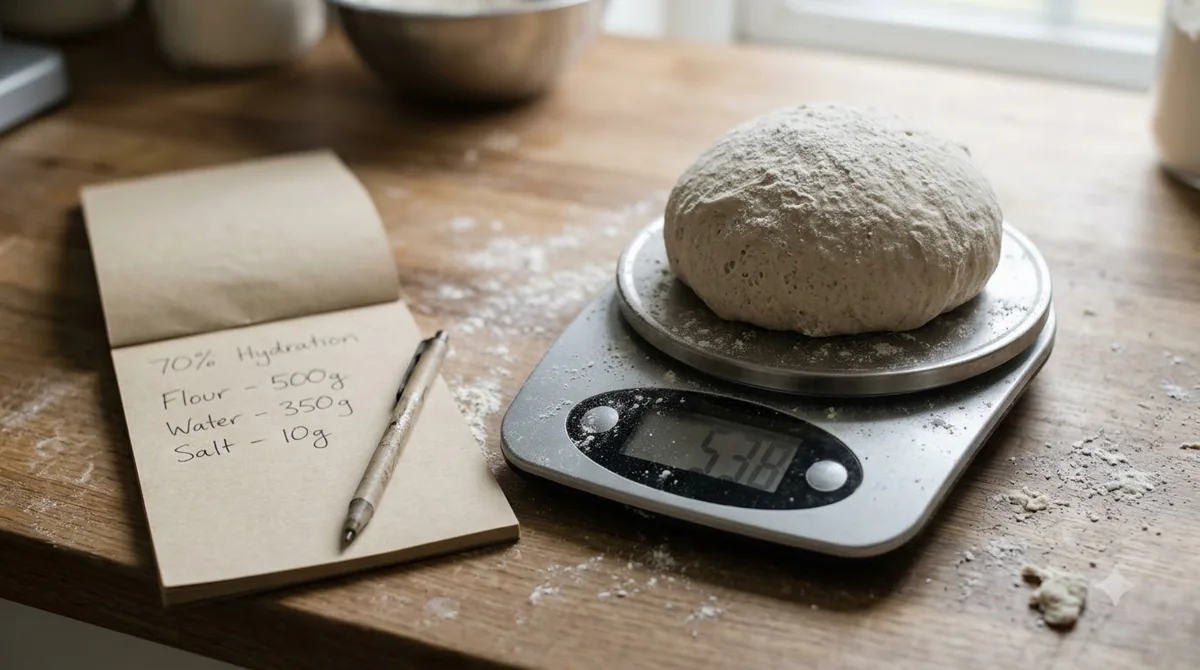
A stiff biga has less water than a poolish, so it is firmer and easier to store. As a ratio reference, the Gozney biga pizza dough recipe uses 1 kg of flour, 450 g of water and 10 g of yeast, fermented for 16 to 18 hours at 16 to 18 °C, for a total dough hydration of 66%. That recipe is for pizza, so scale the biga to the amount of focaccia you plan to make and keep the water in the same proportion.
Cover the biga so it does not dry out, and check it after the first few hours. A biga that has risen and then started to sink has passed its best, so use it while it is still domed and bubbly.
How to Make Focaccia With Biga Step by Step
Combine the biga with the rest of the flour and water, let the dough rest, then add salt and knead it in before the rise.
The King Arthur focaccia recipe is a useful reference for the rest of the process. It uses 1 1/2 teaspoons of active dry or instant yeast, 1 cup (227 g) of warm water, 1/2 teaspoon of table salt, 1/2 cup (57 g) of whole wheat flour and 2 1/2 cups (300 g) of all-purpose flour. Reduce the yeast in the main dough when you use a biga, since the pre-ferment already supplies much of the rise.
- Mix the biga with the warm water and most of the flour until a shaggy dough forms, then rest it for 20 to 30 minutes.
- Add the salt and the remaining flour, and knead until smooth and slightly tacky.
- Let the dough rise until doubled, which the King Arthur recipe puts at 1 1/2 to 2 hours for a standard dough, and expect a similar or shorter rise with biga.
- Oil a 14-inch baking sheet generously, shape the dough into a rough circle on it, and let it rise again for about 30 minutes.
- Dimple the surface deeply with oiled fingertips, then drizzle with olive oil and sprinkle with flaky salt.
- Bake at 425 °F for about 25 minutes, or until the top is golden and the base is cooked through.
How Do You Get the Right Texture?
The right texture depends on a wet dough, a patient rise, and dimples that go all the way down to the pan.
A biga focaccia is softer and more open than a standard one, so it can feel sticky. Use oiled hands when you shape and dimple it, and avoid adding extra flour. The oil in the pan gives the base its crisp, fried edge, which is why the sheet should be well coated before the dough goes in.
Let the shaped dough rest before baking. A rushed focaccia is dense, while a properly risen one is light and bubbles when the fingers press in.
Common Mistakes With Focaccia and Biga
Most problems come from timing or from too much flour during shaping.
- A biga that was not ready: if it has not risen, the final dough will be slow and dense.
- Too much yeast in the main dough: the biga already supplies much of the rise, so the bread can over-proof.
- Shallow dimples: the oil pools on top rather than sinking in, so press all the way to the pan.
- An oven that is not hot enough: a pale focaccia is usually under-baked, so preheat fully to 425 °F.
Frequently Asked Questions
Can I use biga in any focaccia recipe?
Yes, but you need to adjust the yeast and the water. Because the biga already contains yeast and has fermented, reduce the yeast in the main dough and keep the total hydration in mind.
How long should biga ferment for focaccia?
The Glowen guide describes a biga that can be left for 1 to 1.5 hours or for 24 to 48 hours. A longer ferment gives more flavour, while a shorter one is quicker when you are short of time.
Do I need a 14-inch pan for focaccia?
A 14-inch baking sheet suits the King Arthur recipe. A smaller pan makes a thicker focaccia that needs a longer bake, so check the colour and the internal texture before you take it out.
Why is my focaccia dense?
A dense focaccia usually means the biga was not fully risen, the dough was under-proofed, or too much flour was added while shaping. Let the dough rise until it is clearly bigger, and keep the dough wet.
Focaccia with biga rewards a little planning. Prepare the pre-ferment the day before, keep the dough wet, and give it time to rise. Once you have the rhythm, the biga becomes the easy step that makes the bread taste better.
 8 min readLearnFocaccia Recipe: Simple Homemade Focaccia Step by StepUpdated Nov 10, 2026
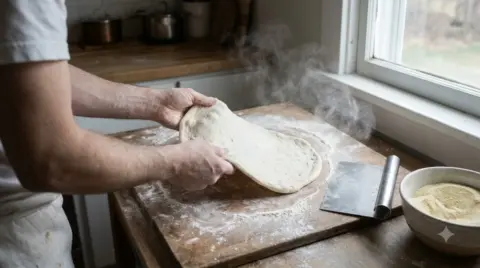 8 min readLearnBiga Pizza Dough: Ratios, Timing and Steps for Chewier CrustUpdated Nov 6, 2026
 7 min readLearnHow to Make Ciabatta Bread at Home with a BigaUpdated Nov 13, 2026
 8 min readLearnBiga vs Poolish: Which Pizza Pre-Ferment Should You Use?Updated Nov 11, 2026
 6 min readLearnHow to Make Ribollita: Tuscan Bread and Bean Soup Step by StepUpdated Nov 13, 2026
 5 min readLearnHow to Make Fresh Mozzarella at Home: Step-by-Step MethodUpdated Nov 13, 2026