
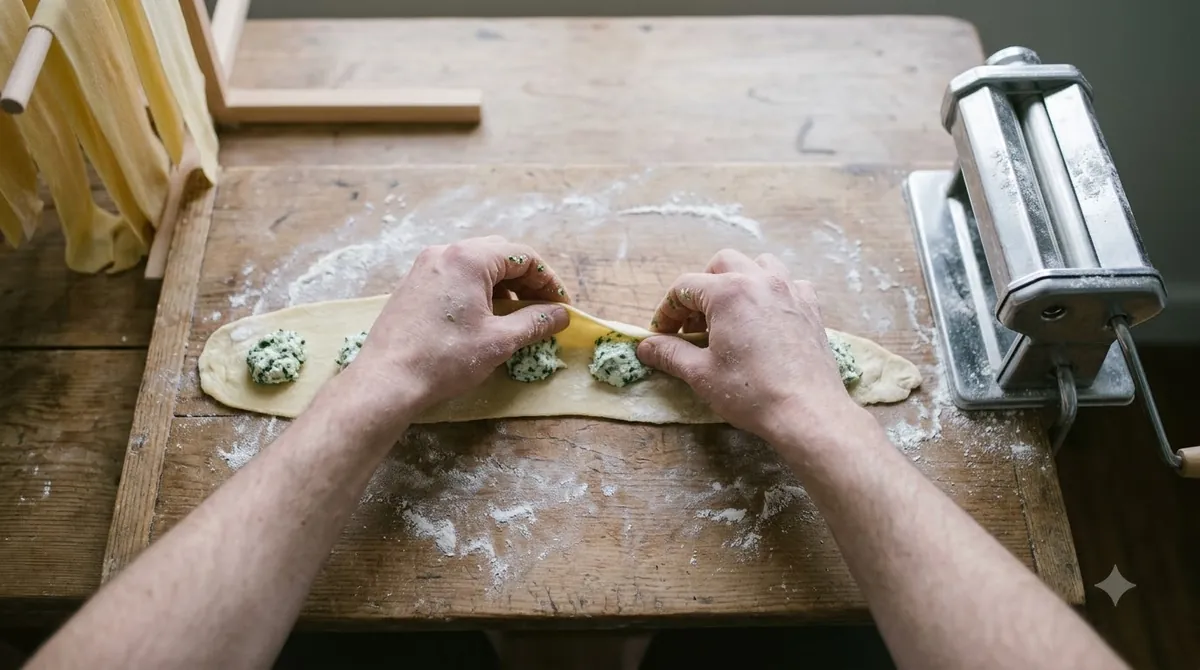

Knowing how to seal ravioli comes down to two things: press out every pocket of air around the filling, and brush water on the dough so the layers stick. Place a measured mound of filling on the sheet, cover it with a second sheet, press from the center outward, and trim the edges. A good seal keeps the filling in and stops water from getting in during boiling.
Why Does a Good Seal Matter for Ravioli?
A tight seal keeps the filling inside the pasta, so the ravioli stay whole in the pot and on the plate.
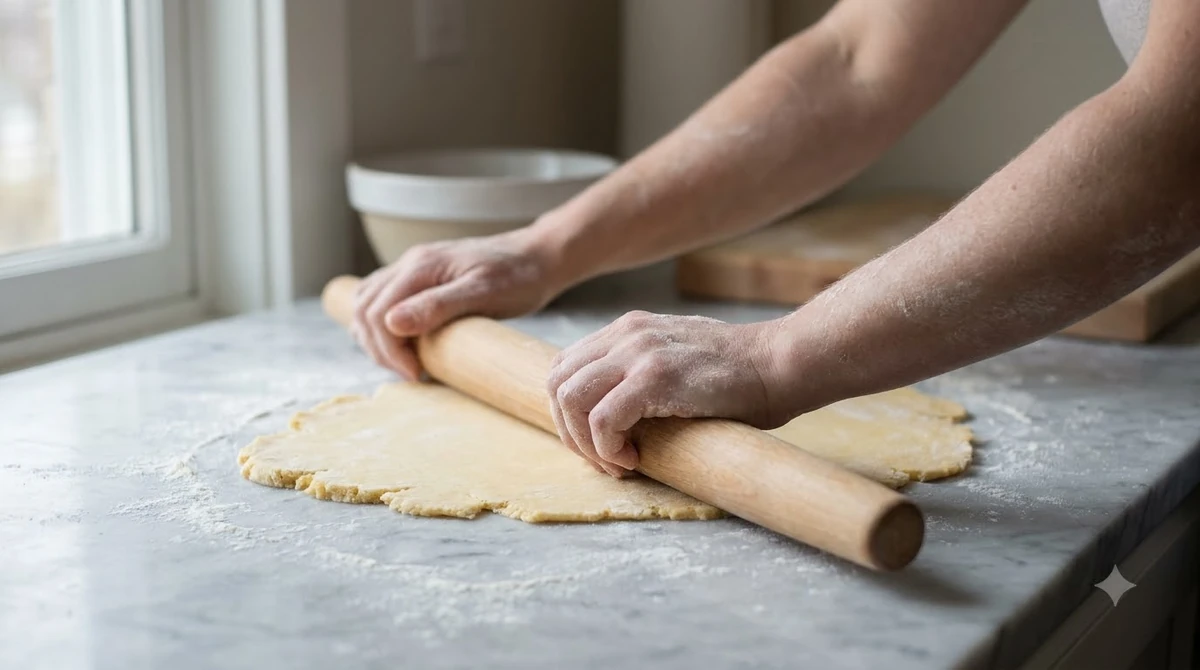
Trapped air is the most common cause of trouble. The Takeout guide on sealing mistakes warns that air left inside a ravioli can make it burst open in boiling water. Leaking filling, water seeping in and a soggy, diluted result are the other risks of a weak seal.
Sealing is also the step that most affects how the finished ravioli look. Neat, flat edges cook evenly and hold their shape, while loose edges can open up or puff unevenly.
How to Seal Ravioli Step by Step
Work with one sheet at a time, place the filling in evenly spaced mounds, and seal each mound before the dough dries out.
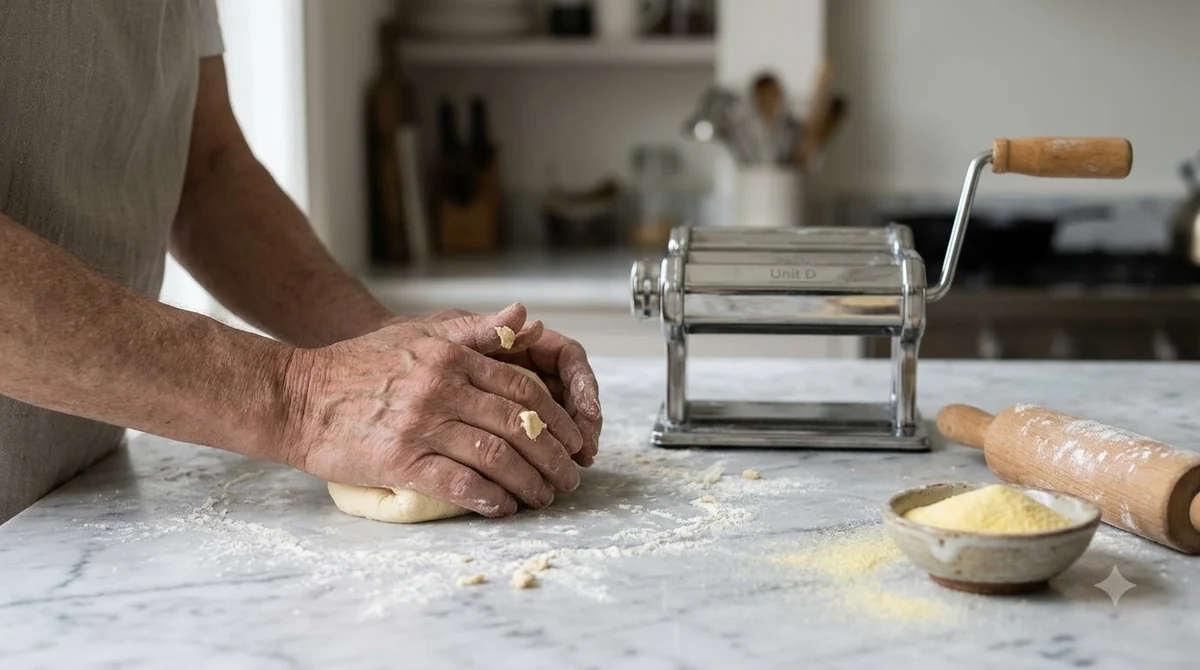
The King Arthur homemade cheese ravioli recipe places 1-tablespoon mounds about 1 inch apart, 14 to 15 per sheet, and brushes water on the edge and around each mound before covering them.
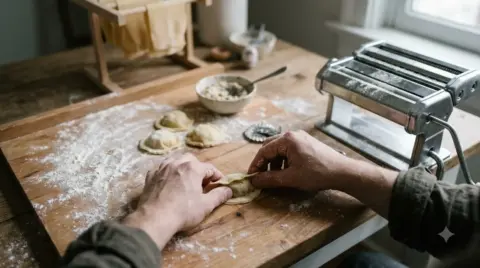
- Lay one pasta sheet flat and place 1-tablespoon mounds of filling in rows, about 1 inch apart.
- Brush cool water around each mound and along the edges of the sheet. An egg wash also works.
- Lay the second sheet over the first, then cup your hands around each mound so the top sheet settles onto the filling.
- Press from the center outward with your fingertips, pushing out air before you close the edges.
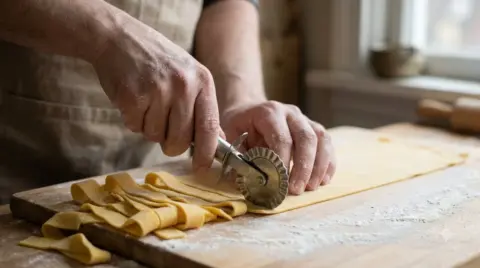
- Trim the edges with a fluted pastry wheel, then separate the ravioli and set them on a floured tray.
Pressing from the center outward is the key move. Work slowly around each mound so the air escapes toward the edges instead of getting trapped in a pocket of filling.
How Much Filling Should You Put in Each Ravioli?
Use about one tablespoon of filling per mound, enough to fill the pocket without leaving no room for the edges to close.
Too little filling leaves extra space inside the pasta, and that space fills with air. Too much filling leaves no room for the edges to meet, so the seal fails at the point where the filling pushes against the dough.
A piping bag or a spoon with a flat edge makes it easier to portion the filling evenly. The Takeout guide suggests a piping bag for cleaner, less messy filling, which helps keep the edges free for sealing.
What Mistakes Make Ravioli Leak or Burst?
Most leaks come from trapped air, too much filling, or dough that has dried out before it was sealed.
- Trapped air: pockets left inside the pasta expand in the water and push the seal open.
- Too much filling: the edges have no room to meet, so the seal is weak.
- Dry dough: dough that has dried at the edges will not stick, even with water.
- Skipping the water: without moisture, the layers may look sealed but come apart in the pot.
Keep the sheets you are not working with covered, and seal the ravioli in small batches so the dough stays pliable. If a seal looks thin, press it again with your fingertips before cooking.
How Do You Cook Sealed Ravioli Without Bursting Them?
Boil sealed ravioli in heavily salted water in a single layer for 6 to 8 minutes, flipping them occasionally, as the King Arthur recipe suggests.
Cook them in a wide pot so they do not crowd each other, and lift them out with a slotted spoon once they are tender. Overcrowding lowers the water temperature and can cause sticking. Ravioli with thick, dry dough may need a little longer.
If you plan to freeze them, arrange the uncooked ravioli in a single layer on a tray before storing them, so they do not stick together.
Does a Ravioli Mold Make Sealing Easier?
A ravioli mold shapes the pockets for you, but you still need to seal each one by hand, so the same air-removal steps apply.
Lay the dough over the mold, press it into each cavity, fill each pocket, then cover with the second sheet. Rap the mold on the table to dislodge bubbles before you roll over the top. A rolling pin or a flat hand can push out any remaining air along the seams.
Molds make the spacing consistent, which helps when you are making a large batch. Check each pocket once the top sheet is on, because the mold can leave a gap at the corners where air tends to stay.
Hand sealing with a cutter or a fluted wheel gives more freedom with the shape and size. Once you can seal a few by hand, the process is the same whichever way you form the ravioli.
Frequently Asked Questions
How do you seal ravioli so they do not open?
Press out all the air around the filling before closing the edges, brush water on the dough first, and use about one tablespoon of filling per mound.
What should you brush on ravioli to seal them?
Cool water works well, and an egg wash is also common. Brush it along the edges and around each mound before you cover the filling.
Why do my ravioli burst in boiling water?
Trapped air is the usual cause. Press from the center outward during sealing so the air escapes before the edges close.
How long do sealed ravioli take to cook?
King Arthur boils them in salted water for 6 to 8 minutes in a single layer, flipping them occasionally. Thicker dough may need a little longer.
A well-sealed ravioli needs only patience and a light hand. Press out the air, keep the dough moist, and seal in small batches. Once the edges are closed and trimmed, the ravioli will hold their filling through boiling.
 6 min readLearnHow to Make Tortelloni at Home: Dough, Ricotta Filling and SealUpdated Nov 13, 2026
 5 min readLearnHow to Make Ravioli Filling With Ricotta and CheeseUpdated Nov 13, 2026
 9 min readLearnButternut Squash Ravioli Recipe: Dough, Filling and SauceUpdated Nov 11, 2026
 8 min readLearnRicotta Ravioli Recipe: Egg Dough, Filling and Cooking StepsUpdated Nov 11, 2026
 8 min readLearnTortellini vs Ravioli: Shape, Filling and Cooking ComparedUpdated Nov 12, 2026
 5 min readLearnHomemade Fusilli: Dough, Shaping and Press SettingUpdated Nov 13, 2026