
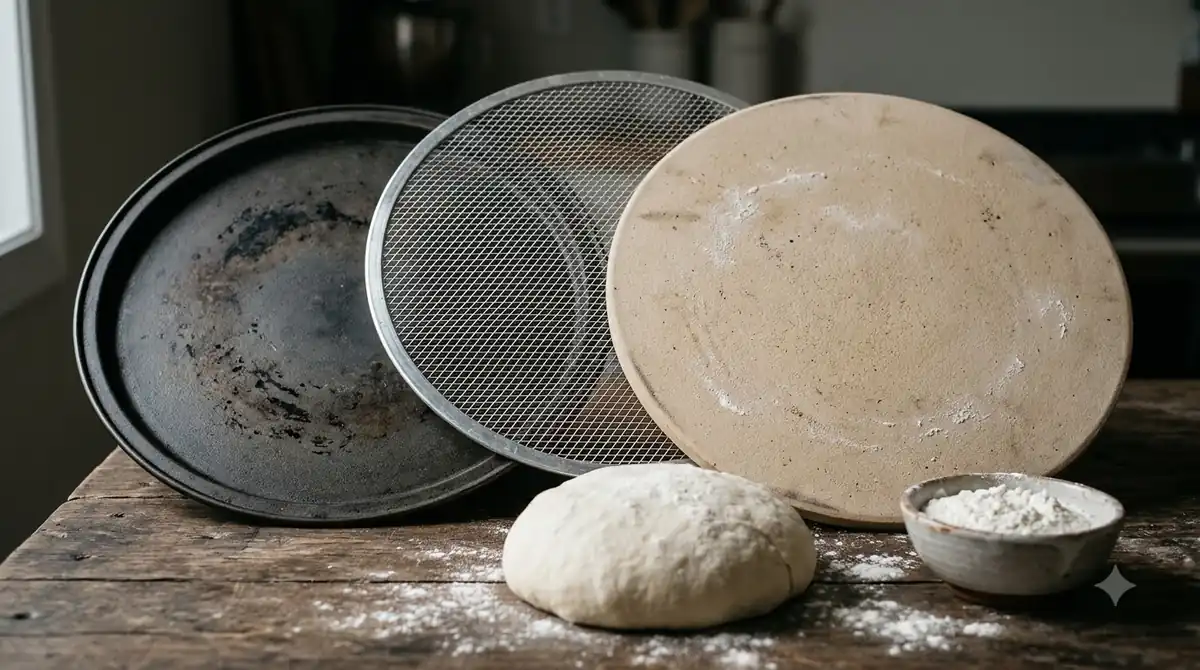

To learn how to use an infrared thermometer, let it reach room temperature, aim it straight down at a flat surface, and read from a spot that matches your target. The device reads only surface heat, so it suits pans, stones, oil and griddles, but not the inside of food. Following a few simple habits gives you steadier numbers every time.
What an Infrared Thermometer Actually Measures
An infrared thermometer estimates the temperature of a surface from the infrared energy that surface emits, without touching it.
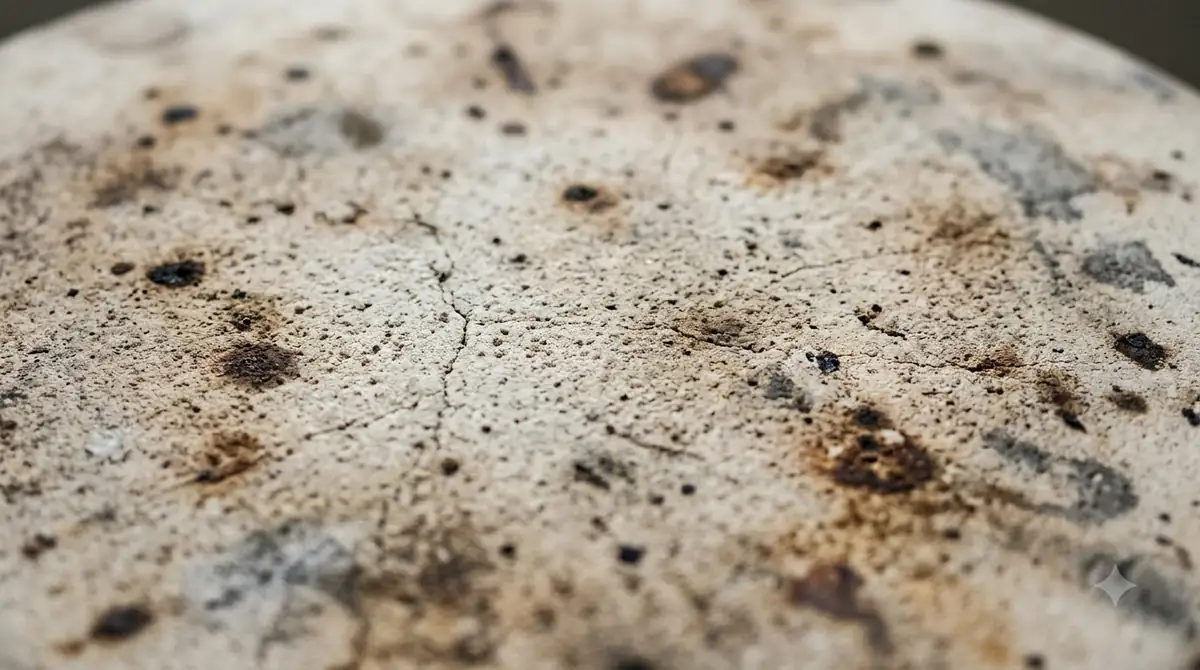
According to the overview on infrared thermometers on Wikipedia, the device measures temperature at a spot on a surface. It does not read the air around the pan or the core of what sits inside it. That is why the way you aim it matters so much.
Every material emits infrared differently, a property called emissivity. Reflective surfaces have lower emissivity than non-reflective ones, so they can read cooler than they really are. Some sensors let you adjust emissivity to correct for this, while others do not.
How to Use an Infrared Thermometer, Step by Step
Work through six steps to learn how to use an infrared thermometer: let the unit settle, aim straight down, match the spot to the target, use the laser only as a guide, hold steady and check the surface before you read.
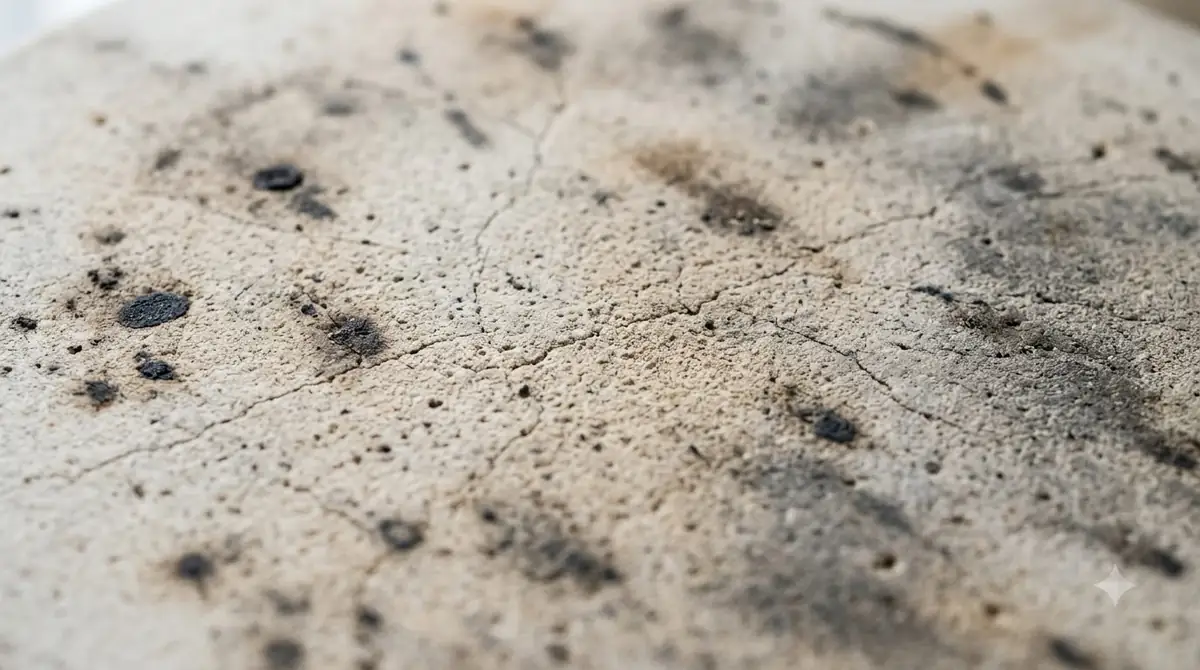
- Let the thermometer settle first. Fluke advises leaving it in the place you will measure for about 30 minutes before critical readings, since a unit moved from a cold car into a warm building may read inaccurately until it adjusts.
- Aim from directly above. America’s Test Kitchen recommends positioning the thermometer at a 90-degree angle, directly above the cookware. A steeper angle is more likely to pick up nearby surfaces and lowers accuracy.
- Match the spot to the target. Fluke uses a 12:1 distance-to-spot ratio as its example, where a 1-inch spot is measured from 12 inches away. Keep the measured area no larger than your target, and check your model’s specification for its exact ratio.
- Use the laser only to aim. Fluke describes the laser as an aiming aid that marks the approximate center of the measurement area, not the whole zone. America’s Test Kitchen also warns never to point the laser at a person’s face.
- Hold the unit still and take two or three readings of the same spot. If the numbers agree, the reading is steady. If they keep drifting, check the angle, the distance and the surface.
- Check the surface before you trust the number. Shiny metal and uneven surfaces need the corrections in the next section.
Once you have practiced how to use an infrared thermometer on one surface, the same routine carries over to griddles, pans and stones, because the aim and distance rules stay the same.
Adjusting for Shiny and Reflective Surfaces
Part of how to use an infrared thermometer well is correcting for shiny metal. It emits less infrared than matte cookware, so an uncorrected reading can come out lower than the real surface temperature.
Fluke recommends applying non-reflective tape, such as electrical tape, or a flat paint to the spot before reading. If your model has an adjustable emissivity setting, Fluke suggests the Low setting for shiny metals and the High setting for wood, paint and plastic. America’s Test Kitchen describes emissivity as the amount of energy an object radiates on a scale from 0 to 1, and notes that charts give approximate values only.
- Shiny metal pan on an adjustable model: set emissivity to Low, or cover the spot with tape.
- Wood, painted or plastic surface: set emissivity to High.
- Skillet, griddle or flattop for pancakes, steak or fatty cooking: add a thin layer of oil and measure the oil. America’s Test Kitchen gives oil an emissivity of 0.95.
When you are unsure how reflective a pan is, compare a reading of the bare metal with a reading of the oil layer on the same spot. A large gap between the two suggests the bare metal is under-reading, and the oil reading is the more reliable number to use.
Mistakes That Throw Off Your Readings
Most wrong readings when you practice how to use an infrared thermometer come from the angle, steam or dust in the line of sight, or a surface that is not flat and continuous.
| Mistake | Why it matters | Fix |
|---|---|---|
| Aiming at a steep angle | Picks up the surfaces around the target | Aim from directly above, at 90 degrees |
| Measuring a grill grate | The reading includes the surface beneath and around the bars | Set a skillet on the grate, add a little oil and measure the oil |
| Steam, smoke or dust in the path | Scatters infrared energy before it reaches the sensor | Clear the view and get as close as is safe |
| Target smaller than the spot | Nearby temperatures mix into the reading | Move closer until the spot fits inside the target |
| Reading straight after moving the unit | The internal parts have not adjusted to the room | Let it sit for about 30 minutes first |
Humid or smoky kitchens can also reduce accuracy, according to America’s Test Kitchen. Keep the lens away from rain and steam. If you want a model built for pizza ovens, compare options in best pizza oven thermometers. If a reading looks wrong, recheck the angle, the distance and the surface before you adjust your cooking based on it. Learning how to use an infrared thermometer well is mostly about spotting these conditions early.
Cleaning and Caring for the Lens
Keep the lens clean and dry, because dirt, grease and condensation all reduce accuracy over time.
America’s Test Kitchen suggests wiping the viewfinder or lens with a clean cloth or cotton swab, using a little rubbing alcohol if needed. Fluke recommends a soft cloth or a lens-safe cleaner, and warns against abrasive materials. Never let any part of the unit get wet, because water can damage it.
Avoid sudden temperature changes to the lens as well. Fluke notes that scratches, dirt and condensation can degrade performance, so store the unit in a dry place between cooking sessions. A clean lens is part of how to use an infrared thermometer correctly every time, not an optional extra, because a smudge can shift the reading without any visible sign.
What an Infrared Thermometer Cannot Tell You
Knowing how to use an infrared thermometer also means knowing its limits. It reads the surface it points at, so it cannot show the temperature inside a steak, roast or loaf.
America’s Test Kitchen’s guidance covers cookware and cooking surfaces, not the internal temperature of food. For the core of meat, poultry or bread, use a probe thermometer that goes into the food. Check the safe internal temperatures from a food safety authority rather than relying on a surface reading.
Your model’s manual is the final word on its distance-to-spot ratio, emissivity options and cleaning method. Read it before you rely on the numbers for an important cook. If you are learning how to use an infrared thermometer for baking or roasting, treat its readings as checks on the cooking surface, not as the final doneness test for the food. Pizza bakers often check a hot stone or steel this way; see how to use a pizza stone and how to use a pizza steel, and our pizza oven temperature guide for target heat.
Frequently Asked Questions
Can an infrared thermometer check the inside of food?
No. An infrared thermometer reads the surface it aims at, so it cannot show the core temperature of a steak, roast or loaf. Use a probe thermometer for the inside of food and check safe internal temperatures from a food safety authority.
Why does my reading change when I measure the same spot again?
Small changes in angle, distance or surface reflection shift the result, so steady habits are the core of how to use an infrared thermometer. Take two or three readings while holding the unit still. If the numbers keep moving, check for steam, a shiny surface or a target smaller than the spot size.
Should I use the laser to take the measurement?
The laser is only an aiming guide and does not measure anything. Fluke notes that it marks the approximate center of the measurement area. Never point it at a person’s face, because America’s Test Kitchen warns it can damage vision.
Why does a shiny pan read cooler than it really is?
Reflective surfaces emit less infrared, so the reading can come out lower than the true temperature. Cover the spot with non-reflective tape, use the emissivity setting if your model has one, or measure a thin layer of oil in the pan.
How long should I wait before my first reading?
Fluke advises letting the unit sit in the place you will measure for about 30 minutes before critical readings. A unit moved from a cold car into a warm building can read inaccurately until it adjusts to the new temperature.
Before you rely on any reading, check your model’s manual for its distance-to-spot ratio and emissivity options. Keep the lens clean, let the unit settle, and match your technique to the surface. That routine is the heart of how to use an infrared thermometer at home. For a pan, griddle or stone the thermometer is quick and useful, but for food it works best alongside a probe.
 10 min readGear & PantryInfrared Thermometer: What It Measures and How to Use It for Pizza and PastaUpdated Nov 16, 2026
 8 min readGear & PantryHow to Use a Digital Kitchen Scale for Accurate BakingUpdated Nov 10, 2026
 8 min readGear & PantryHow to Use a Pizza Oven ThermometerUpdated Nov 11, 2026
 8 min readGear & PantryPizza Oven Thermometer: Best Picks and How to Choose OneUpdated Nov 17, 2026
 8 min readGear & PantryBest Instant Read Thermometer: Top Picks for Home CooksUpdated Nov 12, 2026
 8 min readGear & PantryHow to Use a Rotary Cheese GraterUpdated Nov 10, 2026