
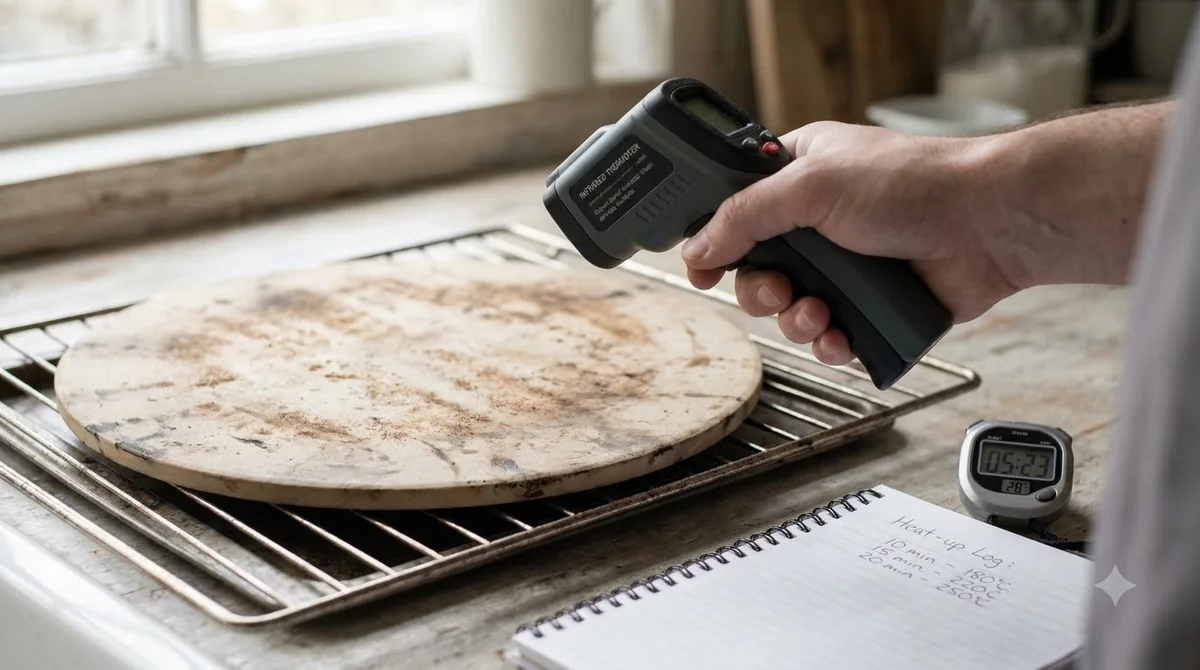

An infrared thermometer measures surface temperature without touching the object, and most models show a reading in under a second. It is a fast way to check a cooking surface before you bake pizza or cook pasta.
It helps with a pizza stone, steel or pan, but it cannot show the temperature inside food. For that, you still need a probe.
Food safety targets come from official guidance, and a surface reading does not confirm that food is cooked through.

Ooni Digital Infrared Thermometer Gun
Pros & ConsViewHide
Reasons to buy
- Reads surface heat up to 999 F in about 300 milliseconds
- 87% of ratings are 5-star
- Includes 2 AAA batteries
Reasons to avoid
- Reads the surface only, not the air inside the oven
- Battery powered
How an Infrared Thermometer Works
An infrared thermometer focuses the infrared energy an object emits onto a detector, usually a thermopile, which converts it into a temperature reading.
Every object above absolute zero gives off infrared energy, and a hotter object gives off more of it. The lens in an infrared thermometer collects that energy. Fluke’s guide to IR thermometers describes the thermopile as the part that absorbs the energy and turns it into a voltage the device displays as a temperature.
Because an infrared thermometer reads energy leaving the surface, you do not need to touch the food, the stone or the pan. Fluke notes that readings are near-instant, often in less than a second, which is why these devices suit quick checks at the stove or in front of an oven.
The distance-to-spot ratio describes how far you can stand from the object and still get a reliable reading. A higher ratio means an infrared thermometer measures a smaller area at the same distance. That spot size decides whether a small pan edge or a stone corner can be read accurately, so check the ratio in your model’s manual.
What It Can and Cannot Measure
Infrared thermometers read only the surface, so they cannot show the temperature in the middle of a thick cut of meat or a ball of dough.
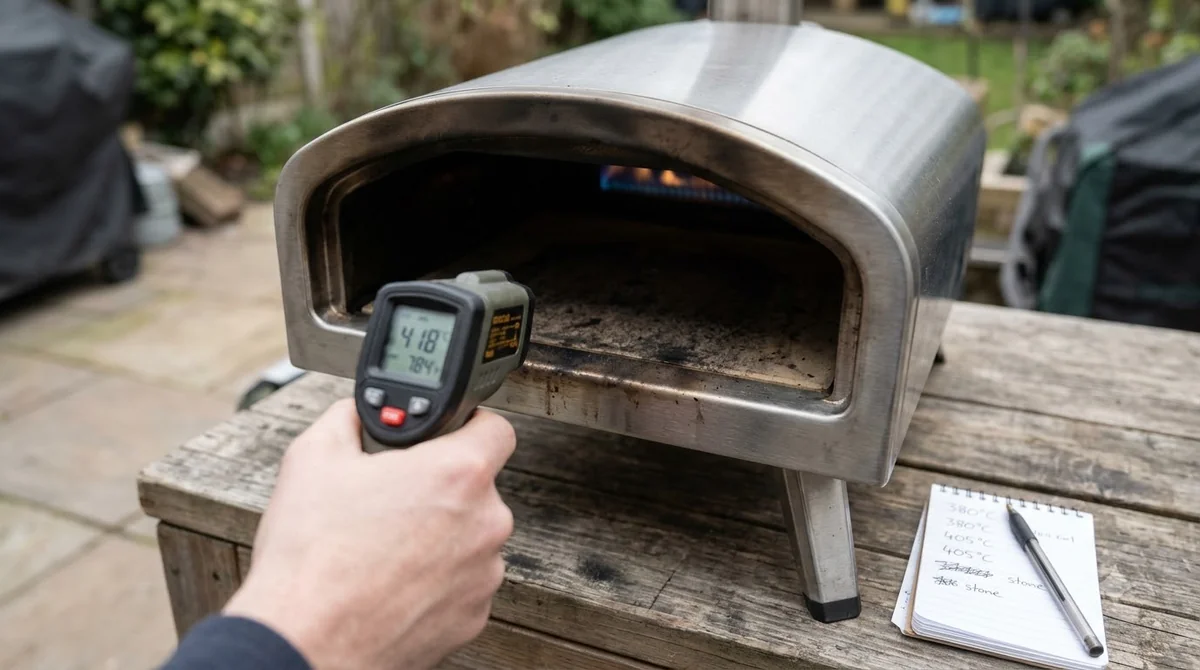
Fluke states that these devices only measure surface temperature. A reading is therefore the temperature of the top layer you aim at, and the device cannot report what is happening underneath it. Several everyday conditions can make that top-layer reading less reliable:
- Glass and clear containers: the reading shows the glass surface, not the liquid or food behind it.
- Steam and dust: both can reduce accuracy, so wipe the lens and the target and wait for steam to clear.
- Strong sunlight: it can affect readings taken outdoors near a grill or an oven.
- Moving between rooms: Fluke advises letting the device sit for 20 to 30 minutes after it moves between temperature environments.
The same limit applies to water. An infrared thermometer reads only the surface of the water, so a pot of pasta water shows the top layer, not the temperature deeper in the pot.
Emissivity: Why the Surface Changes the Reading
Emissivity is how efficiently a surface gives off infrared, rated on a scale from 0 to 1, and most devices let you set it for the material you measure.
Materials differ in how they emit infrared. According to Fluke, reflective surfaces can give inaccurate readings unless the emissivity setting matches the material. Polished cookware is the common case in a kitchen, so check the setting before you rely on a number from a shiny surface.
| Surface | Risk | What to check |
|---|---|---|
| Polished aluminum or steel pan | Reflection can distort the reading | Set the emissivity for the material, if your model allows it |
| Clear glass lid or dish | Reads the glass, not the contents | Measure the bare cooking surface instead |
| Water in a pot | Reads only the top layer | Treat the number as a surface figure only |
| Pizza stone or steel | Reads the top face only | Let it heat fully before you read it |
If a reading looks unexpected, compare it with a second reading taken at the same spot before you change how you cook.
Using It for a Pizza Stone, Steel or Oven Floor
For a pizza stone or steel, aim the thermometer at the cooking surface and read it only after the stone has heated long enough to hold a steady number.
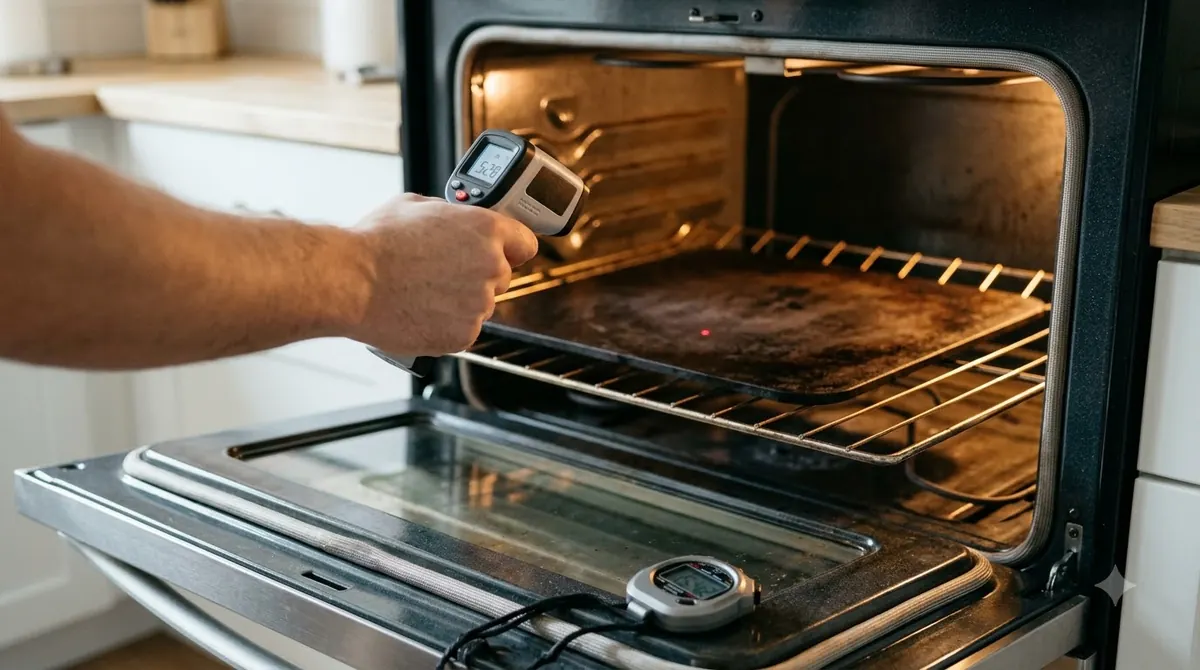
An infrared thermometer is a practical way to check a pizza stone or pizza steel before you slide a pizza onto it, because it reads the surface the dough will touch. The reading comes from the top face, so a hot surface does not tell you how evenly the deeper stone has heated.
Use this sequence when you check an infrared thermometer for pizza oven work:
- Let the oven and stone heat for the full preheat your recipe or the oven manual gives.
- Aim the device at the center of the cooking surface, from the distance your manual lists.
- Wipe away flour, crumbs and steam, which can interfere with the reading.
- Take a reading, then take a second one after a short wait to confirm the number is steady.
- Launch the pizza only when the reading matches the temperature your recipe calls for, such as the ranges in how hot a pizza oven gets.
Some ovens also have a built-in gauge, and that gauge may reflect the air rather than the stone. Compare the reading from an infrared thermometer with the built-in gauge during a few test bakes so you know what each one tells you. Our pizza oven temperature guide explains what to expect from different oven types.

Food Safety: Why a Probe Still Matters
A probe inserted into the thickest part of the food is the way to check doneness, because a surface reading cannot show the temperature inside.
Cornell Cooperative Extension’s cooking temperature guidance says you cannot tell whether meat is safely cooked by looking at it. Its chart pairs the cooking targets with a food thermometer, and its poultry entry says to cook chicken to 165 degrees.
Rest time matters too. The same guidance says that after you remove meat from a heat source, you should let it rest for the specified time, during which its temperature stays constant or keeps rising.
For food safety, use the probe for the food and the infrared thermometer for the cooking surface:
- Insert the probe into the thickest part of the food, away from bone or fat.
- Read the probe, not the surface of the pan or the grill grate.
- Use the infrared reading only to decide when the stone or pan is ready.
This guide confirms only the poultry figure from the extension source. For the full chart across meats, seafood and eggs, check the current food safety chart published by the USDA at FoodSafety.gov.
How to Choose One: Features That Matter
Choose an infrared thermometer by its distance-to-spot ratio, emissivity setting and temperature range rather than by price or appearance alone.
The distance-to-spot ratio matters most when your target is small or far away, such as the edge of a stone or the bottom of a pan. Fluke defines the term as how far you can be from the object and still get a reliable reading. Look for these features on the spec sheet of any infrared thermometer:
- Distance-to-spot ratio: a higher ratio gives a smaller measured area at the same distance.
- Emissivity setting: lets you match the surface you measure, which matters for shiny cookware.
- Temperature range: confirm it covers the temperatures you use for baking and cooking.
- Laser aiming: helps you see the target, but it does not change how the sensor reads.
- Backlit display: makes the number easier to read in a dim or bright kitchen.
Ratings and temperature limits differ by model. Treat any number on a product page as a claim to check against the manufacturer’s specification sheet before you rely on it.
Common Mistakes to Avoid
Most bad readings come from measuring through glass, ignoring the emissivity setting, reading through steam, or treating a surface number as the inside temperature.
- Aiming through a glass lid or window and reading the glass.
- Measuring polished metal without checking the emissivity setting.
- Taking readings in steam or with a dusty lens.
- Reading the device right after it moves between rooms, instead of waiting 20 to 30 minutes.
- Using a surface reading to decide whether meat or poultry is cooked through.
A quick check of the lens, the surface and the setting before each infrared thermometer reading helps prevent most of these errors. Keep the probe for food, and let the infrared reading handle the cooking surface.
Details This Guide Does Not Confirm
Accuracy tolerance, price and temperature range differ by model, and this guide does not confirm those figures for any specific product.
The sources used here describe how infrared thermometers work in general. They do not give the accuracy tolerance, price or temperature range of a particular model, so those details are left out on purpose. Before you decide, check the following on the manufacturer’s material:
- Accuracy tolerance: found in the specification table of the manual.
- Temperature range: compare it with the stone, steel or pan temperatures your recipe uses.
- Distance-to-spot ratio: read the figure before you measure from a distance.
- Price: check the current listing, since prices change.
Frequently Asked Questions
Can an infrared thermometer measure the temperature inside a steak?
No. An infrared thermometer reads only the surface, so it cannot show the temperature in the center of a steak. Insert a food thermometer probe into the thickest part of the meat to check doneness. For aiming and distance tips, see our guide on infrared thermometer how-to.
Why does a shiny pan give an odd reading?
Reflective surfaces can give inaccurate readings unless the emissivity setting matches the material. Check your model’s setting menu, and confirm the setting in the manual before you rely on the number from a polished surface.
Does steam affect the reading?
Yes, steam can reduce accuracy. Wait for it to clear and wipe the lens before you measure a pizza stone or a pan.
How long should I wait after moving the thermometer?
Allow 20 to 30 minutes after moving between temperature environments, such as from a cold garage into a warm kitchen. This gives the reading time to settle before you measure.
Can an infrared thermometer confirm that poultry is safe?
No. The poultry target of 165 degrees applies to the internal temperature, which you check with a food thermometer. A surface reading cannot show that number inside the meat.
How far away can I measure?
That depends on the distance-to-spot ratio in your model’s manual. A reliable reading needs the target to fill the measured spot, so check the spot size of your infrared thermometer at the distance you plan to use before you rely on the number.
Use an infrared thermometer to check a stone, steel or pan before you cook, and use a probe for anything you eat. Keep the emissivity setting in mind for shiny cookware, and read the manual for your model’s distance and accuracy. Together, those two tools cover the cooking surface and the food.
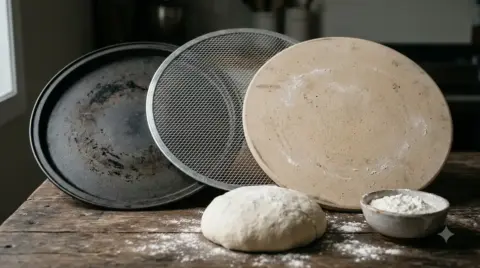 8 min readGear & PantryHow to Use an Infrared Thermometer for Accurate Readings at HomeUpdated Nov 10, 2026
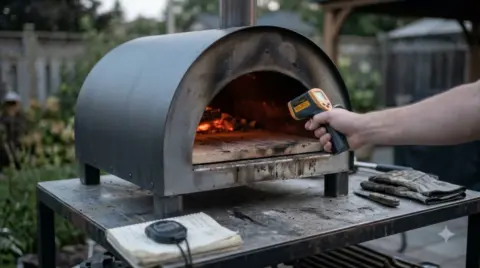 8 min readGear & PantryHow to Use a Pizza Oven ThermometerUpdated Nov 11, 2026
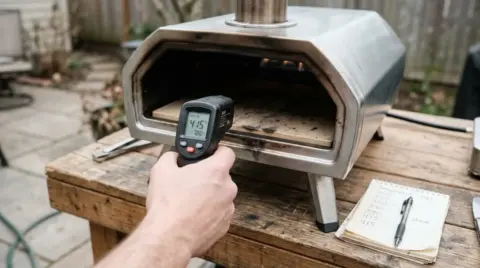 8 min readGear & PantryPizza Oven Thermometer: Best Picks and How to Choose OneUpdated Nov 17, 2026
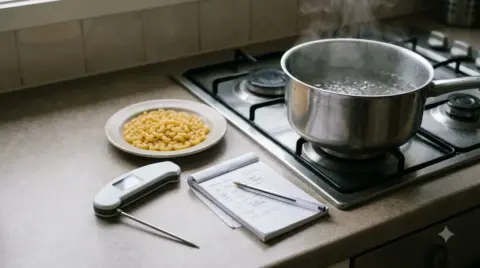 8 min readGear & PantryBest Instant Read Thermometer: Top Picks for Home CooksUpdated Nov 12, 2026
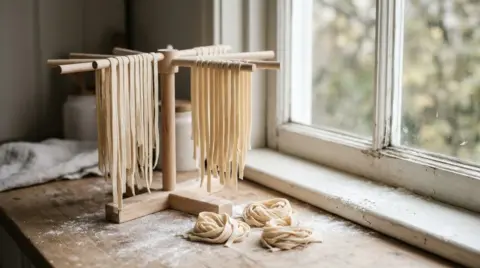 9 min readGear & PantryPasta Drying Rack: How to Choose and Use One at HomeUpdated Nov 16, 2026
 8 min readGear & PantryPasta Cutter Guide: 3 Types, Blades and How to Use OneUpdated Nov 10, 2026