
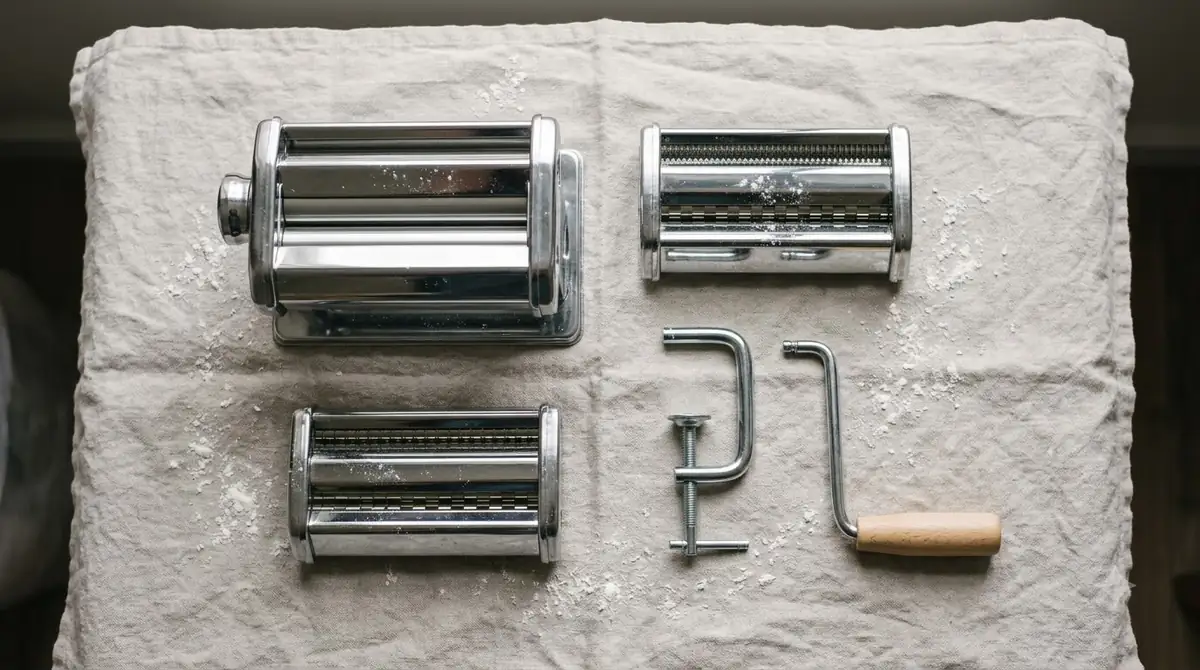

The kitchenaid pasta roller parts you get depend on your model number. The 5KSMPRA set includes a pasta roller and two cutters, the 5KSMPSA ships the roller alone, and the 5KSMPCA includes two thinner cutters.
Check the model number on the box or manual before you buy add-ons. Each cutter produces a different noodle width, and the manual sets out how to clean and oil the parts.
Which KitchenAid pasta roller parts come with each model
Among the kitchenaid pasta roller parts, the 5KSMPRA includes the pasta roller, a spaghetti cutter and a fettuccine cutter. The 5KSMPSA includes only the pasta roller, and the 5KSMPCA includes a capellini cutter and a lasagnette cutter.
| Model | Included attachments | Noodles it suits |
|---|---|---|
| 5KSMPRA | Pasta roller, spaghetti cutter, fettuccine cutter | Spaghetti, fettuccine and sheets for lasagna |
| 5KSMPSA | Pasta roller only | Dough sheets for kneading, lasagna and ravioli. No cutter is included. |
| 5KSMPCA | Capellini cutter, lasagnette cutter | Very thin capellini and thick lasagnette noodles |
The KitchenAid owner manual’s parts list names a housing, the pasta roller, a spaghetti cutter, a fettuccine cutter, a capellini cutter, a lasagnette cutter and a cleaning brush. The housing is the attachment shaft that slides into the stand mixer hub, so every roller and cutter uses the same connection. Each of the kitchenaid pasta roller parts follows that method.
If you are still choosing a set, our KitchenAid pasta roller overview compares what the set does. If the box or paperwork is missing, the model chart in the owner manual lists the attachments for each model number, so match your model against the table above before you buy anything extra.
To attach any piece, turn the mixer off and unplug it, insert the housing into the hub so the pin sits in the notch, and tighten the hub knob until the attachment is fully secure. The manual’s product usage steps describe this sequence in full, and our how to use a KitchenAid pasta roller guide walks through the rolling itself.
The Amazon listing in the product box below uses the code KSMPRA for the roller and cutter set, so match it against your own model number. The box also shows a third-party shear shaft coupler sold for DIY repair, which is not a KitchenAid-branded part, and a KitchenAid pasta drying rack, which is a drying accessory and not a replacement part. Ask KitchenAid support before fitting any third-party part to your attachment.

KitchenAid KSMPRA 3-pc Pasta Roller/Cutter Set
Pros & ConsViewHide
Reasons to buy
- Roller and cutter attachments for KitchenAid stand mixers
- Rolls even sheets without hand cranking
- 88% of 9K Amazon ratings are 5-star
Reasons to avoid
- Needs a compatible KitchenAid stand mixer
- Rolls and cuts the dough, but does not fill or fold tortellini
- One of the costlier tools in this guide

Shear Shaft Coupler for KitchenAid KSMP Series
Pros & ConsViewHide
Reasons to buy
- Priced as a small repair part for KSMP-series roller and cutter sets
- 4.6-star average from 51 Amazon ratings
- Sold for DIY repair of the pasta attachment shaft
Reasons to avoid
- Third-party part, not KitchenAid-branded
- Check fit against your model and ask KitchenAid support before you rely on it

KitchenAid KPDR Pasta Drying Rack Attachment
Pros & ConsViewHide
Reasons to buy
- Dries up to 4 lb of fresh pasta at a time
- Folds flat for storage
- 1-year limited warranty, no tools needed to assemble
Reasons to avoid
- Takes counter space while pasta dries
- Costs more than basic plastic drying racks
- Assembly required before first use
What each cutter makes and the roller settings that suit it
The lasagnette cutter makes 12 mm noodles, the fettuccine cutter makes 6.5 mm noodles, and the spaghetti and capellini cutters make 2 mm and 1.5 mm noodles, according to the manual’s speed chart for these kitchenaid pasta roller parts.
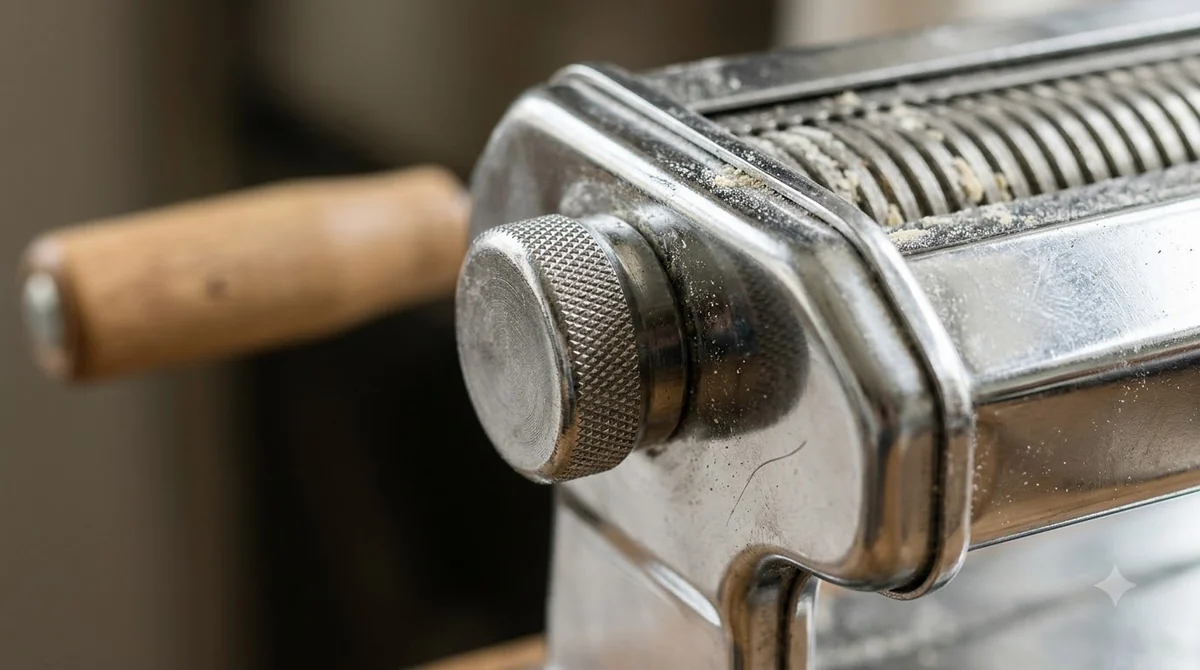
| Attachment | Speed | Noodle width | Suggested use |
|---|---|---|---|
| Pasta roller | 2 | Up to 140 mm | Kneading and thinning dough |
| Lasagnette cutter | 3 | 12 mm | Thick noodles |
| Fettuccine cutter | 5 | 6.5 mm | Egg noodles and fettuccine |
| Spaghetti cutter | 7 | 2 mm | Spaghetti, thin fettuccine and linguine fini |
| Capellini cutter | 7 | 1.5 mm | Very thin angel hair-type pasta and capellini |
The roller has its own setting scale. The manual suggests settings 1 or 2 for kneading, 4 or 5 for lasagna noodles, fettuccine, spaghetti and ravioli, and 7 or 8 for capellini-style pasta. Start thick and work down, because a thin setting on stiff dough can tear the sheet.
The attachments are designed for pasta dough only. The manual warns that cutting or rolling anything else can damage the rollers and cutters, so keep other foods and tough doughs away from your kitchenaid pasta roller parts.
How to clean the pasta roller and cutters
Clean the kitchenaid pasta roller parts by hand (our full KitchenAid pasta roller cleaning guide adds more detail), because the manual says they must not go in the dishwasher or be immersed in water or other liquids. Let the dough dry first, since dried dough comes off far more easily than wet dough.
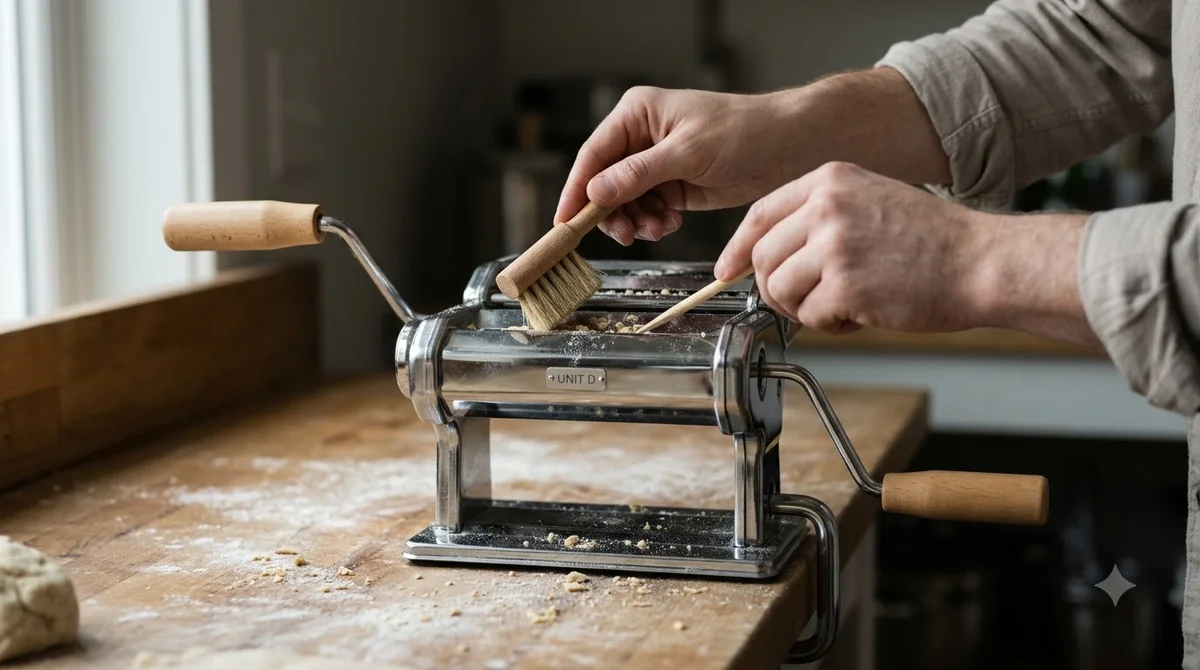
- Turn the stand mixer off, unplug it, and remove the roller or cutter from the hub.
- Let the pasta roller and cutters air dry for one hour after cutting.
- Remove dried dough with the cleaning brush. If it sticks, tap the attachment with your hand, and use a toothpick for the stubborn spots.
- Polish the parts with a soft, dry cloth, then store them in a dry place at room temperature.
Never use a knife or any other sharp object to scrape off excess dough, and do not use metal objects to clear out the rollers. The manual also says not to run a dish towel through the rollers, since lint and fibres can stay in the gears.
The manual does not describe a damp-cloth method, so stick to the dry steps above. Dough that sits on the parts for a long time hardens, which is why the manual asks for one hour of drying before brushing.
How to lubricate the gears on your roller and cutters
The manual recommends a drop of light mineral oil in each of the four corners of the pasta roller and cutters, once a year or after about 50 uses. This keeps the gears turning smoothly and is part of the maintenance schedule.
Oil the kitchenaid pasta roller parts after they have been cleaned and dried, so no dough residue is left in the gears. The manual specifies light mineral oil, so use that product rather than a general kitchen oil.
The gears are the moving parts of the kitchenaid pasta roller parts that turn the rollers and cutters. The manual gives two triggers, a year or 50 uses, without saying which comes first, so treat whichever one arrives first as your reminder.
Where to get a missing or broken part
The owner manual says retailers do not provide service, so missing or broken kitchenaid pasta roller parts go to KitchenAid’s country service centres or to the guarantor named in the guarantee. Do not return the attachments or the stand mixer to the store where you bought them.
Before you contact support, run the manual’s troubleshooting checks. They cover whether the mixer is plugged in, the fuse or breaker, a restart after 10 to 15 seconds, the roller speed, how the attachment is fitted, and whether the dough follows the recipe. Having the model number ready also makes it faster to confirm which kitchenaid pasta roller parts your set includes.
The guarantee in the manual covers the 5KSMPRA, 5KSMPSA and 5KSMPCA for two years from the date of purchase in the UK, Ireland, South Africa and the UAE. Check your region’s current terms (our KitchenAid pasta roller warranty guide has more), and keep the receipt or invoice, because the manual requires proof of purchase for a claim. Whether a single replacement cutter is sold separately was not confirmed for this article, so ask KitchenAid support with your model number before you buy one.

Frequently Asked Questions
Which cutters come with my KitchenAid pasta roller?
It depends on the model number. The kitchenaid pasta roller parts for the 5KSMPRA include a spaghetti cutter and a fettuccine cutter with the pasta roller. The 5KSMPSA includes the roller only, and the 5KSMPCA includes a capellini cutter and a lasagnette cutter, according to the manual’s model chart.
Can I wash the pasta roller parts in the dishwasher?
No. The manual says the pasta roller and cutters should be hand washed and must not go in the dishwasher or be immersed in water. Let the dough dry for one hour, then brush it off with the cleaning brush.
How do I remove dough that has dried inside the parts?
Use the cleaning brush first. If the dough is stuck, tap the attachment with your hand, then use a toothpick for small spots. The manual forbids knives and other sharp objects, so avoid anything that could scratch the rollers.
How often should I oil the gears?
The manual recommends one drop of light mineral oil in each of the four corners of the roller and cutters, once a year or after about 50 uses. Clean and dry the parts first so that no dough residue stays in the gears.
What speed should I use with each cutter?
The manual’s speed chart for the kitchenaid pasta roller parts lists speed 2 for the pasta roller, speed 3 for the lasagnette cutter, speed 5 for the fettuccine cutter, and speed 7 for both the spaghetti and capellini cutters. Use the roller settings chart to choose the thickness.
Can I buy a single replacement part?
Availability of single kitchenaid pasta roller parts was not confirmed for this article. Contact KitchenAid support or the service centre for your region with your model number, since retailers do not provide service. Keep your receipt, because a claim requires proof of purchase.
Before you buy any of the kitchenaid pasta roller parts, read the model number on your box or manual, since the 5KSMPSA ships with the roller alone. After each use, let the parts dry, clean them by hand, and oil the gears once a year. Keeping the kitchenaid pasta roller parts dry and clean is the simplest way to avoid service calls.
 8 min readBy Use & ModelKitchenAid Pasta Roller Not Working: What to Check FirstUpdated Nov 10, 2026
 6 min readBy Use & ModelKitchenAid Pasta Roller Lasagna: How to Roll Sheets for LayersUpdated Nov 7, 2026
 9 min readBy Use & ModelHow to Use KitchenAid Pasta Roller: Step-by-Step GuideUpdated Nov 7, 2026
 9 min readBy Use & ModelHow to Clean KitchenAid Pasta RollerUpdated Nov 10, 2026
 8 min readBy Use & ModelNinja Artisan Pizza Oven Accessories: What Comes With It and How to Care for EachUpdated Nov 15, 2026
 8 min readBy Use & ModelCuisinart 3 in 1 Pizza Oven Parts: What Comes With It and How to CheckUpdated Nov 8, 2026