
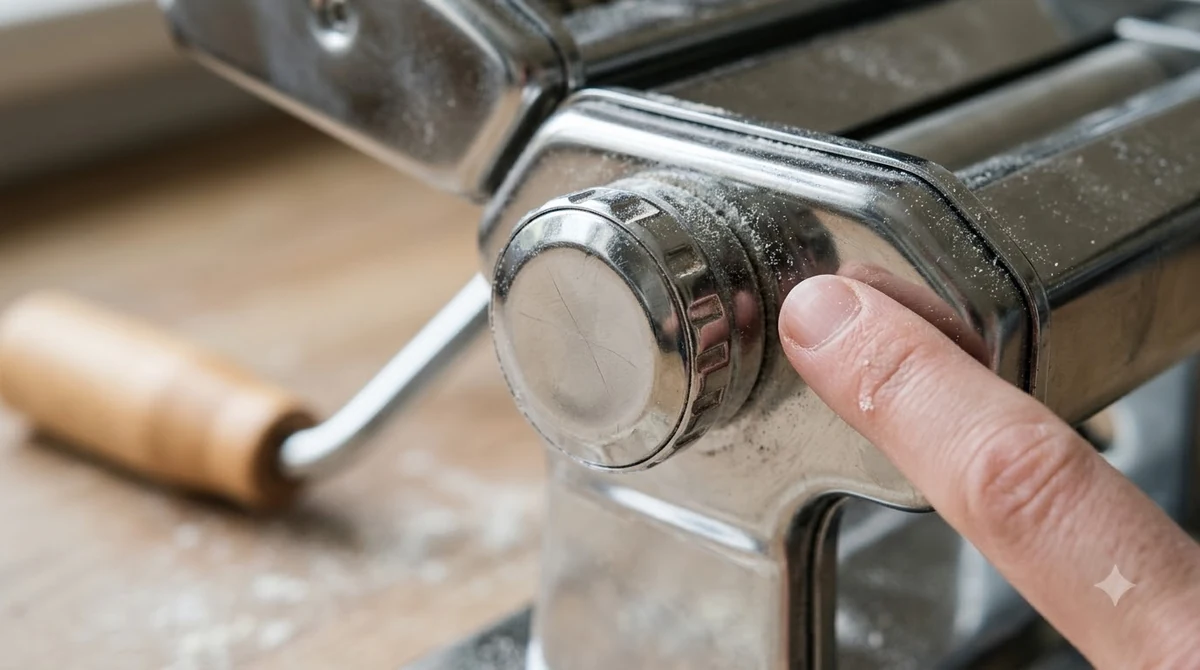

The KitchenAid KSMPRA is a pasta roller and cutter attachment set that fits the hub of a stand mixer. The set includes a pasta roller, a fettuccine cutter, a spaghetti cutter and a cleaning brush. You attach it to the mixer, set the roller thickness by dial, and run each piece at a fixed mixer speed. It is designed for pasta dough only.
If you already own a KitchenAid pasta roller or want to know what this specific model covers, the details below cover the parts, attaching steps, speed and thickness settings, and cleaning routine from the KitchenAid guidance we read.
What the KSMPRA Set Contains
The KSMPRA is sold as a three-piece pasta roller and cutter set, plus a cleaning brush. The three pieces are the roller, the fettuccine cutter and the spaghetti cutter, each of which attaches to the same mixer hub.
The KitchenAid guide to the pasta cutter and roller lists these parts and the speed for each, so check the box against that list when you unpack. The roller is the piece that flattens dough, and the two cutters turn the sheets into noodles.
How to Attach the KSMPRA to Your Mixer
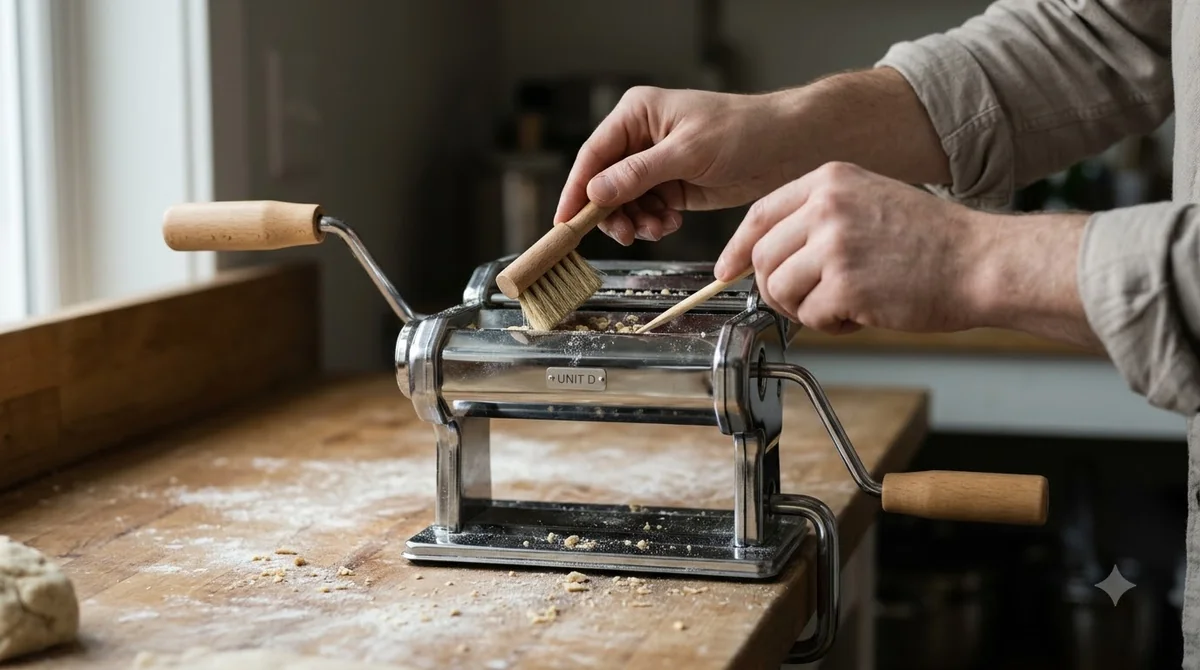
Attaching the set is quick, but the mixer must be switched off first. The steps are the same for the main mixer types, with one small difference in how you open the hub. To see how the KitchenAid roller set performs, read our roller review.
- Turn the mixer off (0) and remove the bowl.
- On a tilt-head mixer, unscrew the hub cover. On a bowl-lift mixer, flip up the hub cover.
- Insert the attachment into the hub so the power shaft fits into the square socket. Rotate it slightly if needed until the pin sits in the notch.
- Tighten the hub knob until the attachment is fully secured.
Check that the attachment does not wobble before you turn the mixer on, and tighten the hub knob again if it moves.
Speed Settings for Each Piece
Each attachment has a set mixer speed. The guidance gives speed 2 for the pasta roller, speed 5 for the fettuccine cutter and speed 7 for the spaghetti cutter. Run each piece at the speed its guidance gives, rather than changing the mixer speed partway through. If you want shaped pasta instead of sheets, read about the KitchenAid extruder attachment for shaped pasta.
The roller thickness is a separate dial, not a mixer setting. The roller has 8 thickness settings, and you start at setting 1 and work up gradually, dusting each pass with flour to stop sticking.
| Roller setting | Use from the guidance |
|---|---|
| 1 or 2 | Kneading and starting to thin the dough |
| 3 | Thick kluski-style noodles with extra egg |
| 4 | Middle setting for egg noodles |
| 4 or 5 | Lasagne sheets, fettuccine, spaghetti and ravioli |
| 6 or 7 | Tortellini, thin fettuccine and linguine fini |
| 7 or 8 | Angel hair capellini and very thin linguine |
If the sheet is hard to pass through or tears, go back to the previous thickness and dust it again. Start thin-setting passes only once the dough has been thinned on the lower settings.
Cutting Fresh Noodles With the Cutters
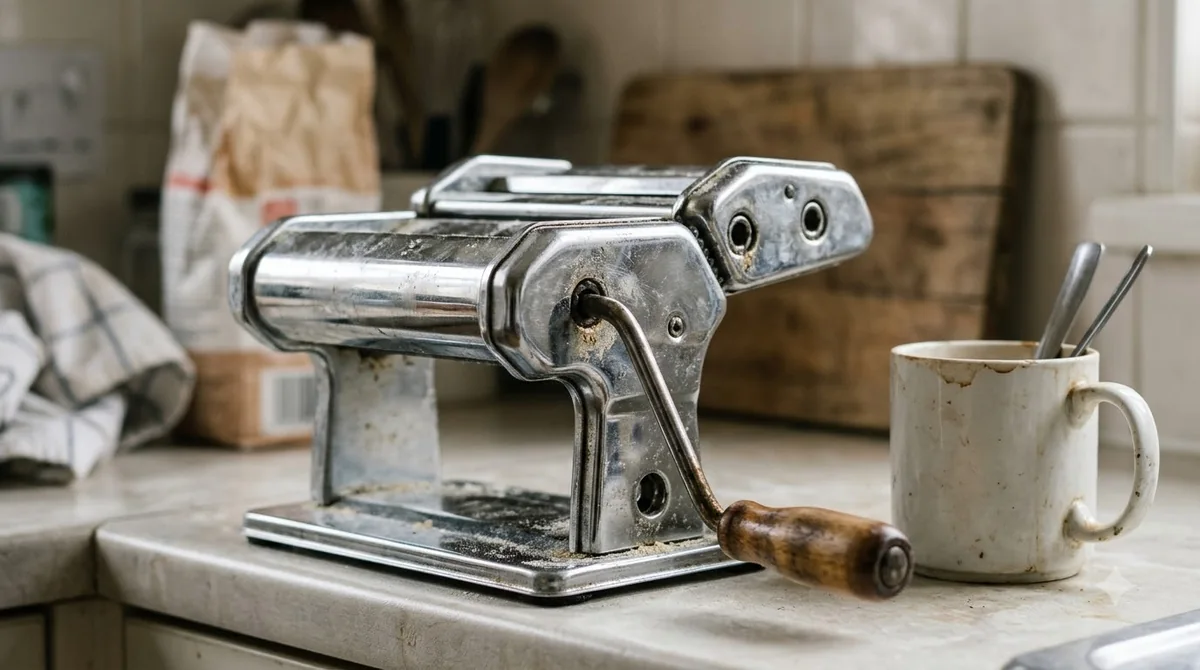
The fettuccine and spaghetti cutters take the rolled sheet and cut it into strands. Feed a sheet that is already at the right thickness, and keep the cut edges dusted so the strands do not stick together. A hand-crank alternative is compared in Marcato versus KitchenAid.
Hang or lay the cut noodles on a rack or a floured surface until you cook them. Fresh noodles dry quickly, so cook them soon after cutting or dry them fully if you plan to store them.
Cleaning and Care After Each Use
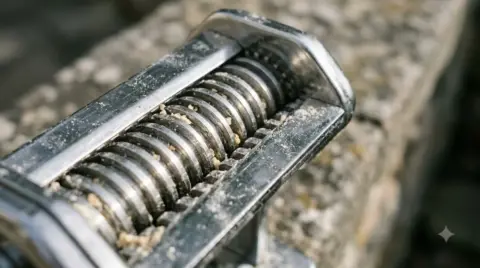
Clean the set after every use, before the dough dries onto the rollers. Turn the mixer off, unplug it and detach the attachment before you start cleaning. The wider range is covered in KitchenAid pasta maker options.
- Let the attachment air dry for about an hour.
- Brush off the dried dough with the included cleaning brush.
- If dough is stubborn, tap the attachment gently or use a toothpick. Never use a knife or other sharp object.
- Polish with a soft, dry cloth and store it in a dry place at room temperature.
Do not immerse the set in water or wash it in the dishwasher, and do not run a dish towel through the rollers. Those steps can damage the parts and leave moisture in the mechanism.
Who the KSMPRA Set Suits
The KSMPRA suits someone who already owns a stand mixer and wants to make pasta at home without buying a separate machine. Because the roller and cutters share one hub, the set takes up no extra counter space beyond the mixer itself.
It is less suited to anyone who wants to roll other doughs or to make large batches without a mixer. The guidance limits the attachments to pasta dough, so a set of this kind is a dedicated tool rather than a general one. Before you buy, check that your mixer uses the hub type the set expects, since the attach steps differ between tilt-head and bowl-lift models.
If you plan to cook fresh pasta often, the fixed speeds and numbered thickness dial make the results easier to repeat. Keep a note of the setting you used for each shape, so the next batch comes out the same.
Frequently Asked Questions
What comes in the KitchenAid KSMPRA set?
The set includes a pasta roller, a fettuccine cutter, a spaghetti cutter and a cleaning brush. It is sold as a three-piece set with the brush.
What mixer speed should I use with the KSMPRA?
Use speed 2 for the pasta roller, speed 5 for the fettuccine cutter and speed 7 for the spaghetti cutter. The roller thickness is set separately with its dial.
Can I put the KSMPRA in the dishwasher?
No. The guidance says not to immerse the attachment in water or wash it in the dishwasher. Brush the dough off after it air dries.
Can I roll dough other than pasta with it?
No. The attachments are designed for pasta dough only, and the guidance warns against rolling or cutting anything else.
The KSMPRA gives you a roller and two cutters on a stand mixer, with a simple attach, speed and cleaning routine. Run the roller at speed 2, pick the thickness setting for the shape you want, and brush the dough off after it dries. Keep the set dry and dough-only, and it will last longer.
 9 min readReviews & VersusKitchenAid Pasta Roller: Set, Specs and Who Should Buy ItUpdated Nov 15, 2026
 5 min readReviews & VersusKitchenAid Pasta Roller vs Extruder: Which Attachment to BuyUpdated Nov 13, 2026
 8 min readReviews & VersusKitchenAid Pasta Roller Warranty: Coverage, Length and ClaimsUpdated Nov 10, 2026
 8 min readReviews & VersusImperia Pasta Machine: Models, Roller Range and Who Should BuyUpdated Nov 15, 2026
 8 min readReviews & VersusKitchenAid Pasta Extruder: Shapes, Speeds and Buying GuideUpdated Nov 15, 2026
 9 min readReviews & VersusKitchenAid Pasta Maker: What the Attachments Do and How to Use ThemUpdated Nov 15, 2026