
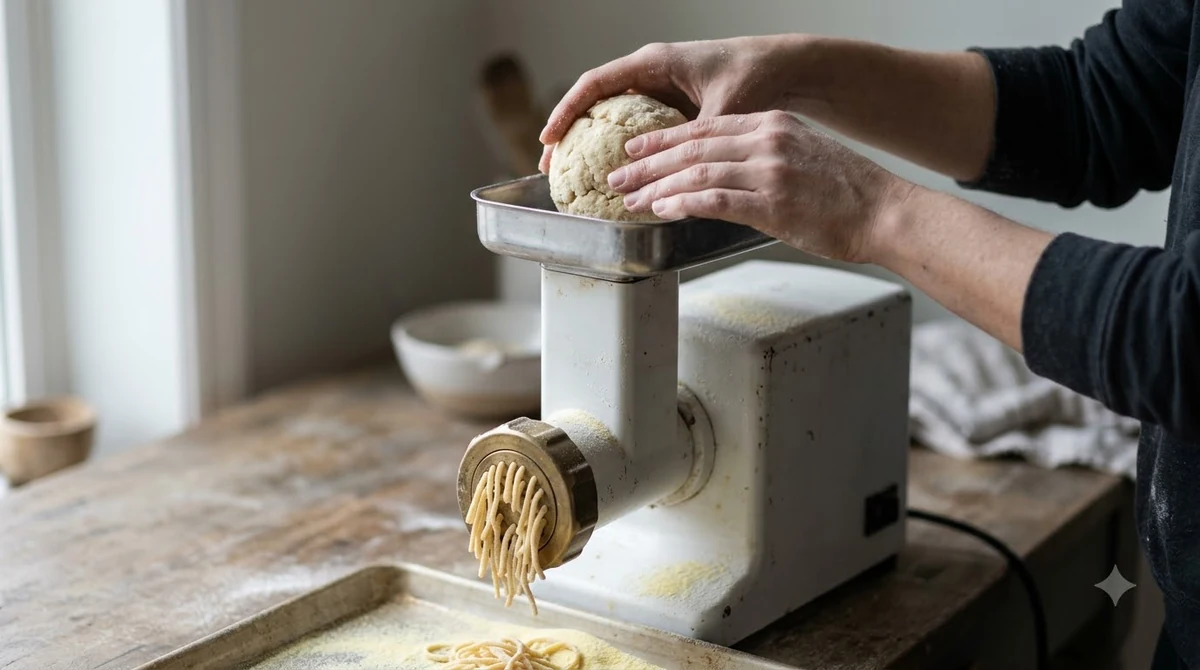

The KitchenAid pasta maker is an attachment that fits KitchenAid stand mixers and forces dough through shaped plates. This guide covers what the pasta press kit includes, how to attach it, the mixer speed for each plate, and how to clean dried dough off the parts.
Set the speed for each plate, follow the mixer rest rule between batches, and clean the parts before the dough dries. Check the model and plate set before you buy.

KitchenAid KSMPEXTA Gourmet Pasta Press Attachment
Pros & ConsViewHide
Reasons to buy
- Six quick-change discs: spaghetti, bucatini, rigatoni, fusilli, large and small macaroni
- Built-in wire cutter and a storage case
- Stainless steel cleaning tool included
Reasons to avoid
- Needs a KitchenAid stand mixer, sold separately
- Takes more cleanup than a roller
- Premium-priced attachment
What Comes With the KitchenAid Pasta Maker Press
The press kit in a KitchenAid pasta maker set includes a housing, cutter, auger, pasta ring, six pasta plates, a combo tool, a cleaning brush and a storage case. The plates set the shape of the pasta that comes out of the press.
If you are new to the KitchenAid pasta maker, read the parts list before you unbox anything else, so you know which piece goes where. For a closer look at the press itself, read our KitchenAid pasta extruder review.
According to the parts list in the booklet, the kit contains the following pieces.
- Housing, which holds the auger and attaches to the mixer hub
- Auger, the screw that pushes dough toward the plate
- Pasta ring, which holds the plate in place
- Cutter, a swing-arm wire that cuts pasta to length
- Six pasta plates: spaghetti, bucatini, rigatoni, fusilli, large macaroni and small macaroni
- Combo tool, cleaning brush and storage case

How to Attach the Press to Your Stand Mixer
Turn the mixer to speed 0 and unplug it before you attach the press, then tighten the hub knob until the press is secure.
KitchenAid’s UK support page describes the attach steps for the press, and the order below follows it.
- Set the mixer to speed 0 and unplug it. The support page lists this as the first step.
- Open the hub cover. If the mixer has a hinged cover, flip it up. If the cover is removable, turn the knob counterclockwise to remove it.
- Push the shaft housing into the hub so the square socket fits the power shaft. Rotate the press gently if needed, and make sure the pin sits in the notch of the hub rim.
- Tighten the hub knob until the press is completely secured to the mixer.
Give the press a gentle tug before you start the mixer. If it moves, check the pin and the notch again before you run any dough through the attachment.
A KitchenAid pasta maker only works when the hub is seated correctly, so the attach steps matter as much as the plate you choose.
How to Assemble the Press Before Use
Assemble the auger first, then the plate and ring, and lock the cutter with a quarter turn to the right.
The booklet describes the same order each time. Insert the auger with its cross-shaped peg first into the housing. Fit the plate tabs into the notches, then screw the pasta ring on finger tight.
Push the cutter in and turn it to the right to lock it. If the ring is hard to loosen later, the combo tool wrench that comes with the kit is meant for that job.
A KitchenAid pasta maker press is easier to assemble when the parts are laid out in the order the booklet shows, from the auger to the cutter.
Mixer Speed and Length for Each Pasta Plate
Use speed 10 for spaghetti and bucatini, speed 6 for rigatoni and both macaroni plates, and speed 2 to 4 for fusilli, as the booklet chart shows.
| Plate | Mixer speed | Extrusion length |
|---|---|---|
| Spaghetti | 10 | About 9½ in (24.0 cm) |
| Bucatini | 10 | About 9½ in (24.0 cm) |
| Rigatoni | 6 | About 1½ in (4.0 cm) |
| Fusilli | 2 to 4 (chart) | Traditional 9½ in (24.0 cm) or short 1½ in (4.0 cm) |
| Large macaroni | 6 | Up to 2 in (5.0 cm) |
| Small macaroni | 6 | Up to 1½ in (4.0 cm) |
The booklet also says fusilli gives the best results at a maximum of speed 6, so treat the chart range as a starting point. Raise the speed only if the dough feeds smoothly through the hopper.
Think of the speed setting as part of the recipe. The same KitchenAid pasta maker press can make rigatoni at speed 6 and spaghetti at speed 10, so keep the chart nearby while you cook.
Speed and plate are the two settings that define each batch from any KitchenAid pasta maker, so write them down when you find a combination that works.
Length depends on the plate you choose. Spaghetti and bucatini come out long, so you cut them with the swing-arm wire cutter. Rigatoni and the short macaroni shapes stay short, so you usually need less cutting.
Basic Egg Dough for the Press
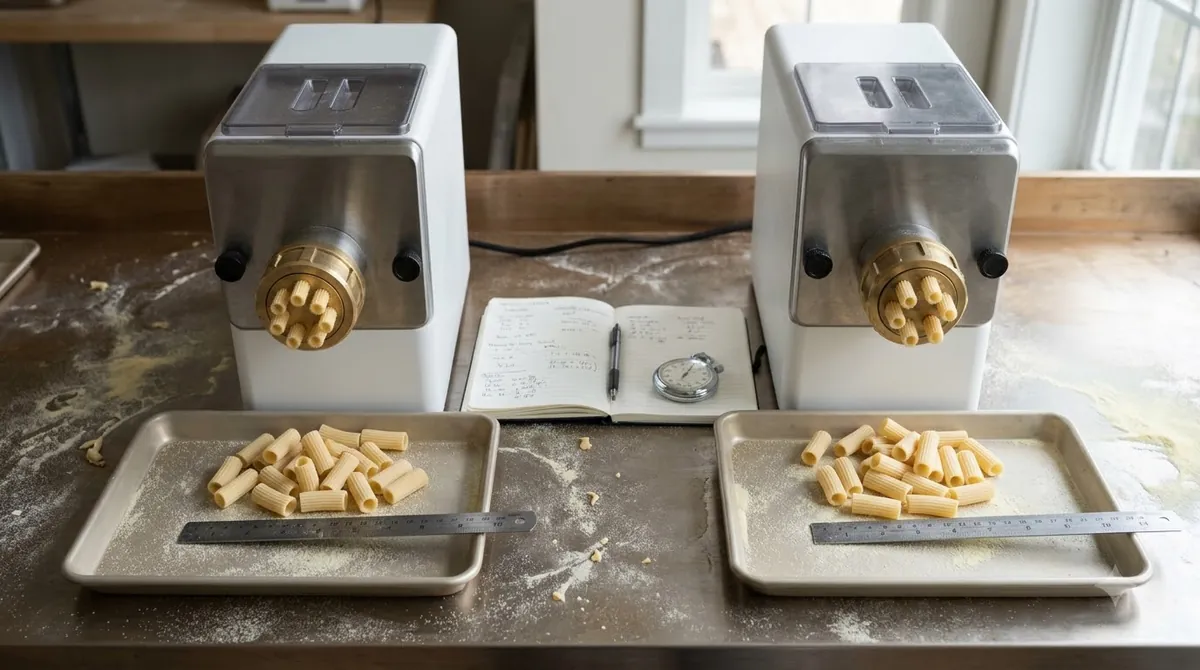
The booklet’s basic recipe uses 4 large eggs, 3½ cups sifted all-purpose flour, 1 tablespoon water and 1 teaspoon salt, and it yields about 1¼ pounds of dough.
Fresh pasta is usually made with eggs and all-purpose or “00” flour, according to Wikipedia’s article on pasta. A KitchenAid pasta maker press works best when the dough is firm enough to hold its shape as it moves through the plate.
- Pinch a small amount of dough. It should stay together and not stick to your fingers.
- If the dough is too moist, dust it with flour or pat flour into the dough before you extrude it.
- Feed walnut-size pieces into the hopper. The dough should self-feed, and you should use the combo tool only if the dough gets caught.
The booklet also sets a rest rule. Let the mixer rest for at least 1 hour after extruding two consecutive pasta dough recipes, so plan your batches with that pause in mind.
This guide sticks to the six plates in the booklet and does not cover other KitchenAid pasta maker accessories. For flat pasta, see the KitchenAid pasta roller review, and for filled pasta the KitchenAid ravioli maker review.
Every KitchenAid pasta maker batch starts with the same dough test, so the press gets a steady feed from the first plate to the last.
How to Clean Dried Dough Off the Press
Let dough on the plates dry overnight, then brush it off with the cleaning brush. Never use metal tools on the plates.
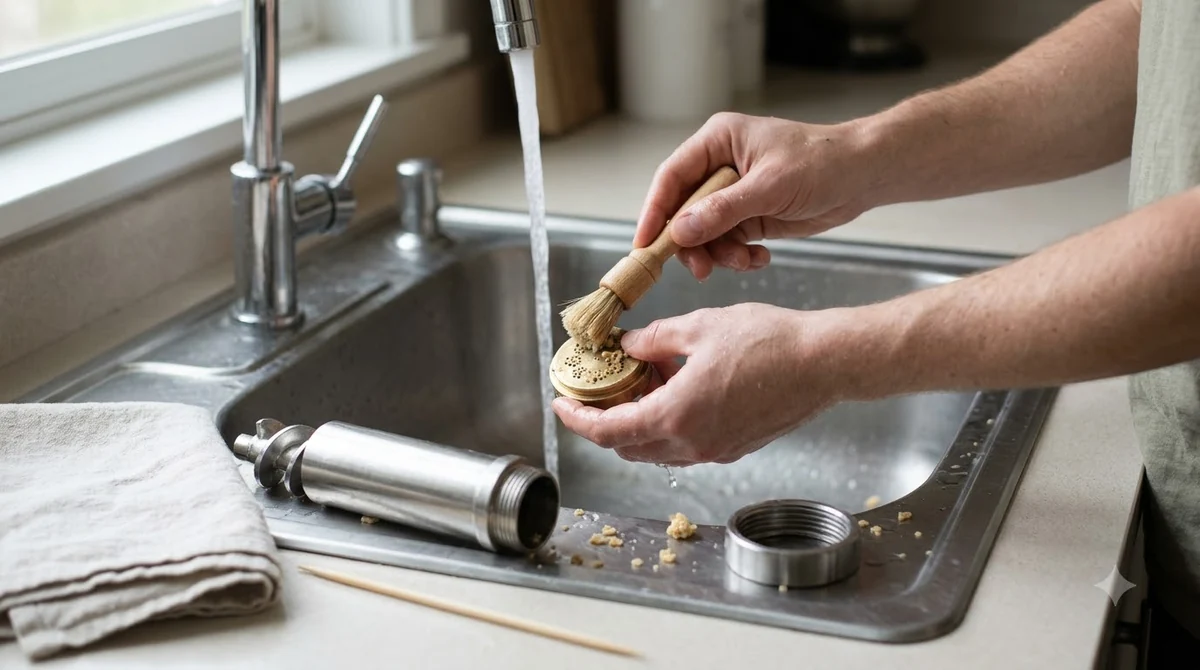
The care rules in the booklet sort the parts by how they can be cleaned.
- Dishwasher safe: auger, pasta ring, combo tool and storage case
- Never in the dishwasher or water: the housing
- Hand wash in warm sudsy water and dry thoroughly: the cutter and pasta plates
- Clear stuck dough with a wooden skewer or toothpick, not a metal object
To take the press apart for cleaning, turn the mixer off and unplug it first. KitchenAid’s product help page lists the disassembly steps, including how to use the combo tool wrench if the ring is tight. For a longer walkthrough, see how to clean the KitchenAid pasta extruder.
Cleaning is the biggest daily task with any KitchenAid pasta maker, because dough that dries on the plates is hard to remove later.
What to Check Before You Buy
Confirm the attachment fits your mixer hub, the plates you cook with, and the drying and cleaning steps you can keep up with.
Start with the mixer. The support page notes that some mixers have a hinged hub cover and others have a removable one, so look at your hub before you order. Our guide to KitchenAid tilt-head attachments lists what fits that mixer type.
Next, count the shapes you actually cook. The kit’s six plates cover spaghetti, bucatini, rigatoni, fusilli and two macaroni sizes.
A KitchenAid pasta maker is a stand mixer attachment, so the mixer you already own sets the first limit on what you can buy.
Before you buy any KitchenAid pasta maker attachment, read its model number on the box and compare it with the hub on your mixer.
What We Could Not Confirm
We could not confirm the piece count, the price or the mixer fit for KitchenAid’s 3-piece pasta roller and cutter set from the manufacturer’s own page, so this guide does not list those details. Prices also change by retailer. Check the model number on the packaging and the official listing before you buy.
Frequently Asked Questions
Is the KitchenAid pasta press dishwasher safe?
Some parts are. The auger, pasta ring, combo tool and storage case are dishwasher safe. The housing must never go in the dishwasher or in water, and the cutter and plates should be hand washed and dried thoroughly.
Can I run the mixer back to back with pasta dough?
Not without a break. The booklet says the mixer must rest at least 1 hour after extruding two consecutive pasta dough recipes, so space out your batches.
How should I store fresh pasta from the press?
Air dry the pasta for 1 hour, then store it in an airtight bag in the refrigerator for up to 5 days. For longer storage, freeze it double wrapped for up to 4 months and cook it from frozen.
How long should I cook the pasta?
Dry pasta takes about 7 minutes, and fresh pasta takes 2 to 5 minutes. The booklet uses 6 quarts of boiling water with 2 teaspoons of salt.
What if the dough is too moist for the press?
Dust it with flour or pat flour into the dough before you extrude it. Test a small pinch first, since the dough should stay together without sticking to your fingers.
A KitchenAid pasta maker press handles firm dough best, so test the dough again whenever the weather or the flour changes.
The same advice applies to any KitchenAid pasta maker recipe, since moist dough sticks in the housing and slows the feed.
Choose a KitchenAid pasta maker by the plates you cook and the mixer hub you already own, not by the brand name alone. Read the booklet that came with your kit before the first batch, and keep the dough test and the rest rule in mind.
 5 min readReviews & VersusKitchenAid Pasta Roller vs Extruder: Which Attachment to BuyUpdated Nov 13, 2026
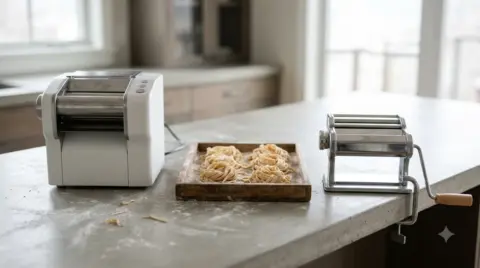 8 min readReviews & VersusMarcato vs KitchenAid: Which Pasta Maker Should You Buy?Updated Nov 14, 2026
 8 min readReviews & VersusPenne vs Ziti: Which Pasta Shape Should You Use?Updated Nov 10, 2026
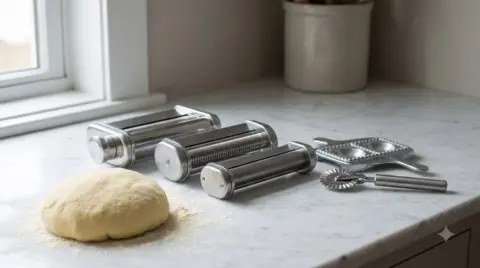 9 min readReviews & VersusGvode Pasta Attachment Review: Honest 2026 Buying GuideUpdated Nov 8, 2026
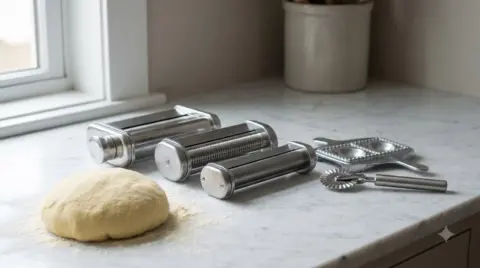 7 min readReviews & VersusAntree Pasta Attachment Review: Parts, Fit and CleaningUpdated Nov 16, 2026
 8 min readReviews & VersusKitchenAid Ravioli Maker Review: Specs, Fit and Buying TipsUpdated Nov 15, 2026