
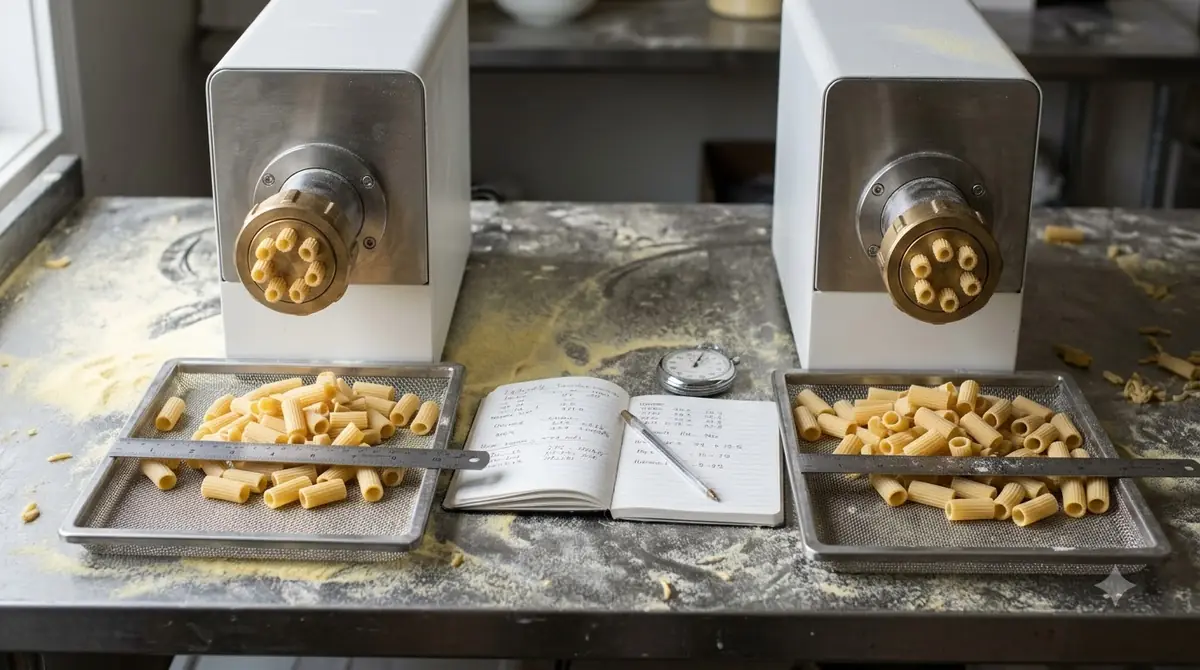

KitchenAid Pro 5 Plus attachments are accessories that fit the stand mixer’s accessory hub, and the pasta press is the main one covered here. The pasta press booklet says it is approved for all KitchenAid household stand mixers. The booklet does not name the Pro 5 Plus, so confirm the fit for your model before you buy.
Confirm the fit of your KitchenAid Pro 5 Plus attachments first, then use the speed chart on your first batch, and follow the cleaning steps after every session.
KitchenAid Pro 5 Plus Attachments: What the Pasta Press Includes
For KitchenAid Pro 5 Plus attachments, the pasta press kit includes a housing, an auger, a swing-arm cutter, a pasta ring, a combo tool, a storage case and six pasta plates. The plate you choose sets the shape, so the plates are the parts you will use most.
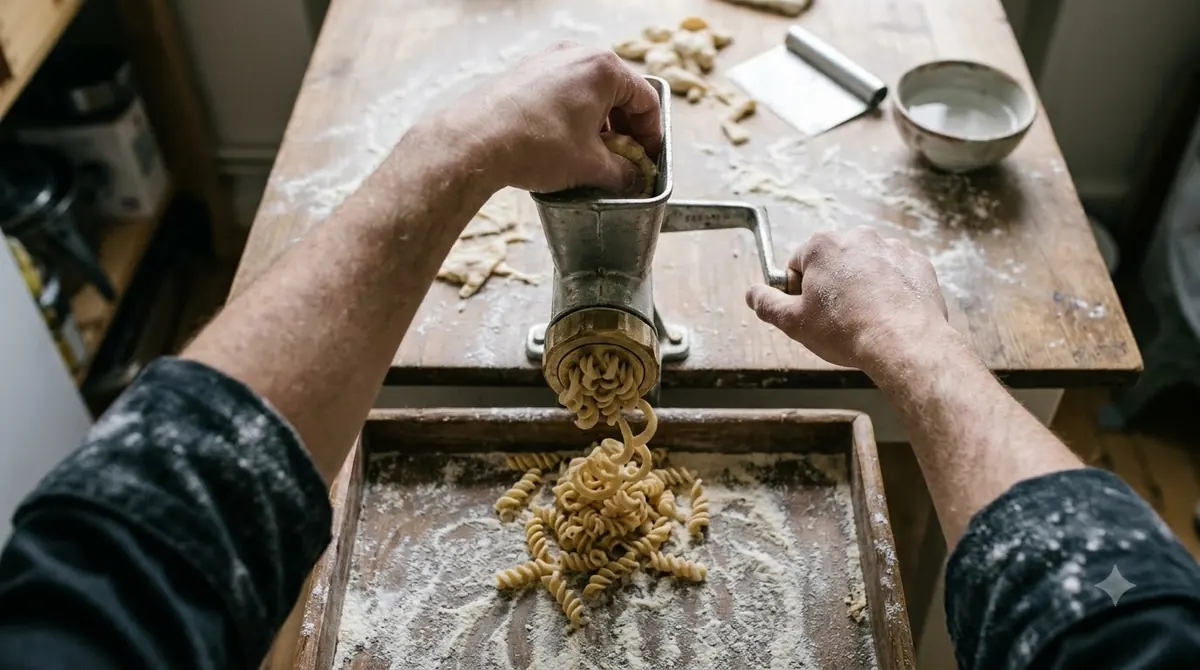
Each part has one job in the press:
- The auger screws dough forward through the housing toward the plate.
- The pasta ring holds the plate in place and is tightened by hand.
- The cutter is a swing-arm wire that cuts each strand to length as it leaves the plate.
- The combo tool has a flat end to push dough, a wrench to loosen a tight ring and a hook to pry out the auger.
- The storage case keeps the six plates together: spaghetti, bucatini, rigatoni, fusilli, large macaroni and small macaroni.
The booklet has two warnings on the parts. Do not use the combo tool to tighten the pasta ring, and do not use the wrench to attach the ring to the press housing, because that can damage the accessory.
Do KitchenAid Pro 5 Plus Attachments Fit Your Mixer?
Before you buy KitchenAid Pro 5 Plus attachments, the booklet’s approval statement is the starting point. It says the press is approved for all KitchenAid household stand mixers, but it does not name the Pro 5 Plus. Treat the fit as confirmed only once you have checked your own model’s documentation. Our guides to KitchenAid bowl lift attachments and KitchenAid Pro 600 attachments cover related KitchenAid models.
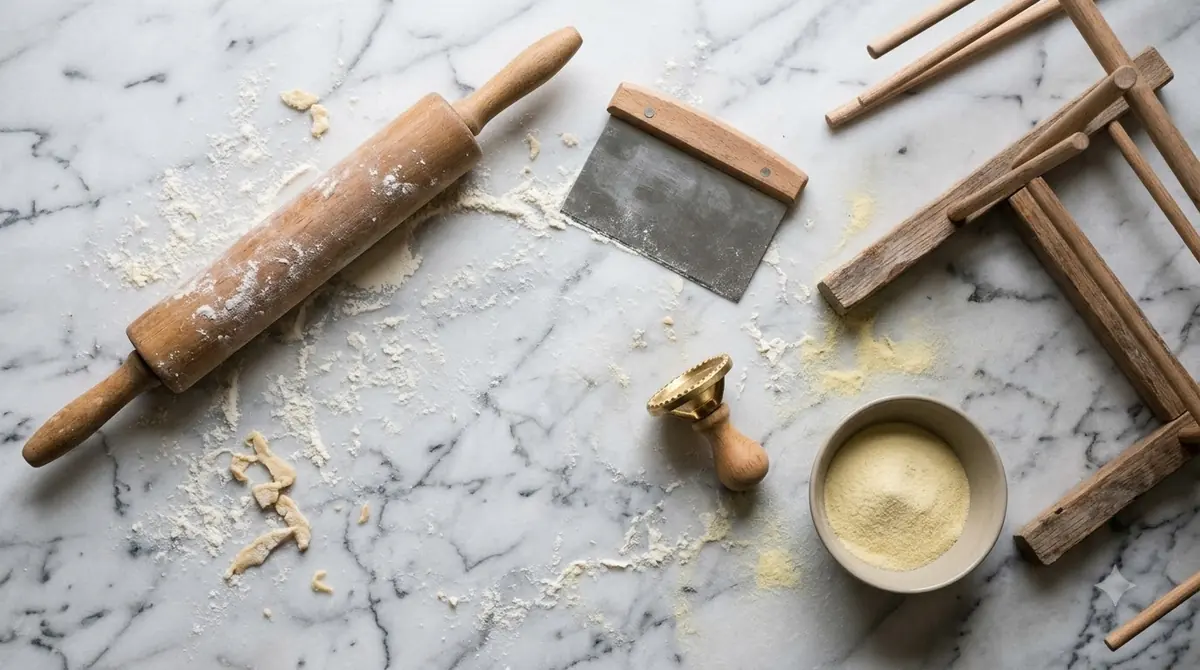
Start with the model number. The booklet’s proof of purchase page has a blank for the model number and the purchase date, so write them down with the store name when you buy. Then check these points before you attach anything:
- Find the accessory hub on your mixer, which the booklet asks you to uncover or flip up before attaching.
- Read the approval statement in your own booklet, and compare it with the model listing on the manufacturer’s site.
- If the booklet and a model listing disagree, contact KitchenAid before using the press.
How to Attach the Pasta Press to a Stand Mixer
Turn the mixer off and unplug it, then seat the shaft in the hub and tighten the knob clockwise until the press is secure. When you attach KitchenAid Pro 5 Plus attachments such as this press, the booklet lists these steps in order.
- Turn the stand mixer speed control to OFF and unplug the mixer.
- Loosen the accessory knob by turning it counterclockwise.
- Remove the accessory hub cover, or flip it up.
- Insert the accessory shaft housing into the hub so the power shaft fits the square socket. Rotate it back and forth if needed.
- When the pin on the housing sits in the notch on the hub rim, tighten the knob clockwise until the accessory is fully secured.
Only plug the mixer back in and set a speed after the press is secure. The booklet treats the unplugged state as the safe starting point for every attach and detach step, and KitchenAid’s UK assembly FAQ describes the same hub steps for the press.
Mixer Speed and Pasta Length by Plate
Spaghetti and bucatini run at speed 10, rigatoni and both macaroni plates run at speed 6, and fusilli runs at 2 to 4, or no more than 6 for best results. The table below gives the plate settings for these KitchenAid Pro 5 Plus attachments, taken from the booklet.
| Plate | Mixer speed | Extrusion length |
|---|---|---|
| Spaghetti | 10 | About 9½ in (24.0 cm) |
| Bucatini | 10 | About 9½ in (24.0 cm) |
| Rigatoni | 6 | About 1½ in (4.0 cm) |
| Fusilli | 2 to 4 (max 6) | Long 9½ in (24.0 cm); short 1½ in (4.0 cm) |
| Large macaroni | 6 | Up to 2 in (5.0 cm) |
| Small macaroni | 6 | Up to 1½ in (4.0 cm) |

KitchenAid KSMPEXTA Gourmet Pasta Press Attachment
Pros & ConsViewHide
Reasons to buy
- Six quick-change discs: spaghetti, bucatini, rigatoni, fusilli, large and small macaroni
- Built-in wire cutter and a storage case
- Stainless steel cleaning tool included
Reasons to avoid
- Needs a KitchenAid stand mixer, sold separately
- Takes more cleanup than a roller
- Premium-priced attachment

KitchenAid KPDR Pasta Drying Rack Attachment
Pros & ConsViewHide
Reasons to buy
- Dries up to 4 lb of fresh pasta at a time
- Folds flat for storage
- 1-year limited warranty, no tools needed to assemble
Reasons to avoid
- Takes counter space while pasta dries
- Costs more than basic plastic drying racks
- Assembly required before first use
The booklet says to set the speed between 6 and 10 according to pasta type and personal preference. Slower speeds suit very short pasta, while longer shapes such as spaghetti can run at higher speeds.
Feeding matters as much as speed. The booklet says to feed walnut-size pieces of dough into the hopper, and to add the next piece only once the auger is visible. With these KitchenAid Pro 5 Plus attachments, the dough should self-feed. Use the combo tool to push dough only if it catches in the hopper and stops feeding on its own.
Storing and Handling Fresh Pasta
Fresh pasta made with KitchenAid Pro 5 Plus attachments keeps for up to five days in the refrigerator if you air dry it for one hour first and then store it in an airtight plastic bag. Cook it right away if you prefer.
The booklet describes two drying options after extrusion:
- Long noodles on the KitchenAid Drying Rack (KPDR), which the booklet names as an accessory.
- Short pasta laid in a single layer on a towel on a flat surface.
Food safety also matters. The booklet warns that perishable ingredients such as eggs, dairy and meat should not stay unrefrigerated for more than one hour. Keep the bowl and dough cool between batches. If you want a roller as well as the press, our best KitchenAid pasta roller attachments roundup compares the options for your KitchenAid Pro 5 Plus attachments.
Cleaning and Care for the Pasta Press
Safety comes first. The booklet warns of a rotating blade hazard, so keep fingers out of the openings, always use the food pusher, and keep the press away from children. Set the mixer to OFF and unplug it before you change plates or clean the press.
Dough that dries on the plates is easiest to remove after an overnight rest. The booklet says to let the leftover dough dry overnight before separating it, then clean it with the cleaning brush.
- Pasta plates and the cutter: hand wash them in warm sudsy water and dry them thoroughly. The booklet says not to put the plates in the dishwasher.
- Auger, pasta ring, combo tool and storage case: the booklet lists these as dishwasher safe.
- Press housing: do not wash it in the dishwasher or immerse it in water or other liquids.
- Stubborn dough: use a wooden skewer or toothpick, and avoid metal objects.
If a ring is stuck, use the wrench end of the combo tool rather than force. KitchenAid’s disassembly guide for the pasta press shows the full order: unplug, unscrew the ring, remove the plate, then use the hook to pull out the auger. For a longer routine, see our guide on how to clean a KitchenAid pasta extruder.
Frequently Asked Questions
Does the pasta press fit a Pro 5 Plus?
The booklet says the press is approved for all KitchenAid household stand mixers, but it does not name the Pro 5 Plus. Confirm the match for your KitchenAid Pro 5 Plus attachments with the model listing or your mixer’s manual before you buy.
Which speed should I use for spaghetti?
For KitchenAid Pro 5 Plus attachments, use speed 10 for spaghetti, as the booklet lists. Fusilli should stay between 2 and 4, and no higher than 6 for best results.
How long can fresh pasta be stored?
Air dry fresh pasta for one hour, then store it in an airtight bag in the refrigerator for up to five days.
Can I put the pasta plates in the dishwasher?
No. For KitchenAid Pro 5 Plus attachments, the booklet says not to put pasta plates in the dishwasher. Hand wash them in warm sudsy water and dry them thoroughly. The storage case is dishwasher safe.
Who can I call about the pasta press?
The booklet lists 1-800-541-6390 for customers in the U.S. and 1-800-807-6777 for customers in Canada.
Check the model fit of your KitchenAid Pro 5 Plus attachments before you buy, then start with the speed chart on your first batch. If the match is still unclear, contact KitchenAid before you attach the press, so you do not risk damaging the accessory.
 6 min readBy Use & ModelKitchenAid Classic Plus Attachments: Which Ones Fit and What Each DoesUpdated Nov 7, 2026
 8 min readBy Use & ModelKitchenAid Pro 600 Attachments: What Fits and What to CheckUpdated Nov 8, 2026
 9 min readBy Use & ModelKitchenAid Pro Line Attachments: What Fits and How to CheckUpdated Nov 8, 2026
 8 min readBy Use & ModelKitchenAid Pasta Extruder Manual: Assembly, Speeds and CleaningUpdated Nov 7, 2026
 8 min readBy Use & ModelKitchenAid Artisan Attachments: Which Pasta Tools Fit Your MixerUpdated Nov 8, 2026
 8 min readBy Use & ModelKitchenAid Artisan Mini Attachments: Which Pasta Tools FitUpdated Nov 7, 2026