
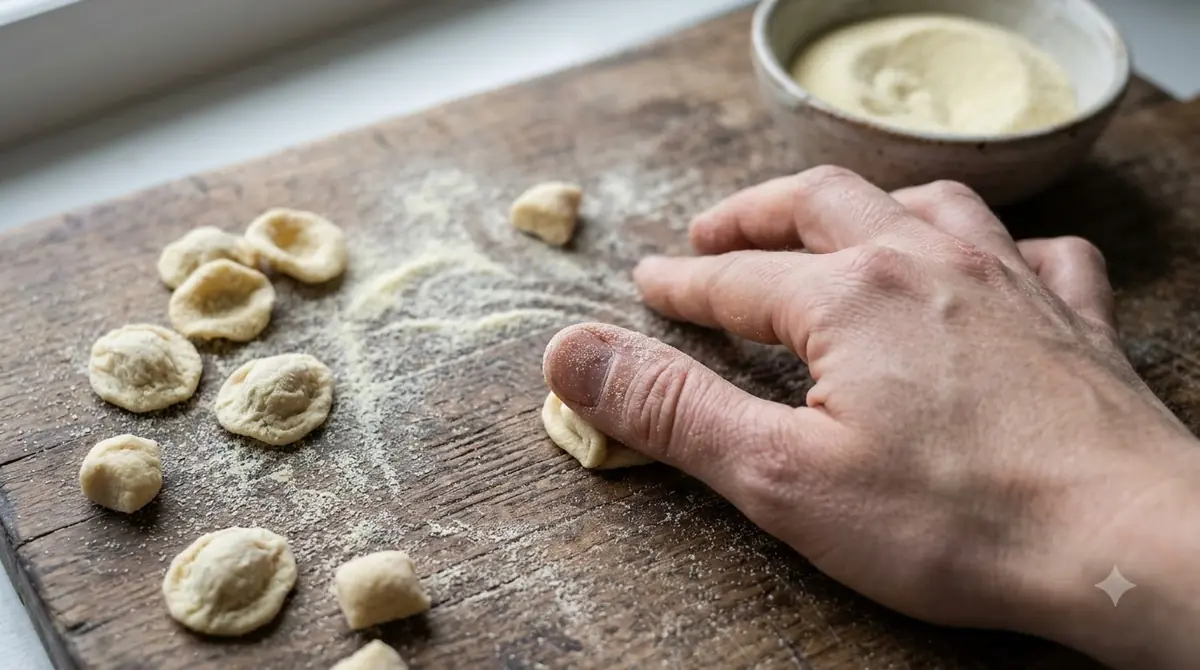

Homemade casarecce is a semolina dough cut into small pieces and rolled around a thin rod, called a ferro, to form the twisted scroll. You need semolina, a little soft flour, warm salted water, and something to roll around. The shaping is simple by hand, and the main skill is pressing the curl without flattening the pasta.
Casarecce is a good first shape to try at home, because it does not need a machine and each piece is small enough to handle easily. The guide below covers the dough, the shaping steps, how to dry the pasta before cooking, and how long to cook it.
Ingredients for Homemade Casarecce
A semolina-heavy dough with a little soft flour gives casarecce enough structure to hold its curl through shaping and drying.
- 250 g durum wheat semolina flour
- 100 g soft wheat flour, such as Italian “0” flour (00 or all-purpose also work)
- 200 ml warm water
- 1 teaspoon salt, dissolved in the warm water
These amounts come from The Pasta Project’s homemade casarecce recipe. Measure the water gradually, since flour brands and humidity change how much the dough takes up.
Mixing and Resting the Dough
Knead the dough until it is smooth and pliable, then wrap it and rest it before you start shaping.
Knead for about 10 minutes until the dough is smooth, then wrap it and rest it for about 30 minutes. The rest lets the semolina hydrate so the dough rolls and shapes more easily. Keep the dough covered while you work so the surface does not dry out and crack.
How to Shape Casarecce With a Rod
Cut the dough into small pieces, roll each one around a thin rod, press it into an S-curl, and slide it off.
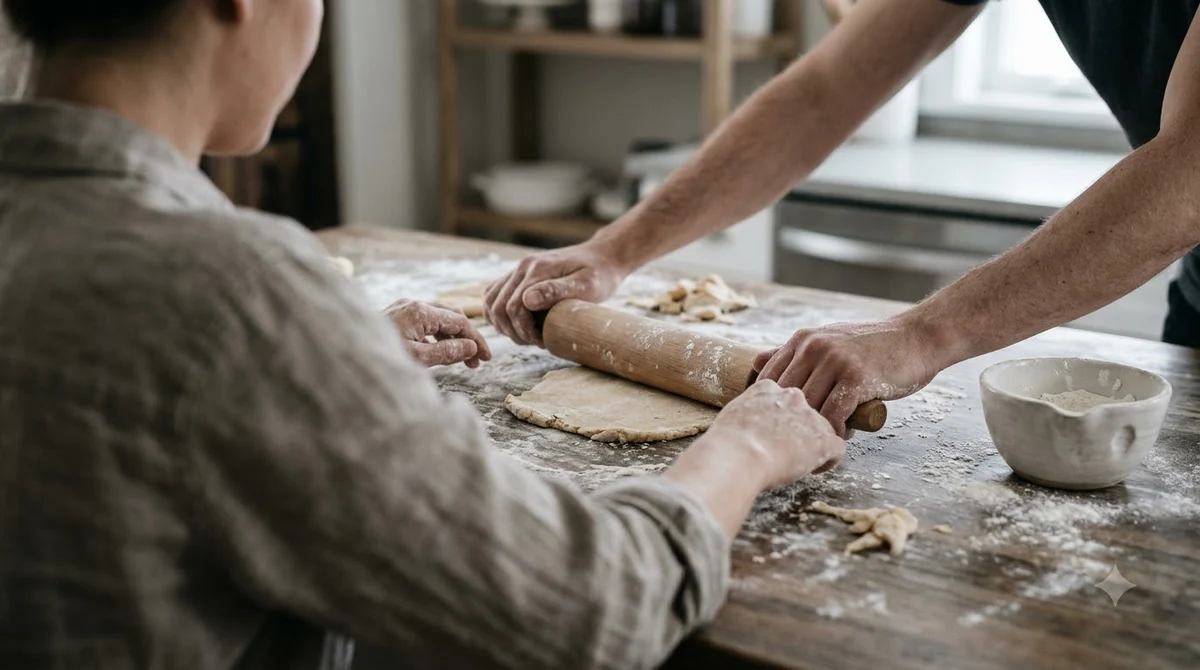
Work with one portion at a time and keep the rest covered. Follow these steps:
- Cut off one-quarter of the dough and keep the rest covered.
- Roll that portion to a medium-thick sheet, thicker than tagliatelle or lasagna sheets.
- Cut the sheet into strips about 1.5 cm wide, then cut the strips into rectangles about 6 cm long. You can also roll thin ropes and cut them into 6 cm pieces.
- Lay the ferro across the centre of a piece, then roll it with both hands until the pasta almost wraps around the rod. Slide it off smooth side up.
- Press the ferro gently into the pasta to form the S-shaped curl. Some cooks skip this second press.
- Dust the pieces with semolina as needed so they do not stick to each other or the board.
Practice on a few pieces before you commit to the whole batch. The first ones will look uneven, and by the next few the roll and press will feel more natural.
A ferro can be a thin rod, a knitting needle, a dowel, or a skewer. Keep a spare on hand, because a thin wooden one can break partway through shaping.
Drying Casarecce Before Cooking
Dry shaped casarecce overnight in a cool, dry place, or cook it straight away if you prefer.
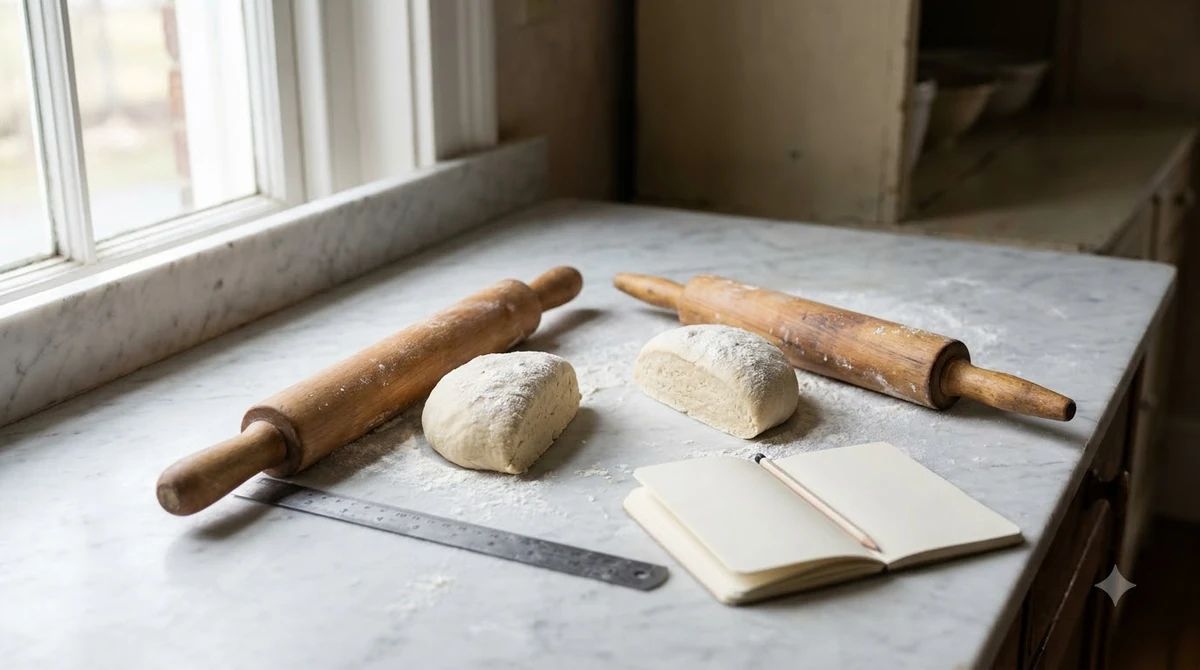
The Pasta Project recipe gives no set drying time. It says you can dry the casarecce overnight in a cool, dry place or use it immediately. Dried pasta keeps for a couple of days when spread on a floured surface in a cool, dry place, and you should turn it occasionally.
Spread the pieces in a single layer so none of them touch while they dry, which keeps the curls from fusing together.
Do not refrigerate the uncooked pasta, because the humidity in the fridge makes it soft and sticky. A cool cupboard or counter is the better place to rest it.
Cooking Homemade Casarecce
Cook casarecce in boiling salted water for about 12 to 15 minutes, and start tasting at 10 minutes.
| Stage | What to do | Timing |
|---|---|---|
| Knead | Smooth and pliable dough | About 10 minutes |
| Rest | Wrapped and covered | About 30 minutes |
| Dry | Cool, dry place, floured surface | Overnight, or cook right away |
| Cook | Boiling, well-salted water | About 12 to 15 minutes, taste from 10 |
The cooking time depends on the size and thickness of each piece and the consistency of the dough, so the range above is a starting point. Pull one piece out at the earlier end and check the center before draining.
If you have shaped more than you plan to cook, keep the extra pieces dry and covered until you are ready, and cook them in batches so the water keeps boiling.
Cook in a large pot so the pieces have room to move, and stir gently in the first minute. Drain them while they still have a little bite, then toss with your sauce while they are warm, since the curls hold sauce best straight out of the pot.
Frequently Asked Questions
Do I need a special tool to shape casarecce?
No. A thin rod, knitting needle, dowel, or wooden skewer works as the ferro. Choose one thin enough to make a clear groove in the pasta.
Why is my dough sticky or hard to roll?
Dust the board and the pieces with semolina as you work. If the dough is sticky after resting, work in a little more flour, one spoonful at a time, until it is smooth.
Why does the curl disappear when I cook it?
The press with the rod sets the S-shape, so press gently but firmly. Dry the pieces before cooking so the shape holds in boiling water.
How long can I keep shaped casarecce?
Keep it on a floured surface in a cool, dry place for a couple of days, turning it occasionally. Do not refrigerate it uncooked.
Keep the dough covered while you work, and dust the board and the pieces with semolina as you go so nothing sticks. Once you have shaped a few batches, the rolling and pressing start to feel natural.
Homemade casarecce is forgiving once you get the rhythm of rolling and pressing. Keep the dough covered, dust it generously, and press the curl gently. Cook the pasta in plenty of salted water, and the next batch will look more even than the first.
 6 min readLearnHomemade Gemelli: Semolina Dough, Shaping and DryingUpdated Nov 13, 2026
 6 min readLearnHomemade Mafaldine: 2 Methods With Egg or Semolina DoughUpdated Nov 13, 2026
 5 min readLearnHomemade Cavatelli: Ricotta Dough and Hand Shaping GuideUpdated Nov 13, 2026
 6 min readLearnHomemade Scialatielli: Amalfi-Style Dough and ShapingUpdated Nov 13, 2026
 6 min readLearnHomemade Garganelli: Egg Dough and Shaping StepsUpdated Nov 13, 2026
 5 min readLearnHomemade Penne: Dough, Shaping and Cooking TipsUpdated Nov 13, 2026