
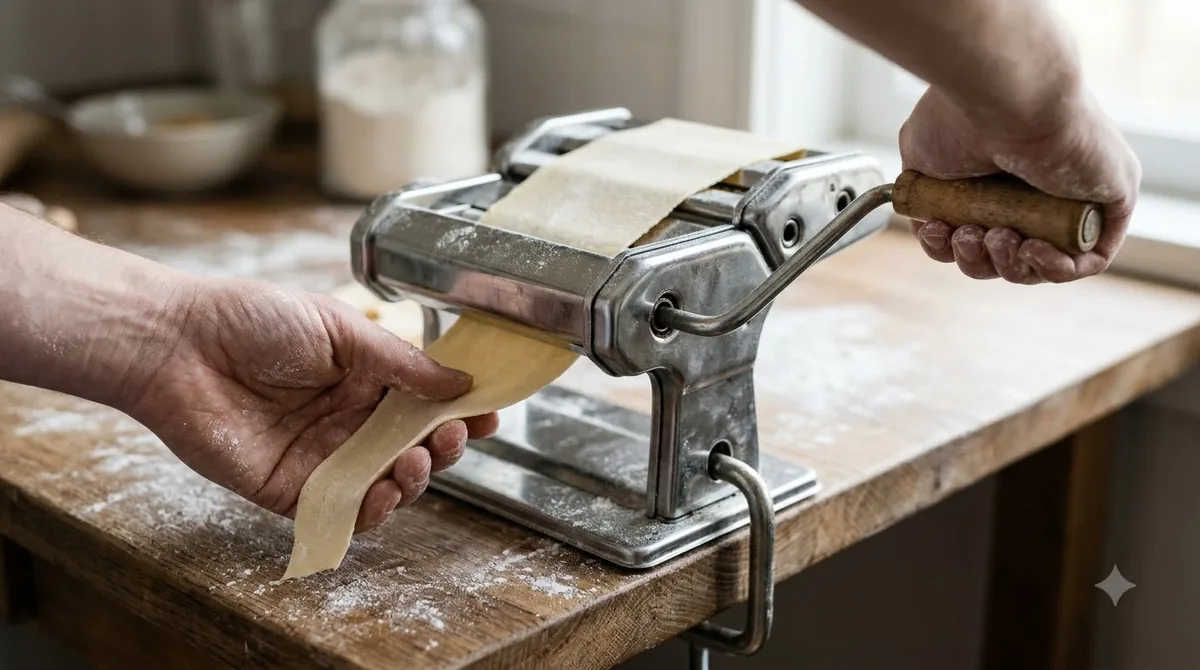

To learn how to use a cavatelli maker, clamp it to a counter edge, feed in firm dough strips about 3/4 inch wide, and crank slowly. The machine turns each strip into small ridged shells that curl around a hollow center, which is much faster than shaping them by hand.
Learning how to use a cavatelli maker comes down to dough firmness, feeding speed and cooking time. The steps below cover each one, along with the mistakes that cause most sticking.
What a Cavatelli Maker Does
A cavatelli maker is a hand-crank tool that presses dough into small ridged shells curled around a hollow center.
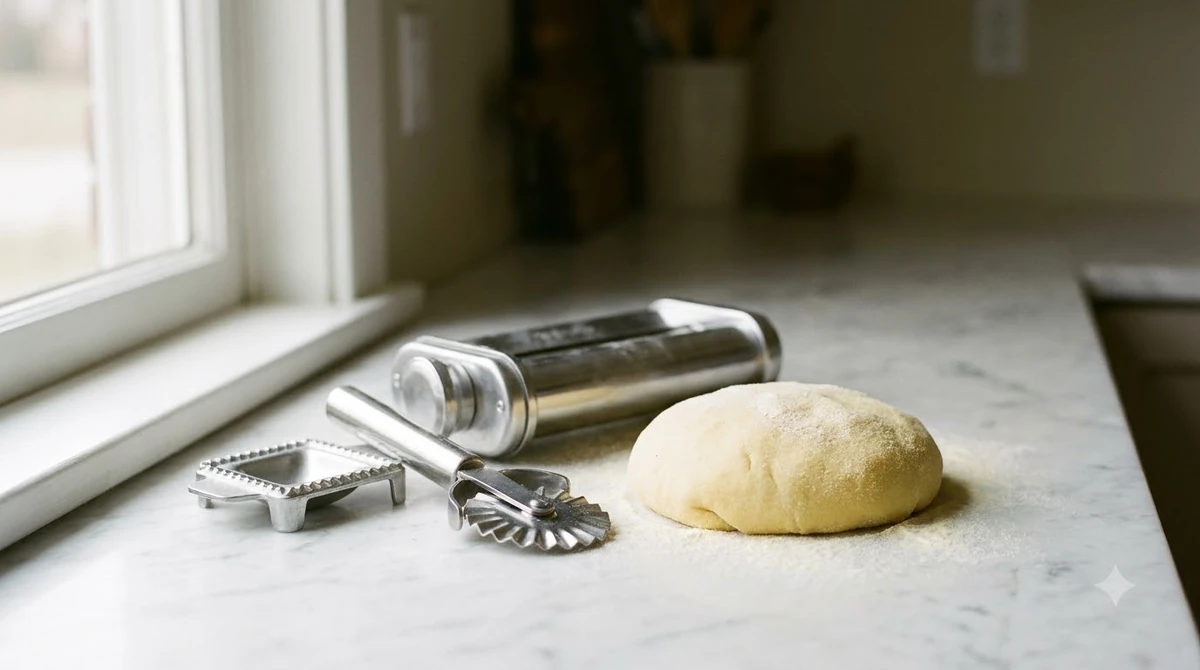
Cavatelli come from southern Italy, in regions including Abruzzo, Molise and Apulia, according to Wikipedia’s cavatelli entry. Our guide to cavatelli pasta covers the shape in more detail. The shape has several local names, including orecchie di prete, which means “priest’s ears,” and gnocchetti.
Traditional cavatelli are made from semolina or other flour, and some versions add ricotta to the dough. Hand shaping means rolling a small piece of dough with one finger until it curls, which takes practice to do evenly. A cavatelli maker removes most of that work, so learning how to use a cavatelli maker is faster than hand shaping and the shapes are more uniform.
Knowing how to use a cavatelli maker is useful if you make fresh pasta regularly. Occasional cooks can still shape by hand, and the rest of this guide explains both paths.
Making the Dough That Works in the Machine
When you learn how to use a cavatelli maker, start with a firm dough of flour or semolina, with drained ricotta and eggs in the popular ricotta version, and let it rest before rolling.
Before you start learning how to use a cavatelli maker, choose one flour and keep it the same for every batch. Each flour changes the texture of the dough, so switching mid-batch makes it harder to judge firmness.
One ricotta cavatelli recipe on the Josie and Nina food blog calls for 3 cups of 00 flour, 1 pound of whole milk ricotta drained first, and 2 eggs, plus kosher salt. The author notes that all-purpose flour also works. Mix the flour and salt, make a well, add the ricotta and eggs, then knead on a wooden board until the dough forms a smooth ball. Cover it with a damp cloth and rest it for about 30 minutes.
Texture matters more than the exact recipe. Dough that is too soft sticks inside the machine, while dough that is too dense will not curl properly, according to a cavatelli guide on Cookistry. Check these points before you start cranking:
- The dough is smooth and firm, with no large lumps of flour.
- The outside of the dough is lightly floured so it does not cling to the rollers.
- The dough is rolled to about 3/8 inch thick, or about 1/4 inch if you plan slightly wider strips.
- The strips are cut about 3/4 inch wide, which falls inside the 1/2 to 3/4 inch range that the same guide recommends.
How to Use a Cavatelli Maker, Step by Step
Learning how to use a cavatelli maker starts with clamping it to a counter edge, placing a floured towel in front, then feeding one flattened strip at a time while cranking slowly.
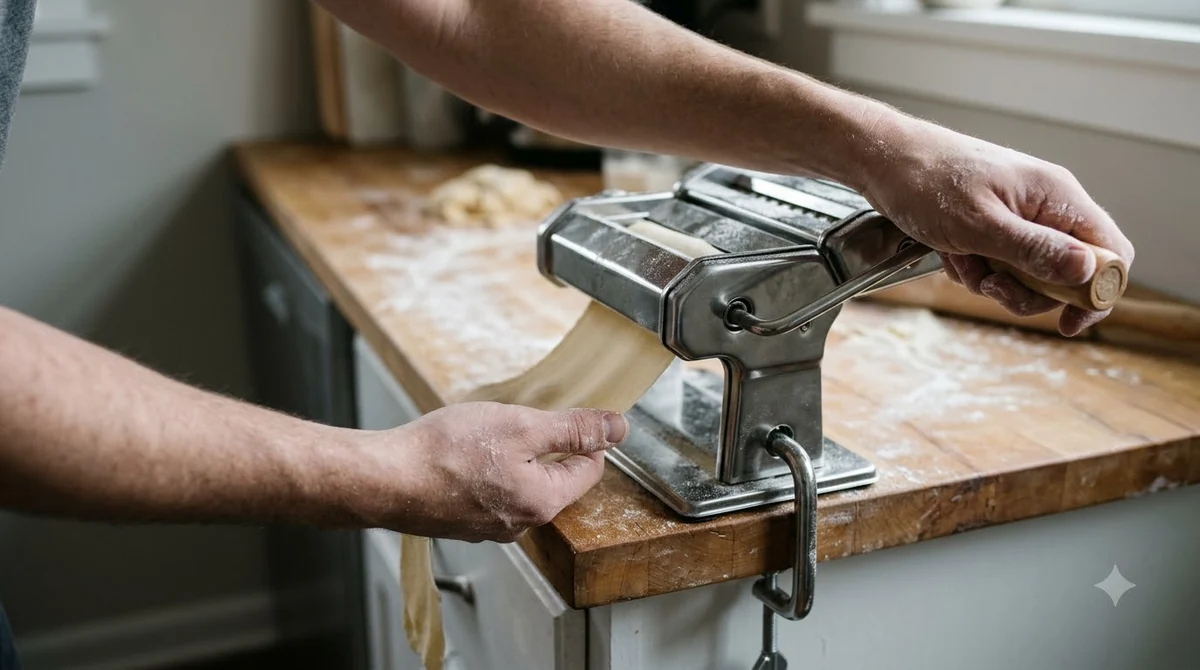
Setup takes only a minute, and the rest of the process is repetition. Follow these steps in order for the first batch, then adjust the speed to suit your dough.
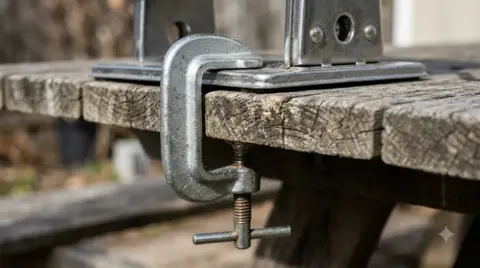
- Clamp the maker firmly to the edge of a sturdy counter. Models with a suction base need a flat, clean surface to hold.
- Hang a floured towel or set a tray in front of the outlet to catch the shaped pasta.
- Cut the dough into quarters, and keep the pieces you are not using covered with a damp cloth.
- Pinch off a piece about the size of a ping-pong ball and flatten it into a strip about 5 inches long, a little narrower than the rollers.
- Lightly flour the dough and the machine, then feed the strip into the opening.
- Crank slowly and let the shaped pasta drop onto the towel. Fast cranking can make the dough stick.
Practice with a few strips is the fastest way to learn how to use a cavatelli maker. Flour the machine between pieces, not only at the start, so the next strip does not catch on the one before.
Common Mistakes and How to Fix Them
Most sticking when you learn how to use a cavatelli maker comes from dough that is too soft or cranked too fast, and both problems are easy to correct.
| Problem | Likely cause | Fix |
|---|---|---|
| Dough sticks in the rollers | Dough is too soft or too wet | Add flour a little at a time and knead until firm |
| Pieces clump together | Strips are not floured enough | Dust the dough and flour the machine between pieces |
| Pasta will not curl | Dough is too dense | Work the dough until smooth, then rest it before cutting strips |
| Strips are too wide | Strip is wider than the rollers | Cut strips about 3/4 inch wide and flatten them slightly before feeding |
| Jamming or sticking mid-batch | Cranking too fast | Crank at a slow, steady pace |
When something goes wrong, check the dough firmness and your cranking speed first, because those two causes explain most sticking.
Cooking, Storing and Cleaning Cavatelli
Boil fresh cavatelli in well-salted water for 3 to 4 minutes, until firm yet tender, then freeze or refrigerate what you do not eat.
After you learn how to use a cavatelli maker, cooking takes only a few minutes. Reserve about 1 cup of the pasta water before draining, since the starchy water helps the sauce cling to the shells. Lift the cavatelli out with a slotted spoon, as the Josie and Nina recipe suggests.
| Situation | Guidance from the recipe source |
|---|---|
| Uncooked, for the freezer | Freeze in a single layer on a sheet pan, then bag. Keep up to 3 months. |
| Uncooked, short storage | The author does not recommend refrigerating uncooked pasta for a couple of days. |
| Cooked leftovers | Keep up to 3 days in the refrigerator. |
Cleaning is simple but needs care. One user review on Cookistry says that model cannot be washed in water, so dry cleaning is the safer choice unless your manual says otherwise. Brush or wipe away dried dough and flour with a dry cloth, and check the manufacturer’s manual for any model-specific steps.
Choosing a Cavatelli Maker
Choosing a model means looking for a solid steel body, a stable mount and the pattern settings you need, since a steady machine makes the crank easier to control. The steps above apply to any hand-crank model, but the mount and pattern settings vary by brand. Our list of the best cavatelli makers compares popular options.
The Demetra cavatelli maker from Consiglio Kitchenware is described by the brand as made in Italy, with a steel body, a sturdy suction base and three pattern settings, according to Consiglio’s cavatelli maker guide. Those are the brand’s own claims, so compare them with the product page before buying.
| Feature | What to check | Why it matters |
|---|---|---|
| Body | Steel construction | A solid body resists flex while you crank |
| Mount | Suction base or clamp | Keeps the machine in place on the counter |
| Patterns | Number of pattern settings | Determines which shapes you can make |
| Origin | Made in Italy, as the brand states | A brand statement, not independently checked here |
Frequently Asked Questions
Can I use all-purpose flour instead of semolina?
Yes. Traditional cavatelli use semolina or other flour, and one ricotta recipe says all-purpose or 00 flour works. Choose a firm dough either way, because texture affects how well the shape forms.
Do I need eggs in the dough?
Not always. Traditional cavatelli are made from semolina or other flour, while the ricotta version in the recipe above adds eggs and cheese.
Why does my dough stick in the machine?
Dough that is too soft or cranked too fast usually sticks. Add a little flour to the dough, flour the machine between pieces and crank slowly.
How long should I boil cavatelli?
Boil fresh cavatelli in well-salted water for 3 to 4 minutes, until firm yet tender. Taste one before draining, since thickness varies from piece to piece.
Can I shape cavatelli by hand?
Yes. Hand shaping is also a useful way to understand the shape before you learn how to use a cavatelli maker. Roll a small piece of dough with one finger, or use a two-finger roll or a ridged gnocchi board, as one ricotta recipe describes. Hand shaping takes longer but needs no machine.
Can I freeze cavatelli?
Yes. After you learn how to use a cavatelli maker, freeze uncooked pieces in a single layer on a sheet pan, then bag them. They keep up to 3 months, and cooked leftovers keep up to 3 days in the refrigerator.
How do I use a cavatelli maker without sticking?
Use firm, lightly floured dough, clamp the maker to a sturdy counter edge and crank slowly. Most sticking comes from dough that is too soft or from fast cranking, so fixing those two points covers most cases.
What else do I need besides the maker?
You need a floured towel to catch the pasta, a clean counter edge, a flat sheet pan for drying and a pot of well-salted water for cooking. Those basics cover how to use a cavatelli maker from start to finish.
If you make fresh pasta often, a counter-mounted maker saves time on every batch. Occasional cooks can shape by hand and skip the purchase. Either way, run one small batch first to learn how to use a cavatelli maker with your own dough, and check the manufacturer’s manual for model-specific steps before you start. More tool guides are in our Gear & Pantry guides.
 8 min readGear & PantryCavatelli Maker: What It Does and How to Choose and Use OneUpdated Nov 17, 2026
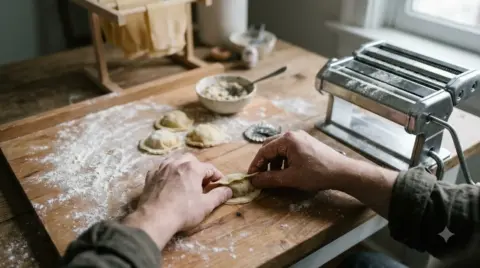 9 min readGear & PantryHow to Use a Ravioli Maker: Step-by-Step for Dough and FillingUpdated Nov 10, 2026
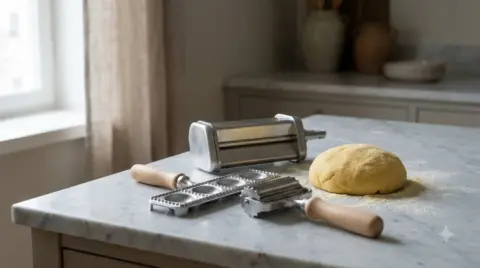 8 min readGear & PantryBest Tortellini Makers: Which Tool Type Fits Your KitchenUpdated Nov 17, 2026
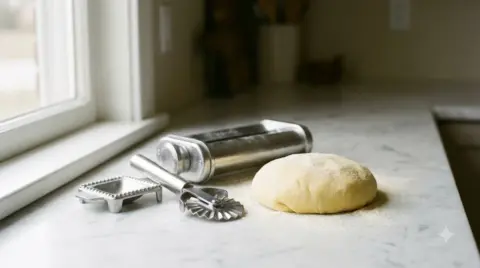 8 min readGear & PantryRavioli Maker: What to Check Before You BuyUpdated Nov 17, 2026
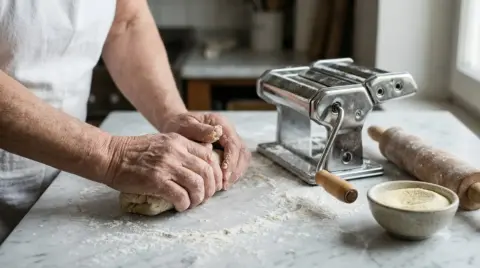 8 min readGear & PantryBest Pizzelle Maker for Home BakersUpdated Nov 13, 2026
 8 min readGear & PantryBest Moka Pot: Stovetop Espresso Makers ComparedUpdated Nov 13, 2026