


How to use a ravioli maker comes down to three jobs: roll the dough to the width the maker needs, add the filling, then separate and cook the ravioli. Most home models are either a stand mixer attachment or a hand-crank insert for a pasta machine, and the steps are similar for both. Sheet width, dough texture and filling amount matter more than speed. Get them right and the edges seal cleanly.
How to Use a Ravioli Maker: Two Setups to Know
A ravioli maker is usually a stand mixer attachment or a hand-crank insert, and each one needs a sheet of dough that matches its width. Before you buy dough or filling, check which setup you have, because the sheet size is different for each.
| Setup | Sheet size | Filling step |
|---|---|---|
| Stand mixer attachment | 5 1/2 in (13.75 cm) wide, 1/16 in (about 1.6 mm) thick | 1 to 2 scoops to start, then add as needed |
| Hand-crank insert on an Atlas pasta machine | 20 to 30 in (51 to 76 cm) long, rolled to setting 5 | About 3 teaspoons spread between the two layers |
The stand mixer design is described in KitchenAid’s ravioli attachment guide, which gives the sheet width and thickness used in the table. If your maker is a press-style mold or another design, follow the width and thickness in its own manual, since the sources reviewed here do not cover every model.
Prepare the Dough and Roll the Sheets
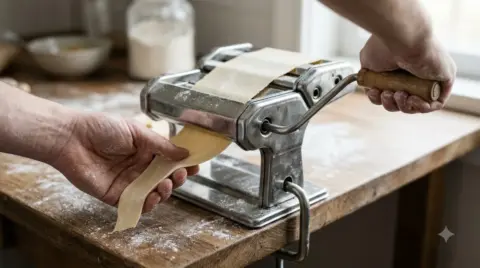
Ravioli dough should feel firm, leathery and pliable, and it must be rolled to the full width of the maker. Pinch a small piece after kneading. If it holds together without sticking to your fingers, it is ready. Dough that is too dry needs a little water and another round of folding and kneading, while dough that is too wet needs a little flour.
For the dough itself, King Arthur’s fresh pasta recipe uses 2 1/3 cups (280 g) all-purpose flour, 3 large eggs and 1/2 teaspoon of salt. Knead it by hand for 1 to 2 minutes, then wrap it and let it rest for at least 30 minutes at room temperature. Divide the dough into two pieces before you start rolling. Our fresh pasta dough recipe covers the same basics in more detail.
Roll each piece through the machine on the widest setting, fold it in thirds like a letter, and roll it again. Then step the setting down one notch at a time. KitchenAid UK recommends roller setting 4 or 5 for ravioli, and Consiglio’s instructions call for setting 5 on an Atlas machine. Trim the ends square before you fold the sheet in half. Slanted ends leave some pockets without two layers of dough to seal.
Using a Stand Mixer Attachment, Step by Step
When you learn how to use a ravioli maker with a stand mixer attachment, you feed a folded sheet through the forming rollers, then add the filling through the hopper while you turn the handle slowly. The steps below follow the manufacturer’s order. For a model-specific walkthrough, see our guide on how to use the KitchenAid ravioli maker.
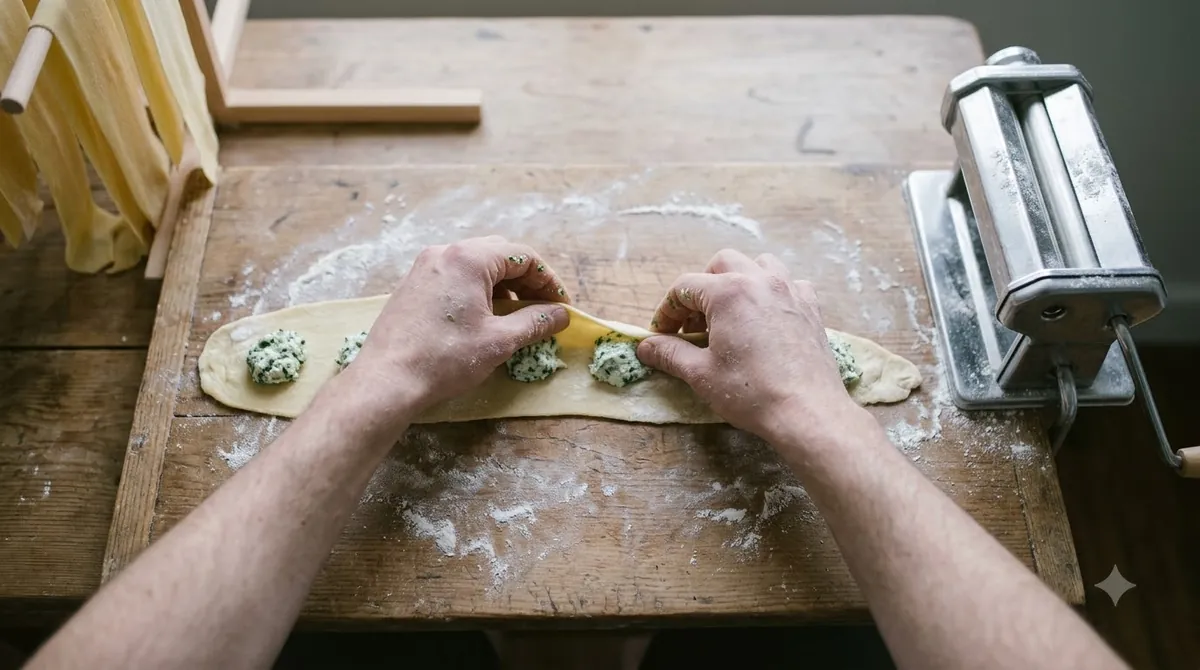
- Pull the hopper straight off the attachment, fold the sheet in half, and insert the folded end between the forming rollers. Turn the handle one-quarter turn to feed it.
- Drape the two loose ends over the smooth metal rollers. Set the hopper on the dough between them, and push down until you hear a click.
- Add 1 to 2 scoops of filling with the scoop provided, and spread it into the corners of the hopper.
- Turn the handle slowly and check that the ravioli strips feed freely from the bottom.
- Keep adding filling as needed, and use it all before the end of the sheet reaches the rollers. Filling left at the end will collect on the rollers.
- Lay the strips on a lightly floured surface to dry for at least 10 minutes, then separate the ravioli by tearing along the perforations.
- Clean the attachment with its brush before the next sheet, and lightly dust the rollers with flour.
KitchenAid says not to turn on the mixer while you make ravioli. It also recommends feeding a plain sheet without filling first, so you learn the rhythm before the filling goes in.
Using a Hand-Crank Ravioli Insert
Using a ravioli maker with a hand-crank insert works the same way, and if you are still choosing a machine, our guide to a pasta machine for ravioli explains what to look for. You fold the sheet, feed it in a quarter turn, and spread about 3 teaspoons of filling between the layers as the sheet moves through.
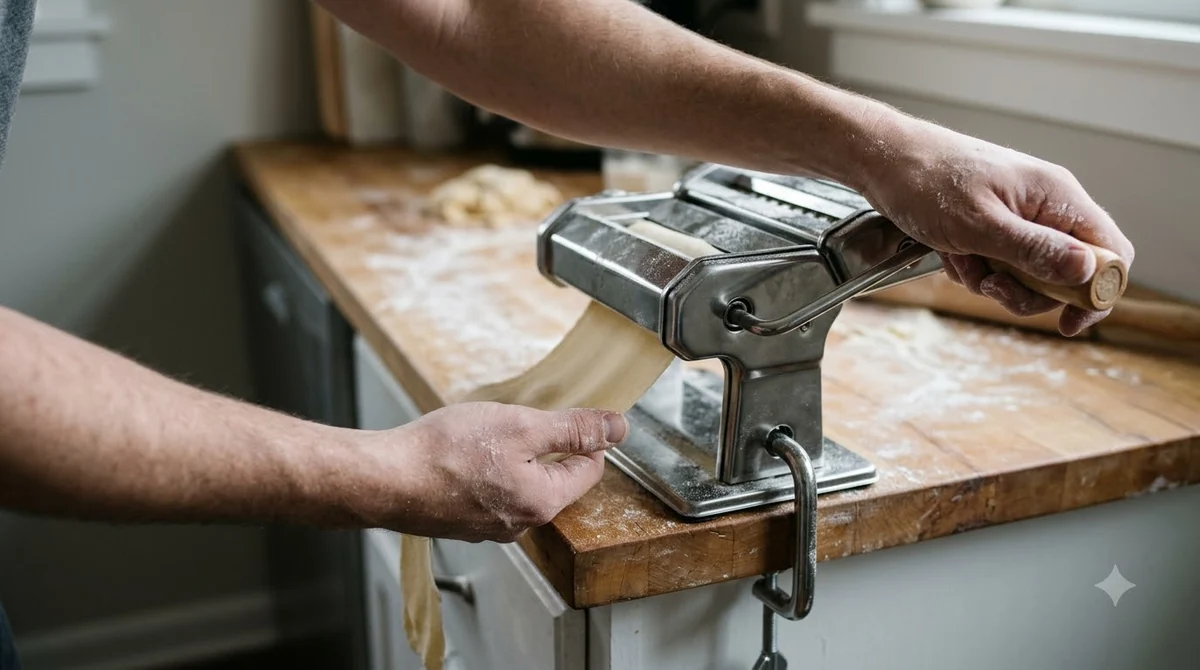
The steps below come from Consiglio’s insert instructions, which cover its attachment on an Atlas pasta machine.
- Fold the sheet in half, push it into the machine, and turn the crank a quarter turn until the folded end reaches the rollers.
- Unfold the sheet over the rollers, as you would open a book.
- Spread about 3 teaspoons of filling evenly between the two layers.
- Turn the handle slowly and watch that each ravioli exits straight, without catching under the machine.
- If a ravioli jams, remove it by hand and smooth the sheet from underneath so the rest can feed through.
- When the whole sheet has passed through, lay it on a flat cloth to dry. The ravioli are easier to separate once they are dry.
Cut, Seal and Separate the Ravioli
Each pass produces three square ravioli across the sheet, and the perforations let you tear them apart after the sheet dries. KitchenAid UK describes the squares as about 1 1/2 in (3.8 cm) per side. Remove the small perforated piece of dough between each one so the edges stay clean.
Sealing happens as the two layers meet around the filling. Neither the KitchenAid pages nor the Consiglio instructions describe a separate press or crimp step, so check your own manual before you assume one is needed. Edges that look thin or split usually point back to dough texture or a sheet that is narrower than the maker.
Common Mistakes and How to Fix Them
Dough texture, sheet width and roller setting cause most of the feeding and sealing problems described in the manufacturer guides. Knowing how to use a ravioli maker means matching the fix to the symptom in the table.
| Problem | Likely cause | What to do |
|---|---|---|
| Dough tears while feeding | Dough is too sticky | Add a little flour, knead again, and dust the outside of the dough |
| Edges split or do not seal | Dough is too dry, or the sheet is narrower than the maker | Add a little water, and trim the sheet to the full width |
| Pockets tear when filled | Sheet not rolled to the recommended setting | Roll the sheet to setting 4 or 5, as KitchenAid UK recommends |
| Filling piles up on the rollers | Filling was still going in when the sheet ended | Stop adding filling before the end of the sheet reaches the rollers |
| Strips stick together | Sheet was separated before it dried | Dry on a lightly floured surface for at least 10 minutes first |
Cooking, Storing and Cleaning
Cook separated ravioli right away in 5.7 liters of salted water for about 3 to 4 minutes, until al dente, according to KitchenAid UK. Cooking time depends on thickness and filling, so check a piece before draining the rest.
If you are not cooking them right away, refrigerate them overnight, or freeze them individually on a baking sheet and then move them to a sealed container. The sources reviewed here do not give a maximum storage time, so label the container with the date.
Clean the attachment after every sheet, and dust the rollers with flour before the next one. Dried flour and dough left on the rollers are what cause the sticking problems described above.
Frequently Asked Questions
Do I need a stand mixer to use a ravioli maker?
No. Anyone can learn how to use a ravioli maker with either kind of setup. A ravioli maker can be a stand mixer attachment or a hand-crank insert that fits a pasta machine. Both need dough rolled to the width and thickness the maker requires, so check the sheet size in your manual before you start. Our list of the best ravioli makers shows both types.
Why does my dough tear when I feed it through?
KitchenAid UK says dough that is too sticky may tear during processing. Add a little flour, knead again, and dust the outside of the sheet before feeding it in. Dough that is too dry tears at the sides instead.
How much filling should I use per ravioli?
The amount depends on the design. KitchenAid suggests starting with 1 to 2 scoops of filling on the stand mixer attachment, while Consiglio’s hand-crank insert uses about 3 teaspoons spread between the layers. Start small, watch how the sheet feeds, and add more as needed.
How long can homemade ravioli be stored?
Cook them the same day when you can. If you need to store them, refrigerate them overnight or freeze them individually on a baking sheet before you move them to a sealed container, as KitchenAid UK advises.
Can I use any pasta machine with a ravioli insert?
Not necessarily. Consiglio’s insert is described for an Atlas pasta machine, so confirm that your machine and insert are made for each other before you buy. Sheet length and width vary by model, so match the dough to the spec in the manual.
Learning how to use a ravioli maker is easiest with a practice run using plain dough, then adding filling once the sheet feeds smoothly. Use the stand mixer attachment if you already own that mixer, and the hand-crank insert if you have a pasta machine. Keep the manual nearby for the sheet width and roller setting, since those details decide whether your ravioli seal. More tool guides are in our Gear & Pantry guides.
 9 min readGear & PantryHow to Use a Ravioli Mold: Step-by-Step GuideUpdated Nov 10, 2026
 8 min readGear & PantryRavioli Maker: What to Check Before You BuyUpdated Nov 17, 2026
 9 min readGear & PantryHow to Use a Cavatelli Maker at HomeUpdated Nov 10, 2026
 8 min readGear & PantryHow to Use a Ravioli Cutter at HomeUpdated Nov 10, 2026
 8 min readGear & PantryHow to Use a Ravioli Stamp at HomeUpdated Nov 10, 2026
 8 min readGear & PantryCavatelli Maker: What It Does and How to Choose and Use OneUpdated Nov 17, 2026