
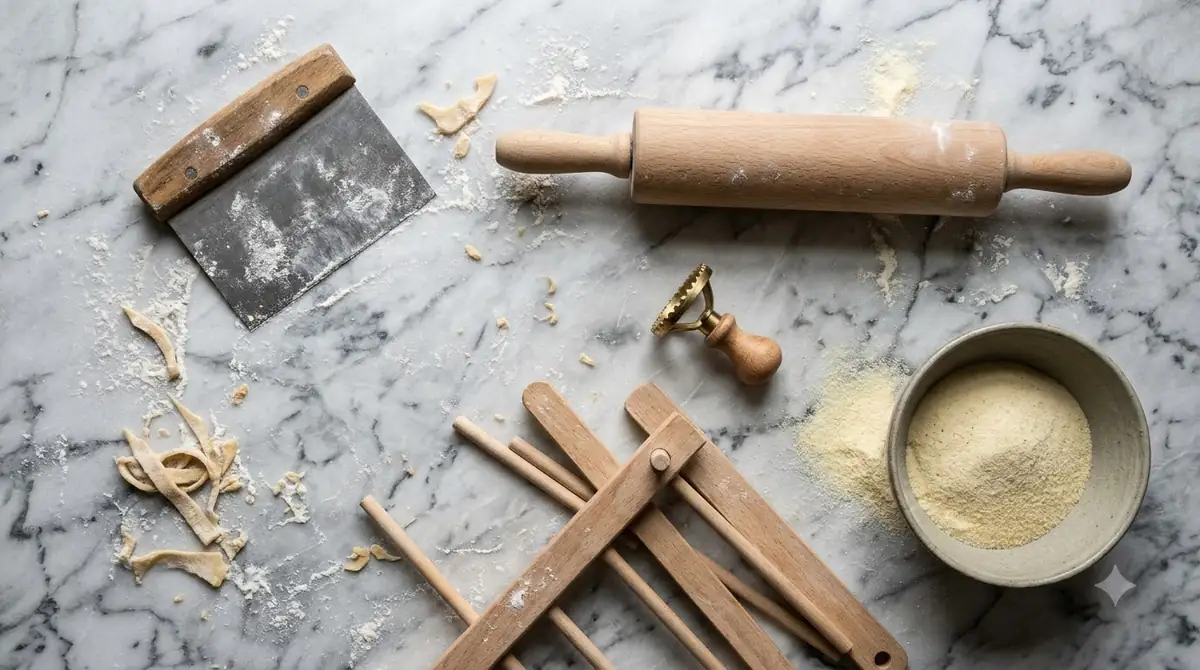

Learning how to use a ravioli mold takes one floured sheet of dough, a filling, and a second sheet pressed and sealed on top. The mold shapes each pocket to the same size, so the finished pieces match.
Most problems come from dough that is too thin, a mold that was not floured, or a seal that was not pressed firmly. The sections below cover each stage and the measurements that the cited sources give.
What a ravioli mold does
A ravioli mold is a shaping tool that presses dough into rows of cells, so each cell holds one spoonful of filling. Each cell forms one pocket, which means every piece leaves the mold with the same outline.
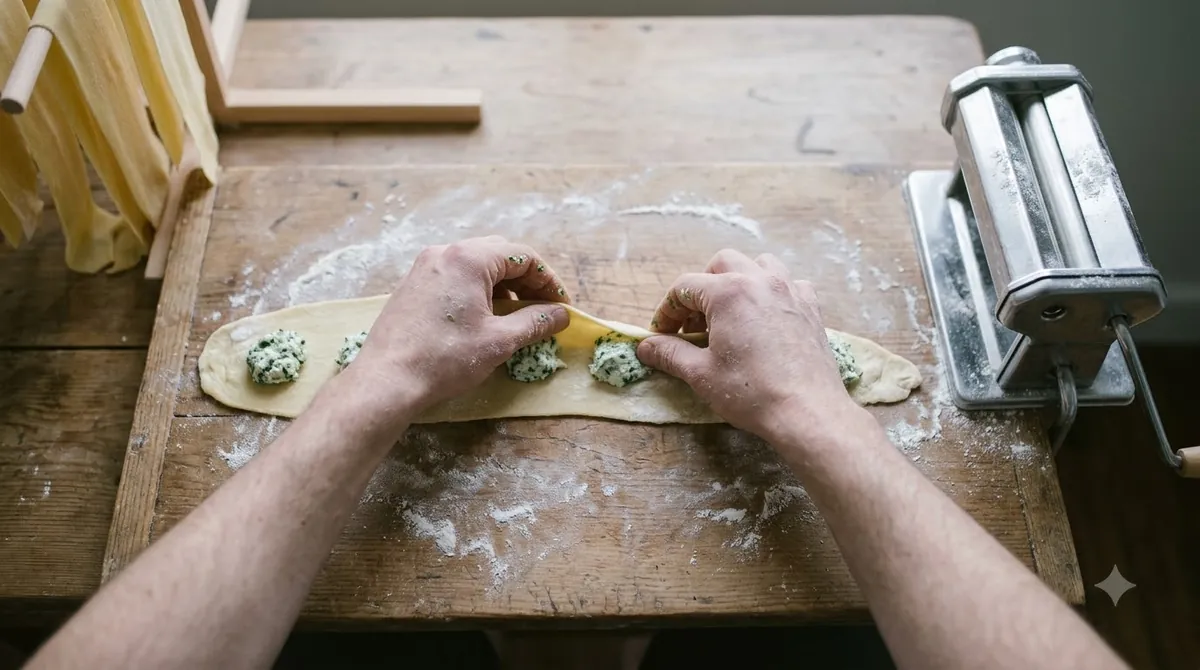
According to Wikipedia’s entry on ravioli, the dish is stuffed pasta, with a filling enveloped in thin pasta dough. The shape is most often square, although circular and semi-circular versions also exist, and the mold is the easiest way to get a consistent square at home.
Without a mold, you would cut each piece by hand and press the edges one at a time. A ravioli stamp is another option; see how to use a ravioli stamp. The mold does the marking and the spacing for you, so the filling sits in the same place in every pocket and the pieces are alike in size. Learning how to use a ravioli mold also saves dough, because you cut once around the cells instead of trimming each piece by hand.
What you need before you start
You need a ravioli mold, a sheet of dough, a filling, flour for dusting, a rolling pin, and a tray lined with parchment and dusted with semolina. Choose a mold whose cells match the portion you want to make, because larger cells hold more filling and need a wider sheet. Our best ravioli molds roundup compares options. Before you start learning how to use a ravioli mold, set out everything on this list so you are not hunting for a spoon halfway through a batch.
- A ravioli mold with the cell size you want
- Fresh pasta dough, usually made from water and flour, sometimes with eggs (see our fresh pasta dough recipe)
- A filling that is cool and firm enough to spoon (see homemade ravioli for filling ideas)
- Flour for dusting, plus a pastry brush or clean fingers
- A rolling pin, and a pasta machine if you have one
- A tray lined with parchment and dusted with coarse semolina
Keep the dough you are not using tightly wrapped so it does not dry out, as the guide from The Burnt Butter Table advises. Work with one portion at a time so the rest of the dough stays soft and easy to handle.
How to use a ravioli mold, step by step
Roll the dough in batches, flour one sheet, press it into the mold, fill the cells, and seal the second sheet before you release the mold. The method below follows the step-by-step order in The Burnt Butter Table’s easy guide to a ravioli mold, and the same order applies to most molds. If you are new to how to use a ravioli mold, follow the numbered steps exactly the first time, then adjust the filling and the flour once you know how your dough behaves.
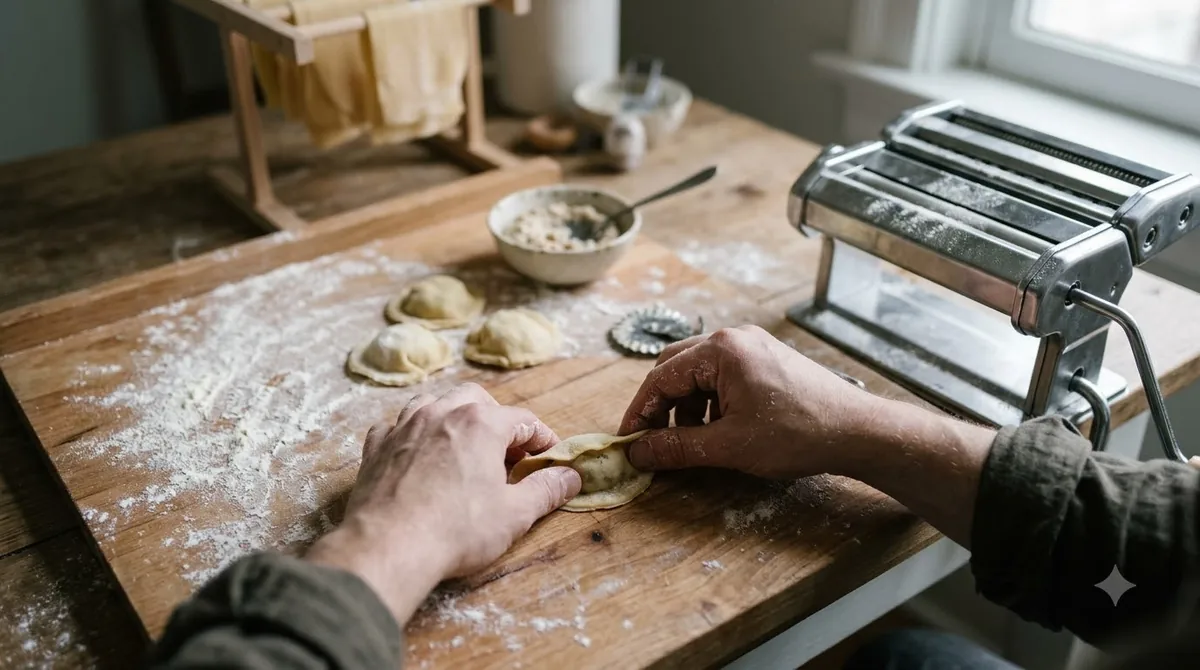
Prepare and fill
- Roll out one sixth or one quarter of the dough at a time, and keep the rest wrapped.
- Press the mold onto a sheet on a wooden board, then cut two pieces about 2 cm larger all the way around the mold.
- Dust one piece until it has an even layer of flour, and set the other piece aside.
- Place the floured piece, floured side down, inside the mold.
- Push the pasta into each cell with a pastry brush or your fingers.
- Pipe or spoon filling into the cells, then push it down with the back of a teaspoon or your finger and level it.
Seal, release and cut
- Place the unfloured sheet on top and roll gently with a rolling pin, without using too much pressure.
- Flip the mold over gently but quickly, then press firmly on top so the two layers stick together.
- Hold one corner of the overhanging pasta and ease the mold off. The floured side should come away cleanly.
- Trim the edges and separate the ravioli.
- Set the ravioli on the semolina-dusted tray in a single layer.
In how to use a ravioli mold, the sealing step decides whether the filling stays inside during cooking. Pressing firmly after the flip is the step that holds the layers together, so give it a full, even press across the whole surface before you lift the overhang.
How thin should the dough be?
For how to use a ravioli mold with machine-rolled dough, roll it to setting 6 on a Marcato pasta roller or setting 7 on a KitchenAid roller, and do not go thinner, according to one recipe author. Dough that is too thin tears as it goes into the cells, and a torn sheet is much harder to seal.
The millimetre thickness is not stated in the guides cited here, so use the roller setting as your guide. If your machine is different, check its manual for its own thickness settings and test one sheet before you cut the full batch.
| Stage | What to check | Why it matters |
|---|---|---|
| Rolling | Setting 6 on a Marcato roller or 7 on a KitchenAid, no thinner | Thin dough tears in the cells |
| Flouring | An even layer on the side that goes into the mold | Helps the ravioli release cleanly |
| Filling | Pipe or spoon into each cell, press down with a teaspoon and level it | Keeps each pocket filled in the same place |
| Sealing | Gentle rolling, then firm pressing after flipping | Closes the edges so the filling stays in |
Common mistakes that make ravioli stick or split
Most failed batches come from skipping the flour on the mold side, rolling the top sheet too hard, or leaving shaped pieces out too long before cooking. Each one is easy to avoid once you have seen a full batch come out of the mold. Mastering how to use a ravioli mold without these errors usually takes only a single batch of practice.
- Skipping flour on the side that goes into the mold, which lets the pasta stick to the cells.
- Pressing too hard with the rolling pin, which can thin or tear the top sheet.
- Sealing lightly after flipping, which leaves gaps where the filling can escape.
- Leaving shaped ravioli out for a long time, since one recipe author does not like to leave them out for longer than an hour.
Cooking, storing and cleaning up
Cook fresh ravioli in well-salted boiling water for 4 to 5 minutes, and check one at the 4 minute mark, according to a recipe from The Burnt Butter Table. Use a large pot so the pieces have room to move and do not stick together. Once you know how to use a ravioli mold, the cooking step is the simplest part of the process, so spend your attention on sealing and cutting instead.
In a reader comment on the same recipe, the author mentions keeping ravioli in the fridge for up to 24 hours. Treat that as one cook’s practice and follow your local food safety guidance. See how to store fresh pasta for more on keeping it.
Caring for the tool is part of how to use a ravioli mold. The sources reviewed do not describe how to clean it, so follow the care instructions from the manufacturer that came with yours. Keep the mold dry before you store it, so the cells do not hold moisture against the metal or wood.
Frequently Asked Questions
How much flour do I need when using a ravioli mold?
The recipe guides cited here do not give a flour weight, so the amount depends on the dough recipe you use. Dust the sheet that goes into the mold with an even layer of flour, which matters more than the total amount for a clean release. Getting the flour right is the first thing to master when you learn how to use a ravioli mold.
How much filling goes in each cell?
The Burnt Butter Table guide says to pipe or spoon the filling into the cells and push it down with the back of a teaspoon or your finger. The exact amount per cell is not stated, so start with a spoonful, level it, and check that each pocket has the same amount before you cover the mold.
Can I roll the dough with a pasta machine first?
Yes. The Burnt Butter Table recipe rolls the dough on setting 6 of a Marcato roller or setting 7 of a KitchenAid roller, and warns against going thinner. Use the machine to get an even sheet, then press it into the mold.
Why does my ravioli stick to the mold?
If you are practicing how to use a ravioli mold, the most common cause of sticking is a missing layer of flour on the side that goes into the mold. Flour that side evenly before pressing, and after flipping, ease the mold away from one corner so the pasta releases cleanly.
How long should ravioli cook?
Cook fresh ravioli in well-salted boiling water for 4 to 5 minutes, and check one at 4 minutes. Test one piece at 4 minutes before cooking the whole batch.
Make one small batch before you fill a whole tray, so you can see how much dough and filling your mold needs. Check the first piece by lifting it and looking at the edge: if the seal holds and the shape is even, carry on with the rest. Keep unused dough wrapped and cook the ravioli soon after sealing for the cleanest results, and practise how to use a ravioli mold until the process feels routine.
 10 min readGear & PantryRavioli Mold: What It Is and How to Use One at HomeUpdated Nov 17, 2026
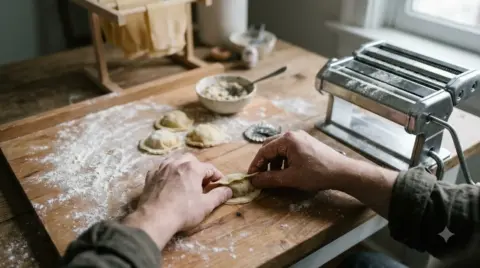 9 min readGear & PantryHow to Use a Ravioli Maker: Step-by-Step for Dough and FillingUpdated Nov 10, 2026
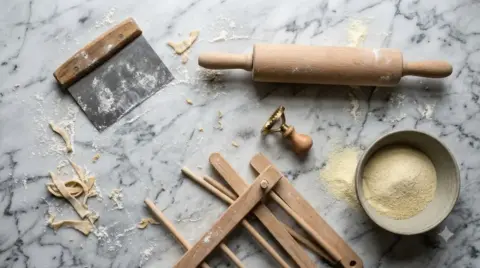 8 min readGear & PantryHow to Use a Ravioli Cutter at HomeUpdated Nov 10, 2026
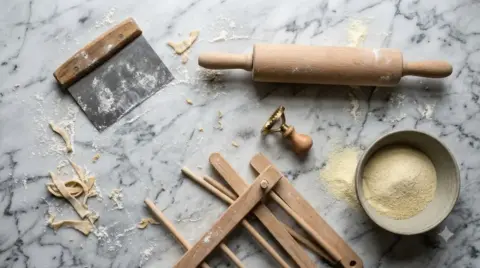 8 min readGear & PantryHow to Use a Ravioli Stamp at HomeUpdated Nov 10, 2026
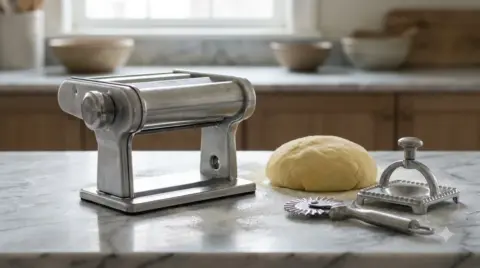 9 min readGear & PantryRavioli Cutter Guide: Types, Sizes and How to Use OneUpdated Nov 10, 2026
 8 min readGear & PantryHow to Use a Wooden Pizza Peel: Step-by-Step GuideUpdated Nov 10, 2026