
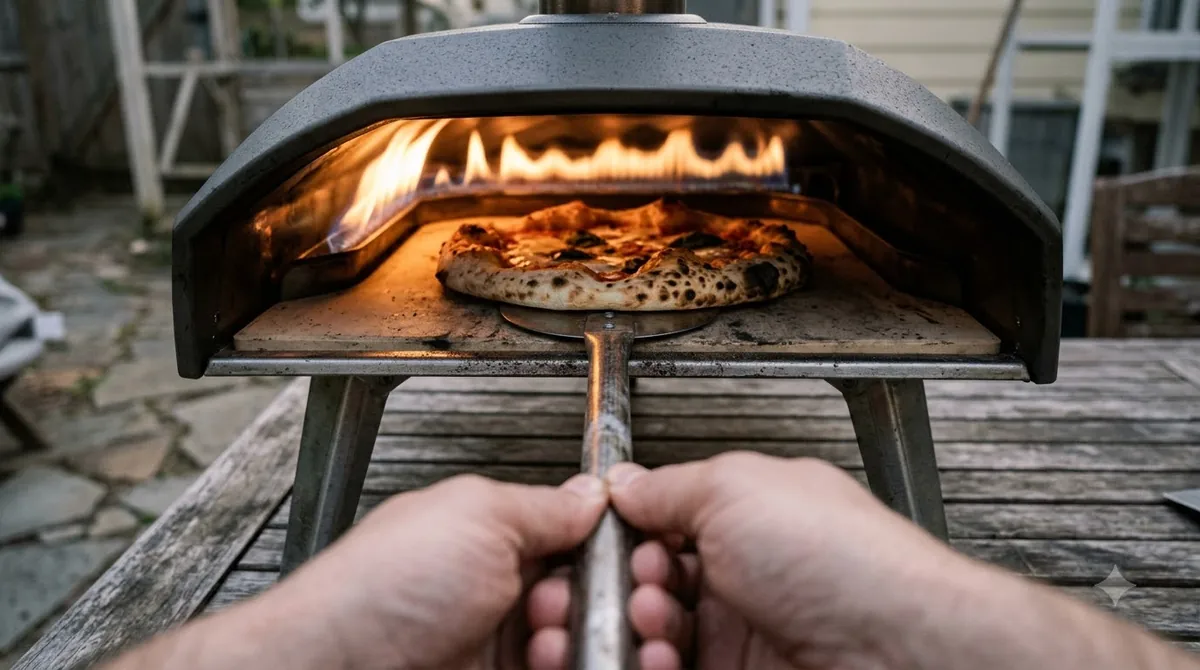

Learning how to use a wooden pizza peel comes down to three steps: dust the peel with semolina, check that the pizza slides freely, and launch it with one smooth motion. A wooden peel is the usual choice for launching, while a thin metal peel is easier for unloading. The sections below show how to use a wooden pizza peel step by step, including the mistakes that cause sticking and how to keep the wood flat.
Why a Wooden Peel Works for Launching
A wooden peel’s coarse grain holds dusting and resists sticking, which makes it the preferred tool for sliding a raw pizza into the oven. If you are learning how to use a wooden pizza peel for the first time, this is the step where the wood earns its place.
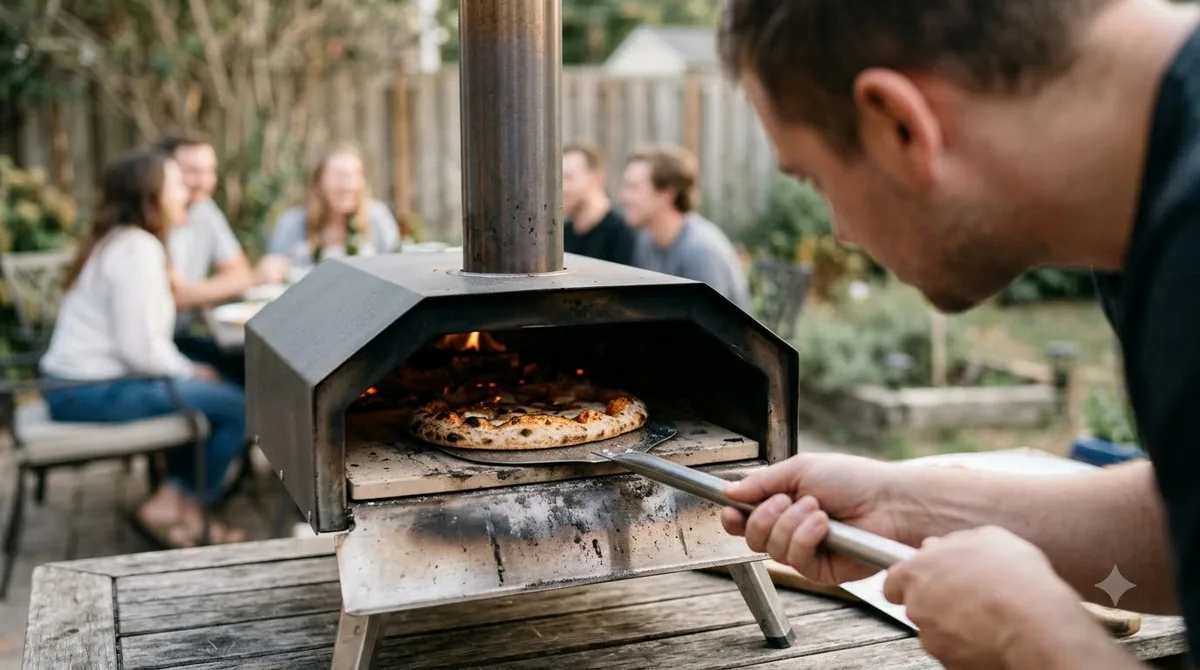
King Arthur Baking notes that wood is preferred over metal for launching because the coarse grain holds flour and resists dough sticking, whereas metal seems to invite it. The King Arthur Baking loading guide makes the same point in its section on wooden peels.
The main drawback of wood is its shape. Most wooden peels have a blunt edge, which makes it harder to slide under the crust when you take the pizza out. That is why many home bakers keep a thin metal peel for unloading, a point covered later in this guide.
How to Use a Wooden Pizza Peel: Prepare It First
Dust the peel with semolina, not flour, and cover every spot where the dough will rest.
Semolina is the preferred dusting for a wooden peel, and our comparison of semolina vs cornmeal for a pizza peel covers the alternative. It burns less easily than other dustings, and its finer grind lets you use less of it. Flour is a poor choice on wood because it is mostly starch, and when it gets wet it becomes very sticky.
The source gives no exact amount, so start with an even layer over the whole area where the dough will sit. Use more while you are learning, then less as your technique improves. Before the dough goes on, follow these steps:
- Dust the peel evenly with semolina.
- Check the surface. Any bare, sticky patch needs more semolina.
- Top the pizza quickly, because wet sauce and toppings make dough stick more.
Parchment is an optional backup for beginners. It works on wood or metal peels, but King Arthur Baking notes its maximum rating is below 500°F, and edges begin to char between 450°F and 500°F. Skip it when the oven is at very high heat.
Do the Jiggle Test Before Loading
Give the handle a short shake forward and back before you launch. The pizza should slide on the peel without help.
The jiggle test is the quickest way to find out whether the dough will release. Stretch the dough, place it on the prepared peel, and shake the handle with a short forward and backward motion. Repeat the shake after you add sauce and toppings, and once more on the way to the oven.
The pizza should move independently of the peel. If it does not, stop and fix the problem before it reaches the oven. If the pizza is stuck, follow these steps:
- Lift the sticking spots with a bench knife.
- Add more semolina underneath, then test again.
- If it is badly stuck, move the dough to parchment or fold it into a calzone-style pie.
Load the Pizza into the Oven
Two loading methods work when you learn how to use a wooden pizza peel: the tablecloth snap and the ramp. Both depend on a slow, controlled slide, and our guide on how to launch a pizza walks through the full routine.
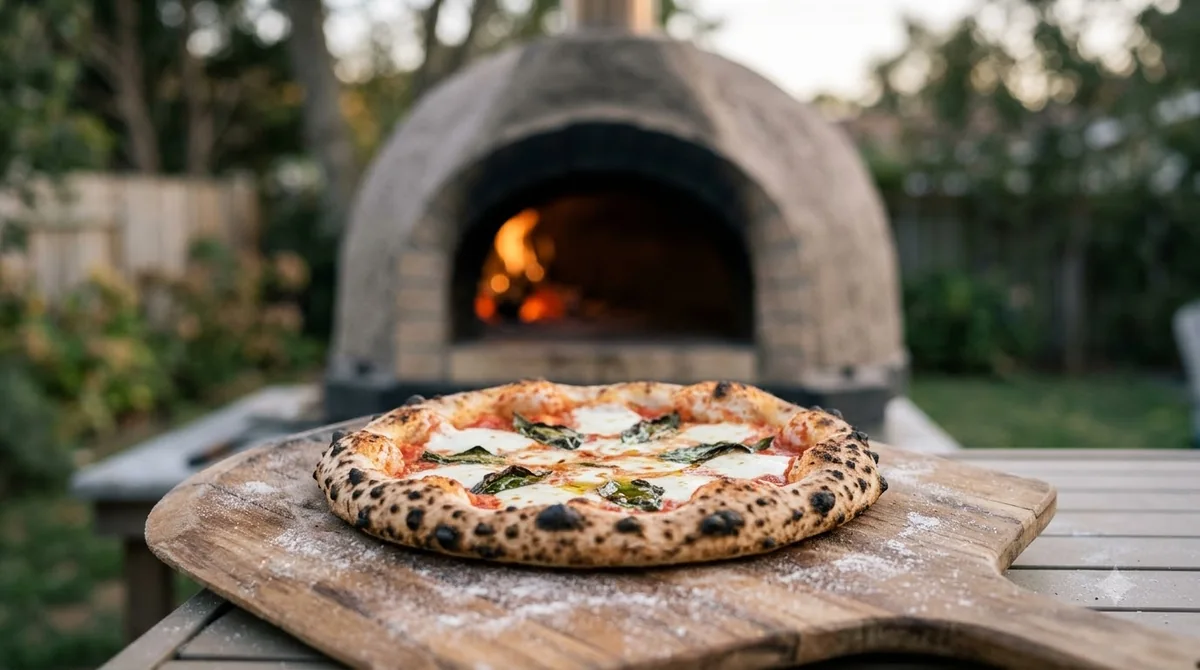
In the tablecloth method, move the peel forward slowly, then snap it back quickly so the pizza stays on the baking surface. The ramp method starts the same way, but you place the tip of the peel where you want the pizza to land, set it on the stone or hearth at a downward angle, and keep jiggling while you pull the peel back slowly.
King Arthur Baking does not give an exact angle in degrees, so practise the motion first. Repeating the slide with an empty peel helps you learn the feel before a real pizza is on it.
Turn and Unload the Pizza
Turn the pizza with the peel while it bakes, then unload it with a thin metal peel for the cleanest release.
Slip the wooden peel under the pizza to turn it so the crust browns evenly. Use short, gentle movements, because a rushed turn can shift the pizza off its line.
When the pizza is done, switch to a metal peel. King Arthur Baking explains that its thin blade slides under the edge crust better than a wooden one. Keep the wooden peel for launching and turning, and move the baked pizza onto a board or tray.
Pre-Launch Checklist for a Wooden Pizza Peel
Run through this checklist before every pizza. Each item comes from the steps above, so you can use it as a quick reference when you are working with a hot oven.
- Dust the wood with semolina, not flour, and check every spot the dough will touch.
- Keep sauce and toppings light and add them quickly, so the dough has less time to bond with the peel.
- Do the jiggle test after dusting, after topping, and before the oven.
- If the pizza does not move on its own, lift the stuck spots and add semolina underneath.
- Check that any parchment you use is rated for your oven temperature, since edges start to char between 450°F and 500°F.
- Use a metal peel for unloading, and keep the wooden peel dry and oiled between sessions.
Care Habits That Keep the Peel Flat
Oil the peel with mineral oil before its first use, and keep it away from water and high heat to prevent warping.
- Oil the peel before first use, which helps prevent cracking or warping.
- Pour mineral oil on the board, spread it lightly with a dry cloth, and cover the whole peel.
- Let the oil soak in, then let the wood dry before you store it.
- Repeat oiling as needed. One pizza steel maker says a frequent pizza maker coats the peel about once a month.
- Keep the peel away from high heat and water, since both cause warping.
If a peel has already warped, Baking Steel suggests laying it warped side down overnight with a heavy object, such as a book, on top. The Baking Steel warping guide is written by a steel maker, so weigh its advice alongside other sources. Cleaning has its own steps, covered in our guide on how to clean a wooden pizza peel, so this section stays with oiling and storage.
Common Mistakes to Avoid
Most sticking and burning problems come from using flour, skipping the jiggle test, or letting moisture reach the wood.
- Using flour instead of semolina. Wet flour turns sticky on wood.
- Skipping the jiggle test and launching a pizza that is still stuck.
- Letting sauce or water sit on the wooden surface. Water and wood do not mix well, and it can lead to warping.
Frequently Asked Questions
Should I use flour or semolina on a wooden peel?
Use semolina. King Arthur Baking prefers it on wood because it burns less easily and its finer grind means you need less of it.
Is parchment safe on a wooden peel?
Yes, heat-rated parchment works on wood or metal peels. Its maximum rating is below 500°F, and edges start to char between 450°F and 500°F, so watch the crust closely at high temperatures.
How often should I oil a wooden peel?
Oil it before first use, then repeat as needed. One pizza steel maker says a frequent pizza maker oils the peel about once a month.
Why does my pizza stick to the wooden peel?
The usual causes are too little dusting, flour on the wood, or moisture from sauce. Dust with semolina, do the jiggle test, and add more semolina underneath if the dough is stuck. For more fixes, see our guide to pizza sticking to the peel.
What should I do if my wooden peel warps?
Lay it warped side down overnight with a heavy object on top. Keep it away from water and high heat so it does not warp again.
Can I unload a pizza with a wooden peel?
You can, but the blunt edge of most wooden peels makes it harder to slide under the crust. King Arthur Baking suggests a thin metal peel for unloading, and a wooden peel for launching and turning.
If you are new to how to use a wooden pizza peel, practise the three steps a few times before you cook for guests: dust, jiggle, slide. Once the pizza moves freely on the peel, the launch becomes simple. Oil the wood regularly and keep it dry so it stays flat.
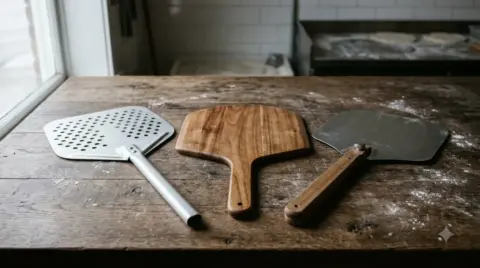 8 min readGear & PantryWooden Pizza Peel: What It Is and How to Choose OneUpdated Nov 16, 2026
 7 min readGear & PantryHow to Use a Pizza Cutter: Step-by-Step Guide for Clean SlicesUpdated Nov 10, 2026
 8 min readGear & PantryHow to Use a Pizza Turning Peel Without Tearing Your PizzaUpdated Nov 10, 2026
 9 min readGear & PantryHow to Use a Metal Pizza Peel Without StickingUpdated Nov 10, 2026
 9 min readGear & PantryHow to Use a Pizza Peel Without Sticking or SpillingUpdated Nov 10, 2026
 9 min readGear & PantryHow to Use a Ravioli Mold: Step-by-Step GuideUpdated Nov 10, 2026