
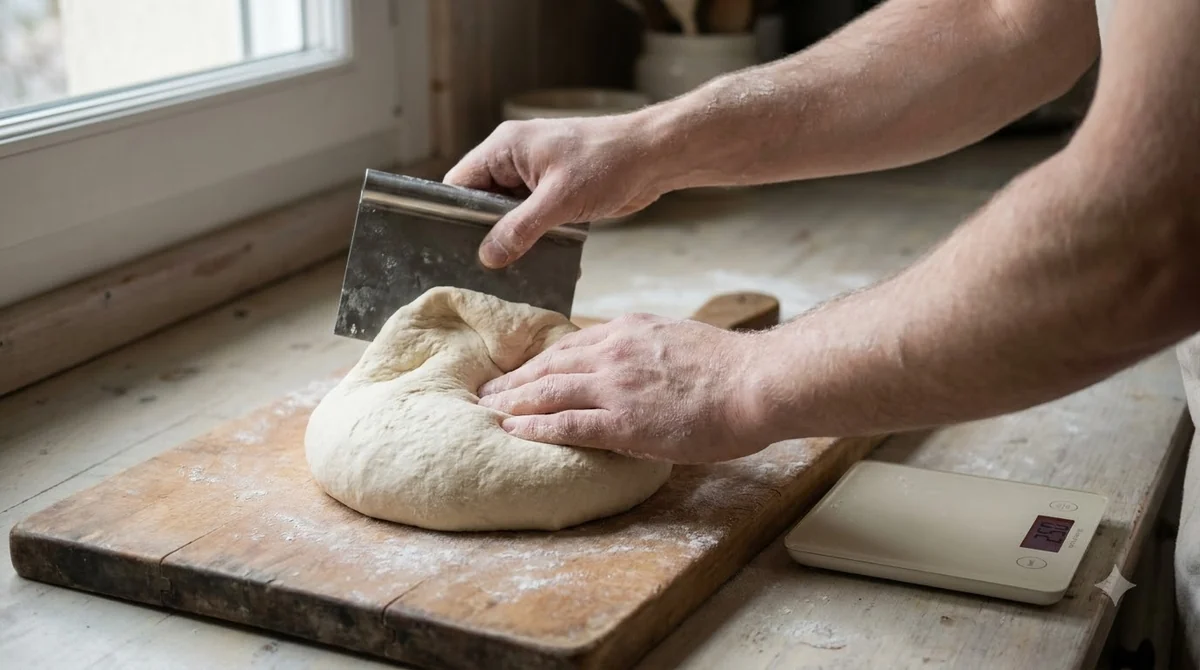

How to shape pizza dough balls comes down to folding the edges of each portion into the middle, turning it over and rolling it under your hand until the outside is smooth and the seam sits underneath. A well-shaped ball has a taut, even skin that holds its round shape and stretches evenly later. The method is the same whether you make a few balls for dinner or a full batch for a party. The technique matters more than the tools, so your hands and a clean work surface are enough.
The goal is a tight, smooth ball, not a flat disc or a lumpy knot. Exact ball weight depends on your recipe, so check your recipe before you divide the dough.
What a shaped pizza dough ball should look like
A good dough ball has a smooth, taut outer surface, a round shape and a seam tucked underneath. The surface should look slightly tense, almost like a thin skin pulled over the dough, with no torn spots or dry patches. When you set the ball down, it should hold its round shape rather than spreading flat on the counter.
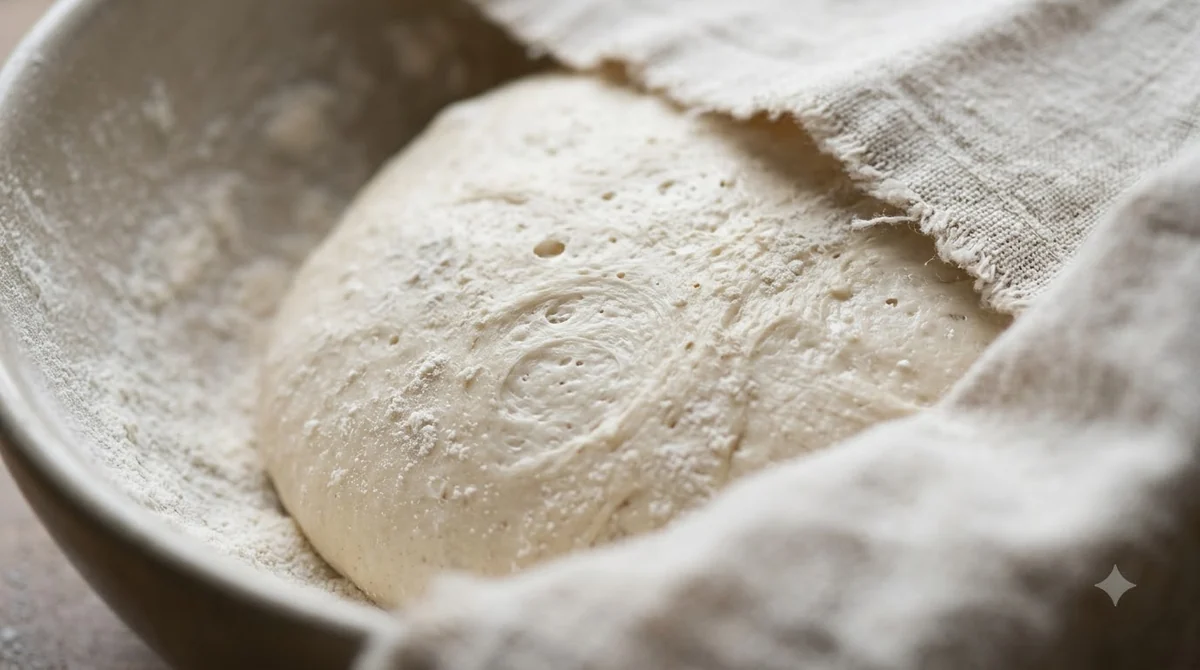
Dough that looks smooth in the bowl can still be shaped poorly, so the way you finish each ball matters for how to shape pizza dough balls. When you learn how to shape pizza dough balls, look at the underside as well as the top. A ball with a clean, closed seam will rise more evenly, while a ball with loose folds underneath can split open during proofing. If the surface is sticky or rough, the dough may need a short rest before you try again, since dough that is too tight resists shaping and springs back.
Keep the shape simple, because the core of how to shape pizza dough balls is patience rather than force. You are not trying to make a perfect sphere in one move. You are gathering the dough around itself so the outside stays tight and the inside stays soft.
Mastering how to shape pizza dough balls takes a few batches. Your first balls may look uneven, and that is normal. Each batch shows you how much handling the dough can take and how quickly it wants to relax, so the next batch is easier to shape.
How to shape pizza dough balls step by step
For how to shape pizza dough balls, cut the dough into portions, flatten each piece gently, fold the edges into the middle, then pinch the seam closed and roll the ball under your cupped hand. Work on a lightly floured surface so the dough does not stick, and use as little flour as you can.
Before you start, set up a clean counter with a bench scraper for dividing dough, a light dusting of flour and a tray or container ready for the finished balls. Working in a steady rhythm keeps each ball similar in size and tension, and it makes the process of learning how to shape pizza dough balls much easier.
- Divide the dough into equal portions, using a scale if your recipe gives weights for each ball.
- Flatten one portion into a rough disc with your fingertips, pressing out large air pockets.
- Pull the outer edge of the disc toward the center, working around the whole circle.
- Pinch the folds together at the bottom so the seam is closed and tight.
- Turn the ball seam side down and roll it in a small circle on the counter, cupping your hand so the skin tightens.
- Set each finished ball on a floured tray or in a container with space between them.
If you mix the dough in a machine first, see how to make pizza dough in a stand mixer. Shape every ball the same way so they rest and rise at a similar rate, because that consistency is part of how to shape pizza dough balls well. Practice on one portion first, because the second and third balls usually come out tighter once your hands know the motion. Balls of different sizes proof at different speeds, which makes the last ones hard to stretch when the first ones are ready. Check your recipe for the portion weight, because a ball that is too heavy for the crust style you want will be hard to open up thinly.

Common mistakes when shaping pizza dough balls
The most common problem in how to shape pizza dough balls is shaping too roughly or too loosely, which causes tearing and uneven stretching later. Most problems come from pressing too hard, adding too much flour or leaving the seam open.
| Mistake | What it causes | Fix |
|---|---|---|
| Open seam underneath | Dough splits during proofing | Pinch the folds closed before rolling |
| Too much flour on the board | Dry, weak skin that tears | Use a light dusting only |
| Pressing too hard | Gas is pushed out, balls stay dense | Use a gentle cupped hand |
| Shaping cold, very tight dough | Balls spring back when you stretch them | Let the dough rest briefly before shaping |
Tears usually show up after shaping, not during it, which is why a careful seam matters so much when you shape pizza dough balls. Many beginners also press too hard at the start, which squeezes out the gas and leaves a dense ball. A light, steady hand works better than force, and it keeps the skin even while you learn how to shape pizza dough balls.
If a ball splits open while you roll it, the seam was probably not closed, so gather the dough and pinch it again. Dough that resists shaping and keeps shrinking back is often too tight, and a short rest gives the gluten time to relax without changing the recipe. A sticky ball can also simply be a wetter dough, and what pizza hydration means explains why.
Resting and storing shaped dough balls
Shaped balls need a rest before you stretch them, and the rest is part of the method for how to shape pizza dough balls, and then they can go straight to the oven or into a covered container. Wikipedia’s pizza article describes the dough as left undisturbed to proof, then stretched by tossing, which is the order most home cooks follow. Wikipedia’s pizza overview covers the basic sequence.
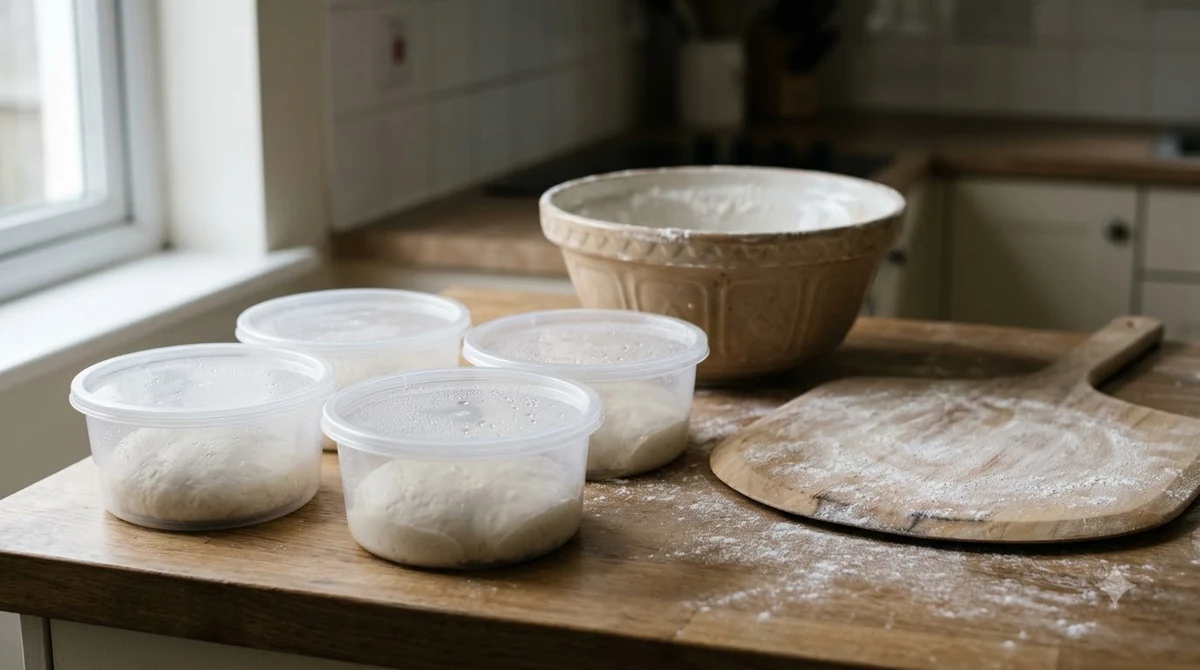
Place the balls in a covered container or on a tray, with enough space that they do not press into each other. Cover them so the surface does not dry out, which would form a skin that tears. The rest time depends on your recipe and room temperature, so check your recipe and watch the dough rather than the clock. For a long cold rest, see 24-hour pizza dough.
America’s Test Kitchen’s pizza dough recipe for a standing mixer makes enough dough for 3 medium pizzas, which is a handy guide when you divide a batch to shape pizza dough balls. It lets the dough rise in an oiled, covered bowl until doubled, which takes 1 1/2 to 2 hours, and it notes that fingertips and hands stretch and shape dough better than a rolling pin. The page gives no portion weight or rest time after shaping, so check the recipe you follow for those numbers.
If you plan to shape pizza dough balls ahead, keep them covered and cool rather than leaving them on a warm counter. Dough that rises too far before stretching can collapse and lose its shape. Let the balls come up to a workable softness before you open them. For the opposite problem, see underproofed pizza dough.
Whether you bake the same day or later, knowing how to shape pizza dough balls is only half the job. Good storage keeps the skin from drying out and lets the dough relax, which makes the final stretch easier.
Frequently Asked Questions
Do I need to oil my hands or the board to shape pizza dough balls?
A light dusting of flour on the board is usually enough when you shape pizza dough balls. Too much flour dries the surface and makes the skin tear. Some cooks lightly oil their hands instead, which helps when the dough is sticky. Use whichever keeps the dough from sticking without adding dry patches, since clean hands and a light touch are the core of how to shape pizza dough balls.
Why do my dough balls keep shrinking back after shaping?
Shrinking usually means the dough is tight and needs more rest before you stretch it. Shape the balls, cover them and give them a short rest. Shaping and stretching in one go often fights the dough, so separate the two steps.
Can I shape pizza dough balls ahead of time?
Yes, you can shape the balls ahead, as long as they stay covered and cool enough that they do not overproof. Check your recipe for how long shaped balls can wait before baking. Dough left too long at room temperature can become slack and hard to stretch, so plan your timing when you shape pizza dough balls in advance.
How do I know if my dough ball is shaped correctly?
When you check how to shape pizza dough balls correctly, look for a smooth, taut surface, a closed seam underneath and a round shape that holds when set down. If the surface looks wrinkled or torn, gather the dough and shape it again while it is still soft.
Should every dough ball be exactly the same weight?
Matching weights help the balls from your batch rise and stretch at the same rate when you shape pizza dough balls, which makes baking more even. Use a scale if your recipe lists a portion weight, and check your recipe for the target. Small differences are normal when you shape by hand.
Can I freeze shaped pizza dough balls?
Shaped balls can usually be frozen, but freezing and thawing can change the texture of how to shape pizza dough balls in the final crust. Wrap each ball well, freeze it, then thaw it fully in the fridge before stretching. Check your recipe for freezing guidance, because not every dough handles how to shape pizza dough balls and freezing the same way.
Tight, smooth balls make stretching easier and give the crust a more even rise, so take a few extra seconds on the seam. The good news is that how to shape pizza dough balls is a skill you build quickly. Each ball you shape well is one less dough problem when you reach the oven.
 7 min readLearnWhy Pizza Dough Balls Stick Together and How to Stop ItUpdated Nov 11, 2026
 6 min readLearnDough Ball Weight for 14 Inch Pizza by Crust ThicknessUpdated Nov 13, 2026
 9 min readLearnNeapolitan vs Roman Pizza: Shape, Dough and Heat ComparedUpdated Nov 14, 2026
 8 min readLearnWhat Is Bocconcini? Small Fresh Mozzarella Balls ExplainedUpdated Nov 11, 2026
 6 min readLearnHow to Make Arancini: Crispy Fried Risotto Rice BallsUpdated Nov 13, 2026
 8 min readLearnSagne Ncannulate Pasta: Shape, Dough and SaucesUpdated Nov 10, 2026