
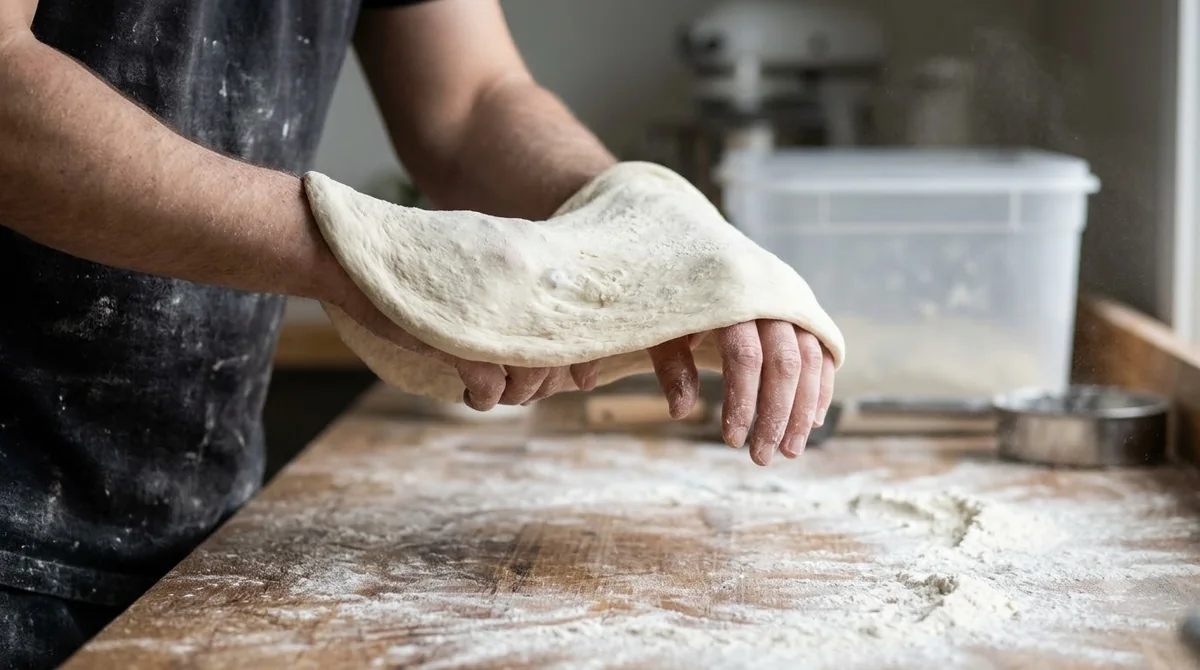

Knowing how to use a pizza dough docker helps keep home-baked crust flatter and more even. A docker is a spiked tool that pierces small holes in dough, so trapped air can escape instead of causing blisters or uneven puffing. Rolling and handheld styles both do this job, and a fork is a common stand-in.
What a Pizza Dough Docker Does
A pizza dough docker is a tool with needle-like prongs that makes small holes in dough, which keeps it from rising unevenly or blistering in the oven.
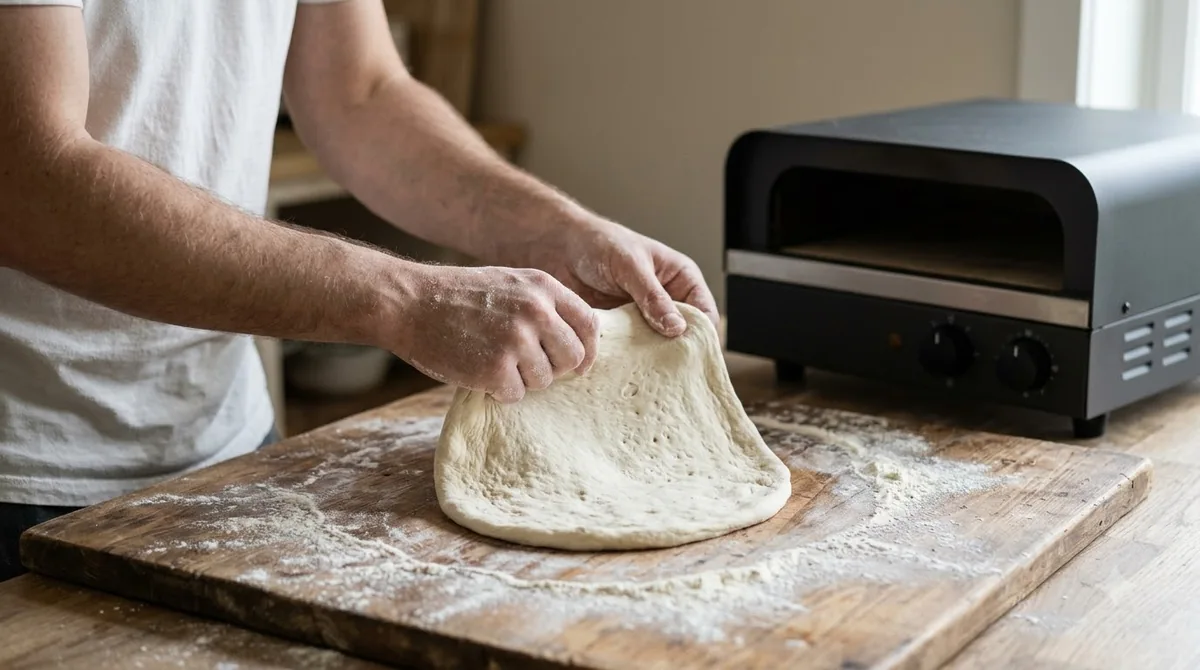
According to Wikipedia’s roller docker entry, the tool pierces dough to prevent over-rising or blistering. The same entry lists bread, cracker, pizza and pastry dough among the doughs it is used on, so the tool is not limited to one style of bread.
The reason is simple. As dough heats in the oven, gas and steam form inside it. Without an outlet, those pockets push the surface up in bubbles. Small holes give the air a path out, which helps the crust bake flatter and more evenly. The sections below explain how to use a pizza dough docker step by step, along with when to skip it.
The same entry notes that dockers are more common in professional bakeries than in homes that bake lightly or occasionally. Home cooks who bake pizza regularly can still use one, especially if they find their crust puffs too much.
If you are new to docking, think of the tool as a way to control where the air goes. Once that idea is clear, the question of how to use a pizza dough docker becomes a matter of even coverage. Most problems come from holes that are too few, too deep or bunched together in one area.
Types of Docker and What They Are Made From
Dockers come as rolling tools, often called roller dockers, and as smaller hand-held pin tools. Wikipedia lists nylon, plastic and steel as the materials used to make them. Knowing how to use a pizza dough docker starts with choosing the right type for your bench and your dough.
- Roller docker: a spiked tool shaped like a small rolling pin or a rotary tiller. The same entry gives other names for it, including roto-fork.
- Hand-held docker: a tool you press into the dough one spot at a time, useful for smaller pieces or a tighter area.
- Materials: nylon, plastic and steel. The sources read for this guide do not compare how long each material lasts, so check the product listing for care notes.
A roller covers a wider area in each pass, which saves time on a large round. A pin tool gives you more control over where each hole goes. Pick the style that matches the size of your pizzas and how much hand control you want, and compare models in our guide to the best pizza dough dockers.
If you bake only occasionally, either style will teach you how to use a pizza dough docker within your first few pizzas. The technique is the same for both, so the choice comes down to comfort and the size of your dough.
Step by Step: How to Use a Pizza Dough Docker
Shape the dough first, then run the docker over the surface in even passes so the holes spread across the crust, not in one spot.
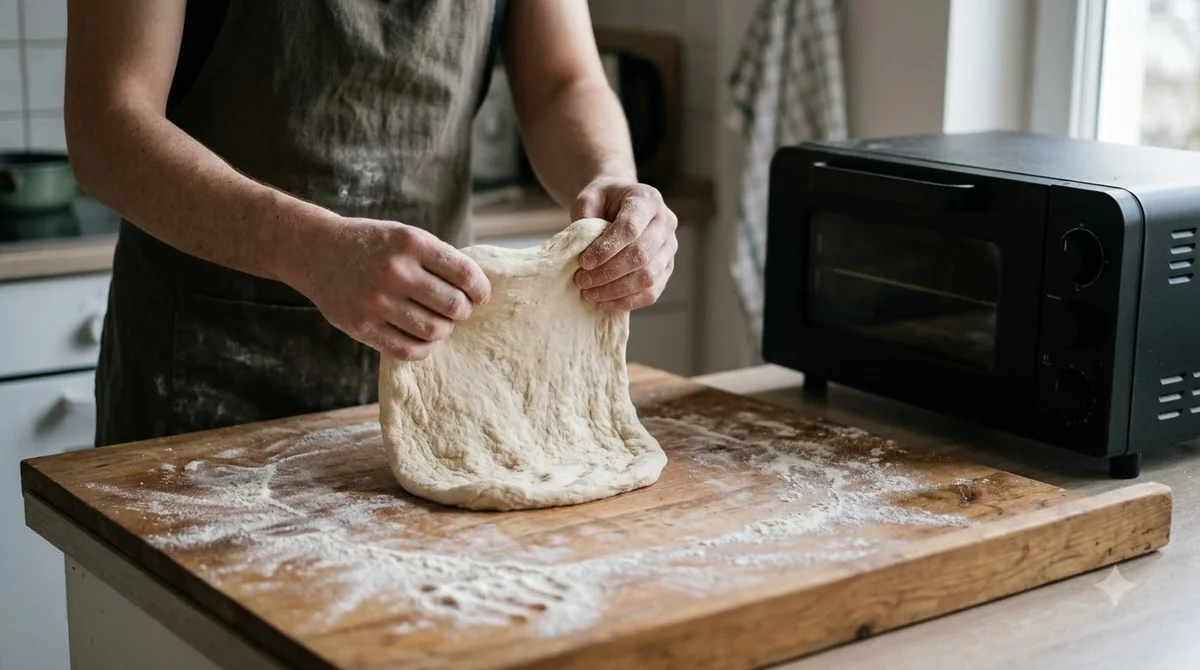
Here is how to use a pizza dough docker on a home pizza. The order below is general baking practice, not a maker’s tested procedure. The steps assume you have already made your dough and are ready to shape pizza dough balls and stretch them.
- Shape the dough first. Stretch it to the size you want on your work surface, since holes made on a ball before stretching can end up in the wrong places.
- Keep the shaped dough on the surface where you will top it. Avoid handling it more than you need to.
- Hold the docker upright. For a roller, roll it across the dough in even passes. For a pin tool, press it in a steady grid.
- Cover the center and the area toward the edge. Leave a border around the outer rim so the edge, the cornicione, can still rise into a crust.
- Look over the surface. You want an even pattern of holes with no large gaps.
- Add sauce and toppings after docking. Sauce and cheese placed over the holes can block them.
The sources read for this guide do not give a hole count, hole spacing or exact docking time. For those details, follow the instructions that came with your docker and the guidance from your oven maker.
Check your work after each pass. If the holes look uneven or a section has no holes at all, go back and fix that area before you add toppings. Practicing how to use a pizza dough docker on a single dough ball makes the technique clear quickly, and it costs little dough to try.
When to Dock and When to Skip It
Docking suits a flatter, less puffy crust, which is why it pairs well with a pizza screen or a pan. Skip it if you want a light, airy crust with large bubbles and a soft, open rise. Knowing when to dock matters as much as knowing how to use a pizza dough docker well.
- Dock when your crust puffs or blisters in the oven and you want it flatter.
- Dock thin crusts and cracker-style bases, the kinds of dough Wikipedia lists alongside pizza.
- Skip it when you want the open, airy texture that a freely rising rim gives. Fewer holes mean more rise.
A docker controls how air escapes. It does not change the recipe itself. If your crust is dense or underproofed, check the flour, water, yeast and fermentation time before you blame the tool. Getting the most from how to use a pizza dough docker means reading the dough first.
Using a Fork Instead
A fork can poke similar holes in pizza dough, and some home bakers use one in place of a docker. Learning how to use a pizza dough docker well still applies when you switch tools.
In a forum thread about pizza dockers, one user reports using a fork when they do not want much rise, and says it works well for them. Another reply says a fork does the same job, while a docker is faster. These are user reports, not controlled comparisons, so treat them as a starting point.
If you use a fork, press it in even rows across the dough rather than stabbing one spot. Each tine should make a clean hole, and the spacing should match what you would get with a docker.
The fork method follows the same logic as a docker, so the rules for coverage, rim and toppings still apply. Whichever tool you use, the steps for how to use a pizza dough docker carry over with only the tool changed.
Common Mistakes to Avoid
Docking after toppings are on wastes the holes, because sauce and cheese cover them and block the air path. The biggest errors people make with how to use a pizza dough docker are timing and coverage.
- Docking too lightly, so there are too few holes to release the air.
- Pressing through the dough hard enough to tear it, especially on thin areas.
- Docking the whole pizza edge to edge, which can leave the rim too flat to form a crust. This is the most avoidable error in how to use a pizza dough docker.
- Expecting a docker to fix dough that is too wet, too dense or badly shaped.
A docker is one small step in pizza making. Good shaping and a sound dough recipe matter more to the final crust. For more tool guides, see our Gear & Pantry guides. Each of these mistakes comes from forgetting the purpose of docking: you are making a controlled set of holes, not decoration.
Frequently Asked Questions
How do you use a pizza dough docker?
To learn how to use a pizza dough docker, shape the dough first, then roll or press the tool across the surface in even passes. Leave the outer rim free so it can rise, and add sauce and toppings only after docking so the holes stay open.
What does a pizza dough docker do?
A pizza dough docker pierces small holes in dough so trapped air can escape during baking. The holes help prevent uneven puffing and blisters, according to the Wikipedia entry on roller dockers. The tool does not change the flavor or texture of the dough itself.
Is a pizza dough docker the same as a fork?
Both poke holes in dough, so the same rules apply whether you are learning how to use a pizza dough docker or a fork. Forum users report that a fork works well and that a docker is faster. Those are user reports, not lab comparisons, so judge by your own results and the holes you actually make.
What materials are pizza dough dockers made from?
Wikipedia lists nylon, plastic and steel as materials for dockers. Choose the material that suits your counter and cleaning routine, and check the product listing for care directions. With that settled, learning how to use a pizza dough docker is the easy part.
Should you dock every pizza?
No. Docking suits a flatter crust. If you want a puffy, airy rim, skip the docker and let the dough rise more freely in the oven.
Are dockers only for professional bakeries?
No. Wikipedia says dockers are more common in professional bakeries than in homes that bake lightly or occasionally. Home cooks who bake pizza often can use one, and a fork works as a substitute.
If you bake pizza often, a docker gives you a simple way to control puffing. Shape the dough first, spread the holes across the surface, and dock before you add toppings. Once you know how to use a pizza dough docker, the rest of your pizza routine stays the same. For timing, hole spacing and care, follow the instructions that came with your tool.
 8 min readGear & PantryPizza Dough Docker: What It Does and What to Check Before You BuyUpdated Nov 17, 2026
 9 min readGear & PantryHow to Use a Pizza Dough RollerUpdated Nov 11, 2026
 8 min readGear & PantryPizza Dough Proofing Box: What It Does and How to Use OneUpdated Nov 10, 2026
 8 min readGear & PantryPizza Dough Roller: Types, Uses and What to Check Before You BuyUpdated Nov 8, 2026
 9 min readGear & PantryHow to Use a Ravioli Maker: Step-by-Step for Dough and FillingUpdated Nov 10, 2026
 8 min readGear & PantryHow to Use a Dough ScraperUpdated Nov 10, 2026