
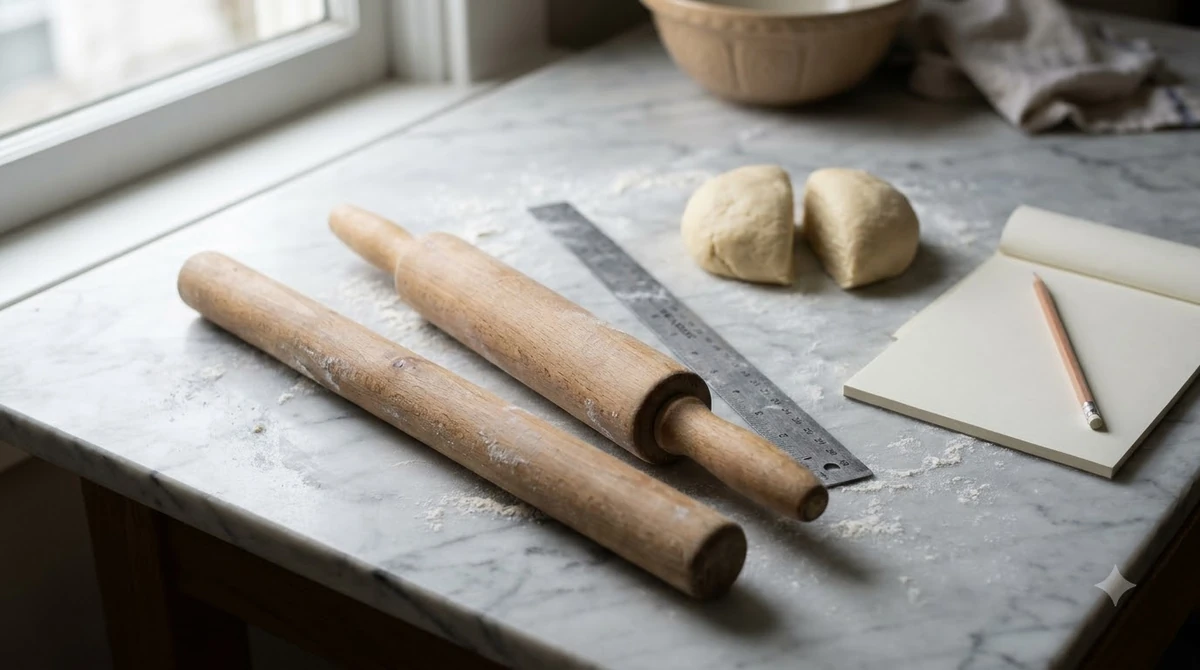

Learning how to use a pizza dough roller comes down to three habits: start with room-temperature dough, flour the surface lightly, and apply even pressure while you roll from the center outward. The steps change a little between a handheld pin-style roller and an electric countertop model, so the first decision is which one you have. This guide covers how to use a pizza dough roller for both types, the settings most manuals describe, and the mistakes that cause torn or shrinking dough. Where a figure depends on your model, check the manual that came with your machine.
Handheld Roller vs Electric Countertop Roller
A handheld roller is a pin you push by hand, while an electric countertop roller feeds dough between motorized rollers, so the steps differ for each type. Good preparation makes learning how to use a pizza dough roller far easier, because most problems start before the dough reaches the rollers.
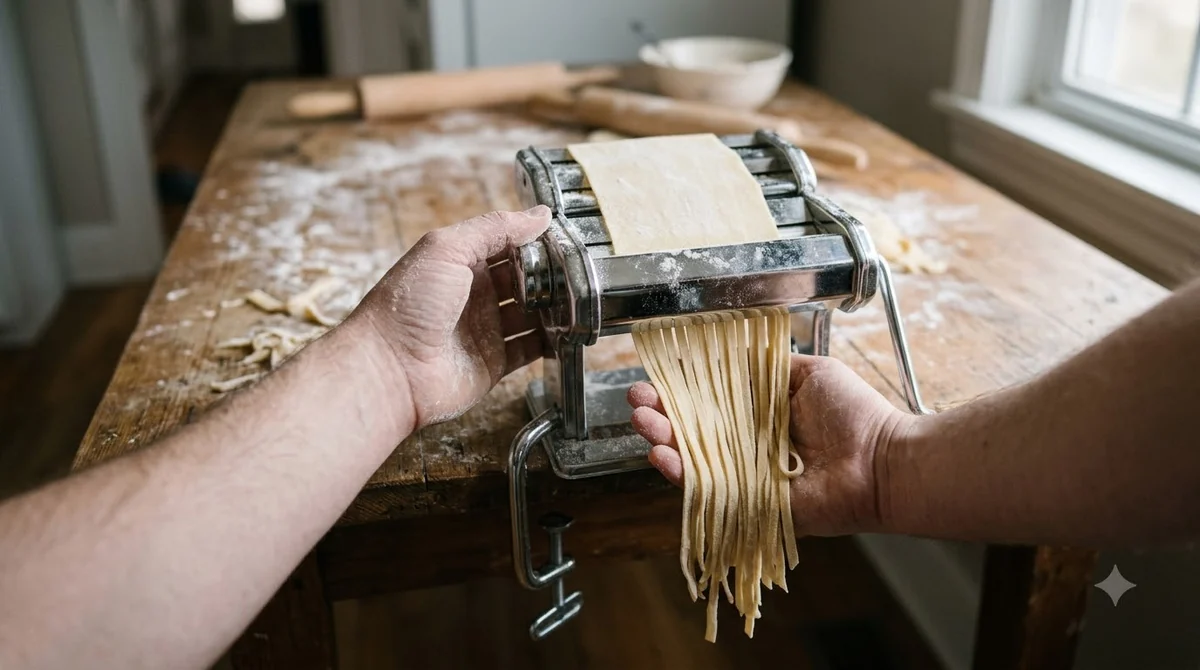
| Type | How it works | Main control |
|---|---|---|
| Handheld pin-style roller | You push and turn the dough by hand | Your pressure and the number of passes |
| Electric countertop roller | The machine pulls dough through upper and lower rollers | A gap adjustment lever between the rollers |
A plain rolling pin is the most common handheld tool, but King Arthur Baking advises against it for pizza. Its article says a rolling pin “isn’t the best choice” because it can cause “irregular sections and uneven edges.” Knowing how to use a pizza dough roller of the handheld kind means following the same basic rules as a pin: flour, steady pressure, and a turn between passes.
Prepare the Dough Before You Roll
Dough should be at room temperature and rested before it reaches the roller, because cold, tight dough resists stretching and tears more easily.
Preparation also decides how much work the roller has to do. A dough that has been handled gently and allowed to relax needs fewer passes, which means less risk of tearing.
Divide the dough, shape it into dough balls, and leave it on the counter. King Arthur Baking says to rest a preshaped dough for 10 to 15 minutes so the gluten can relax before you press it out.
Dust the work surface with flour. Use enough to stop sticking, but not so much that the dough dries out and the surface turns dusty. Keep any dough you are not using covered so it does not skin over.
For electric models, the manual for one generic 12 inch and 15 inch roller says the dough should be left to rise for at least 4 to 6 hours before it goes through the machine. That figure comes from a single manual, so check your own before you plan your timing.
How to Use a Pizza Dough Roller by Hand
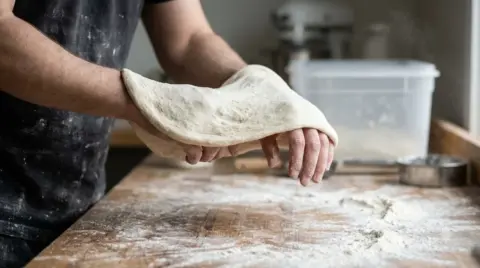
To roll by hand, press the dough out from the center, turn it a quarter turn after each pass, and keep your pressure even from one side to the other.
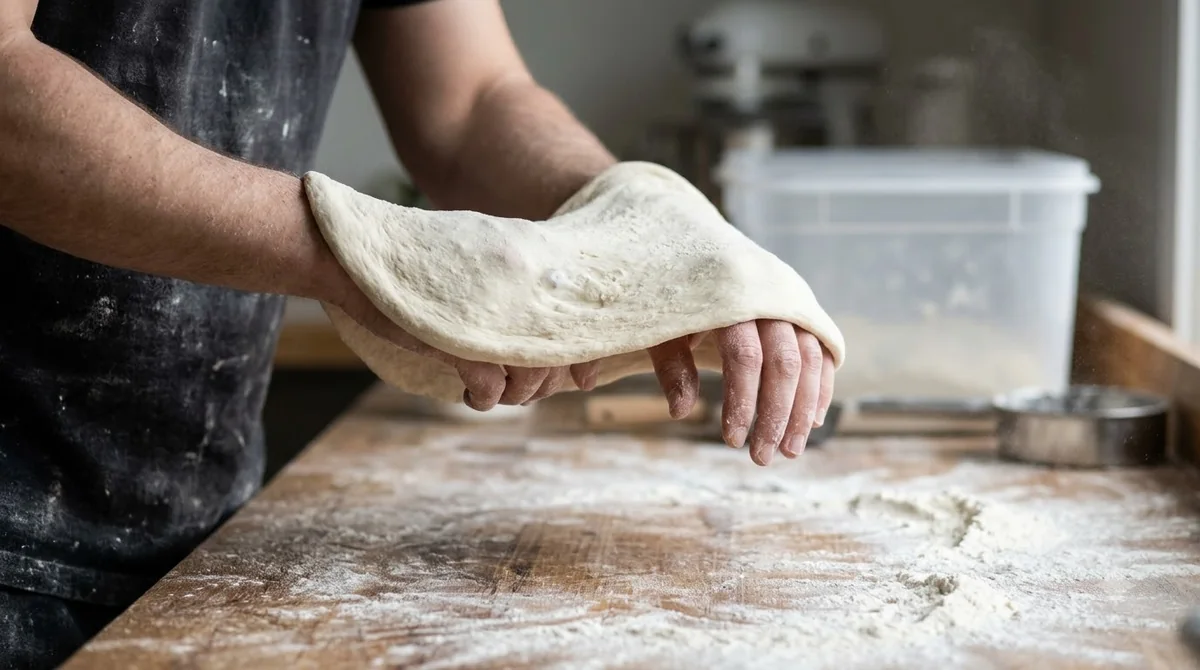
- Let the dough reach room temperature, then flatten the ball slightly with your hand.
- Flour the work surface and the roller lightly so the dough releases cleanly.
- Start in the center of the dough and roll outward with steady, even pressure.
- Rotate the dough a quarter turn after each pass so the circle stays even.
- Stop when the dough reaches your target thickness. Patch any small tear by pressing the edges back together before rolling again.
Those five steps are how to use a pizza dough roller by hand from start to finish.
Prepa Pizza’s retailer guide warns against quick or jerky strokes and against pressing harder on one side, which leaves thick and thin spots. Work in stages, reducing the thickness a little at a time instead of flattening the dough in one pass. A bench scraper, covered in our guide on how to use a bench scraper, helps you lift and turn the dough.
If the rim comes out uneven, finish it by hand. King Arthur Baking recommends pressing the center first, then rotating the dough over your knuckles so gravity stretches the edges. Pulling by hand stretches the center more than the edges, so press rather than pull.
How to Run Dough Through an Electric Countertop Roller
Whatever your machine, the manufacturer’s manual sets the final steps for how to use a pizza dough roller of that model. An electric countertop roller passes the dough through an upper set of rollers, then a lower set, turning the dough 90 degrees between passes and narrowing the gap to make it thinner.
- Place the machine on a flat, stable surface, and check that the area around the rollers is clear.
- Clean the parts that touch dough, then run the machine empty for about a minute to confirm it works properly.
- Coat both sides of the dough with dry flour so it passes easily through the rollers.
- Feed the dough through the upper rollers, rotate it 90 degrees, then pass it through the lower rollers.
- Check the shape. The manual describes a thin oval that becomes a round sheet after the second pass.
- Switch the machine off before you adjust. Turn the adjustment lever clockwise for a thinner sheet and counterclockwise for a thicker one.
Specifications differ by model. If you plan to make several bases in a row, check the weight range first so each piece fits the machine, and compare models in our guide to the best pizza dough rollers.
Treat these figures as a starting point for how to use a pizza dough roller on your own model. The same generic manual lists a dough weight range of 50 to 500 g in its specification table (its instruction text says 20 to 500 g, so check your own manual) and a roller diameter range of 10 to 30 cm for its 12 inch model, and 10 to 40 cm for its 15 inch model. The manual also says the machine is best suited to round pizza bases, and that thickness is best set by experience, so narrow the gap in small steps.
Keep that advice in mind each time you decide how to use a pizza dough roller for a new batch.
Safety comes first when you learn how to use a pizza dough roller with a motor. Keep your fingers away from the rollers while the machine runs, and follow the warning on your manual about checking for debris before you switch on.
Common Mistakes When Using a Pizza Dough Roller
Most problems come from cold dough, uneven pressure, and skipping the rest, and each one has a simple fix. Avoiding them is the quickest way to get better results when you learn how to use a pizza dough roller.
- Rolling cold dough at the thinnest setting, which tears it. Start on a thicker setting and lower it as the dough softens.
- Pressing harder on one side, which leaves thick and thin spots.
- Rolling in quick, jerky motions instead of steady strokes.
- Skipping the rest, so the dough keeps shrinking back as you roll.
- Using too much flour, which dries the surface and makes the dough tough.
- Feeding dough that is stuck to the surface, so it tears as it passes through.
If dough shrinks back while you roll, let it rest for a few minutes and roll again. Pushing harder rarely fixes shrinkage and often tears the dough, so patience is the core of how to use a pizza dough roller without waste.
How to Clean and Store Your Dough Roller
Part of how to use a pizza dough roller well is cleanup, so clean the parts that touch dough before and after each use, and dry wooden parts fully so they do not crack.
Stainless steel and aluminum rollers wipe clean quickly. Prepa Pizza’s guide says some parts may be dishwasher safe, but hand washing is recommended for longer life.
Wooden pins need careful drying and an occasional light coat of oil to prevent cracking, according to the same guide. Avoid rollers with coatings that chip, since flakes can end up in the dough. For electric models, disconnect the power before cleaning and follow the manufacturer’s instructions.
Frequently Asked Questions
Can you use a regular rolling pin on pizza dough?
You can, but King Arthur Baking advises against it because a pin can produce irregular sections and uneven edges. Press the dough out from the center and finish the rim by hand for a more even crust. If you are new to how to use a pizza dough roller, practice on a spare piece of dough first.
Can you roll cold pizza dough?
Cold dough is stiff and tears more easily, so let it come to room temperature first when you plan how to use a pizza dough roller. On an electric roller, start on a thicker setting and lower it gradually as the dough softens, which is the approach Prepa Pizza’s guide suggests.
How thick should pizza dough be after rolling?
None of the sources read for this guide gives one standard thickness, so use your recipe or the style you want as the target. Narrow the roller gap in small steps and check the feel and shape after each pass. Thickness is part of how to use a pizza dough roller well, not a single setting you choose once.
Why does my pizza dough keep shrinking when I roll it?
Shrinking usually means the gluten is tight. Let the dough rest, as King Arthur Baking suggests with 10 to 15 minutes for a preshaped round, then roll it again from the center.
How do you clean a pizza dough roller?
Wipe stainless steel and aluminum rollers after use and hand wash them where possible. Dry wooden pins completely and oil them lightly now and then. Check your manual for the cleaning steps on an electric model, since cleaning is part of how to use a pizza dough roller safely.
Mastering how to use a pizza dough roller takes a few batches. Slide the finished base onto a peel using our pizza peel guide, and find more tool help in the Gear & Pantry guides. Start with one batch and check the result before you change any setting. Keep your hands clear of moving rollers, and follow your manual for exact rest times and thickness ranges, since they vary by model.
 8 min readGear & PantryPizza Dough Roller: Types, Uses and What to Check Before You BuyUpdated Nov 8, 2026
 9 min readGear & PantryHow to Use a Pizza Dough DockerUpdated Nov 11, 2026
 8 min readGear & PantryPizza Dough Proofing Box: What It Does and How to Use OneUpdated Nov 10, 2026
 9 min readGear & PantryHow to Use a Ravioli Maker: Step-by-Step for Dough and FillingUpdated Nov 10, 2026
 8 min readGear & PantryHow to Use a Dough ScraperUpdated Nov 10, 2026
 8 min readGear & PantryDough Scraper: Types, Uses and What to Look ForUpdated Nov 16, 2026