
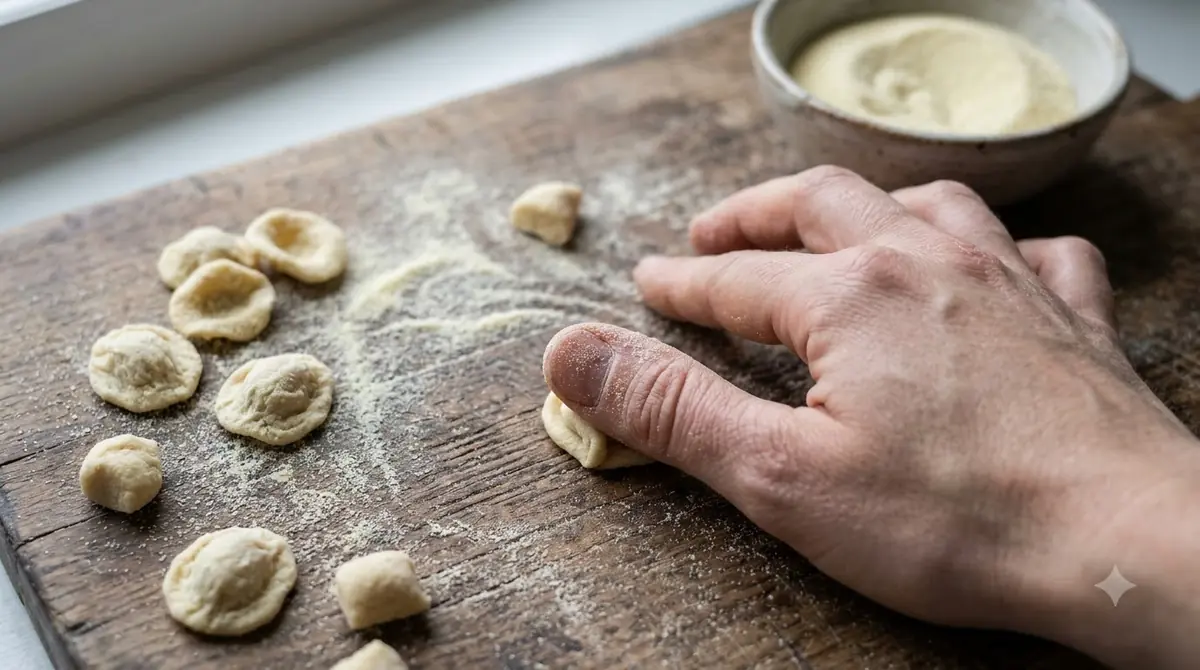

Homemade orecchiette is a semolina and water dough, shaped into small discs and turned over the thumb to make the little ear-shaped cups. The dough is stiffer than egg pasta and needs a longer knead. Most problems come at the shaping stage, when the pieces are too thick, too wet, or pressed flat instead of curled.
This guide concentrates on troubleshooting the shape: why the dough cracks, why the discs will not curl, and how to dry and store the finished pasta. If you are looking for the basic recipe and overall method, start with the full guide on making orecchiette at home.
What Is the Right Semolina and Water Ratio?
Durum semolina and lukewarm water, with a pinch of salt, are enough for orecchiette. The exact amount of water depends on the semolina and the humidity in your kitchen.
One recipe from The Pasta Project uses 300 grams of hard wheat semolina with 160 grams of tepid water and a pinch of salt. The Ilmelograno Apulian method uses a larger batch, about 400 grams of durum semolina to 250 ml of lukewarm water with 10 grams of salt. The two sources do not match on the water, so start with less water, then add more a teaspoon at a time while you knead.
Add the water gradually. Semolina takes time to absorb liquid, so if the dough seems dry after a minute, keep kneading before you add more water. Adding water too early is the most common reason the dough becomes sticky later.
How Long Should You Knead and Rest the Dough?
Knead for about ten minutes until the dough is smooth and firm, then rest it wrapped in the fridge for about an hour before shaping. For the shape’s background, read our orecchiette pasta guide.
Ilmelograno suggests kneading for ten to fifteen minutes and resting the wrapped dough in the fridge for an hour. The rest lets the semolina hydrate fully. Dough shaped straight after kneading tends to crack at the edges and resist the thumb, while rested dough relaxes and holds the curl. Keep the dough covered during the rest so the surface does not dry out.
How Do You Make Orecchiette Discs Without Cracks?
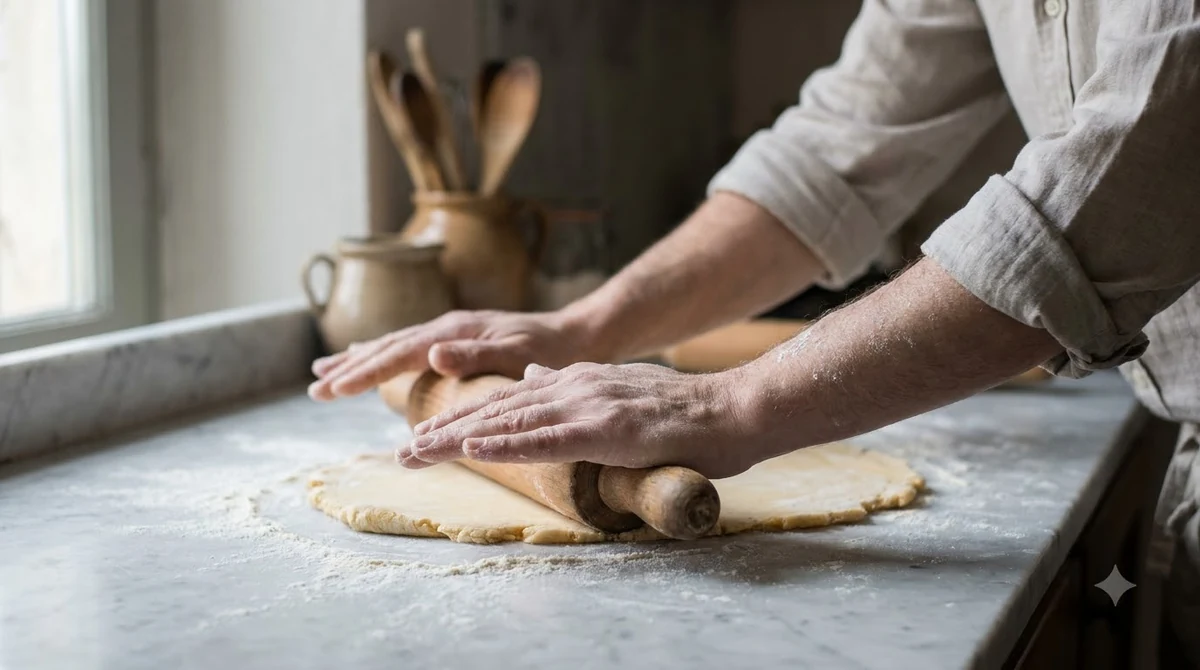
Roll the dough into a finger-thick rope, cut it into small pieces, and press each piece into a thin, even disc before shaping. A classic way to serve the shape is orecchiette with sausage. Another shape that needs only your fingers is pinched bow-tie farfalle.
Divide the rested dough into fist-sized portions, then roll each into a rope about the thickness of a finger using floured hands. Cut the rope into pieces roughly the size of a hazelnut. Press each piece flat with your fingers so it forms a disc that is thicker at the edge than in the centre. Cracks usually appear when the disc is pressed too thin or dried out before shaping. Keep unshaped pieces covered and shape only a few at a time.
How to Shape Orecchiette With the Thumb?
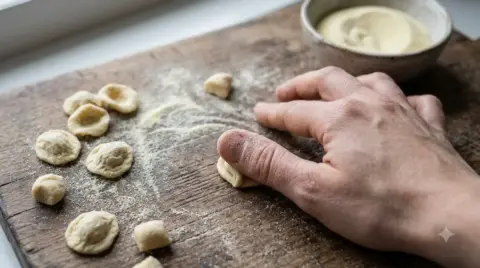
Drag the disc across the board with a knife or your thumb, then turn it over your thumb tip so the edge folds into an ear. If you also like cavatelli, see choosing between orecchiette and cavatelli.
The traditional motion is to press the disc with the thumb and drag it toward you, so it curls. The Pasta Project author found a knife easier at first, holding the blade at about a 45-degree angle, pressing and rolling the dough toward you, then flipping it over the thumb to form a concave shape. Either way, the curl should stay slightly thicker at the rim. Dust the shaped pieces with semolina so they do not stick, and avoid stacking them while they are still soft.
Why Does the Shape Fall Apart or Flatten?
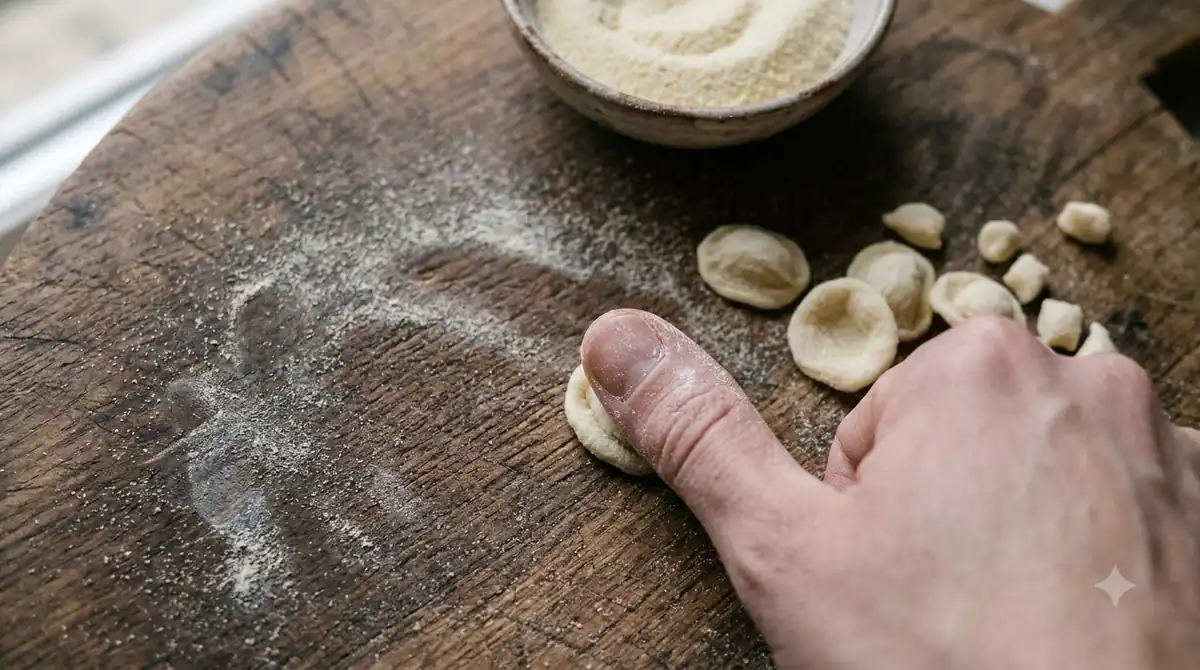
A shape that flattens usually has a disc that is too thin, dough that is too soft, or a thumb that is pressing too hard in the centre. Another hand-formed shape is covered in making cavatelli by hand.
If the ear collapses, the dough is probably too wet. Dust the board and your fingers with semolina and let the pieces firm up for a few minutes before shaping again. If the curl will not hold, the disc is too thin at the rim. Make the rim slightly thicker and press less in the middle. Practice on a small batch before you shape the whole rope.
How Should You Dry, Store and Cook Homemade Orecchiette?
Air-dry fresh orecchiette for a short period or freeze it. Cook it in well-salted boiling water for about five minutes, adding a couple of minutes once the pieces rise.
Ilmelograno notes that fresh orecchiette can air-dry for two to three days and keep for about three weeks in closed tins or jars once dry. The Pasta Project author says that shaped homemade pasta is often too thick to dry evenly, so freezing is the more reliable option. Freeze the pieces in a single layer on a tray, then move them to a sealed bag and cook them straight from frozen. Check the pasta at around five minutes, lift one piece out, and taste it for a tender centre.
Common Mistakes When You Shape Homemade Orecchiette
Most shaping mistakes come from dough that is not rested, pieces that are too large, or a thumb pressed too hard.
- Adding all the water at once, which makes the dough too sticky to shape.
- Cutting pieces much larger than a hazelnut, so the ear cannot curl.
- Leaving the shaped pieces uncovered on the counter, where they dry and crack.
- Pressing the thumb through the centre, which thins the disc too much.
Frequently Asked Questions
Can I use all-purpose flour instead of semolina?
The sources here use durum semolina, which gives orecchiette its firm bite and holds the shape. All-purpose flour makes a softer dough that is harder to keep in its ear shape, so it is best to stay with semolina.
Why is my dough too hard to knead?
Semolina needs time to absorb water. Keep kneading for several minutes before adding more liquid, and check that the dough is not cold. Lukewarm water helps.
How do I know when the cooked orecchiette is ready?
Taste a piece after it rises to the surface. The centre should be tender with a slight bite. Fresh pieces usually need about five minutes, though thickness and freshness change the time.
Can I freeze homemade orecchiette?
Yes. Freeze shaped pieces on a tray in a single layer, then bag them. Cook them from frozen, allowing a little extra time.
Orecchiette is forgiving once you understand the dough. Keep the water measured, rest the dough, shape small pieces, and freeze what you will not cook the same day. A shape that holds its ear is worth the extra patience.
 6 min readLearnHomemade Gemelli: Semolina Dough, Shaping and DryingUpdated Nov 13, 2026
 5 min readLearnHomemade Macaroni: Dough, Shaping, Drying and Cooking TipsUpdated Nov 13, 2026
 5 min readLearnHomemade Bucatini: Dough, Extrusion and Drying TipsUpdated Nov 13, 2026
 6 min readLearnHomemade Cavatappi: Equipment, Dough and Drying GuideUpdated Nov 13, 2026
 6 min readLearnHomemade Garganelli: Egg Dough and Shaping StepsUpdated Nov 13, 2026
 6 min readLearnHomemade Casarecce: Semolina Dough and Rod Shaping GuideUpdated Nov 13, 2026